How to Clean and Prep Porches, Patios, and Decks for Winter
“The time to repair the roof is when the sun is shining.”
— John F. Kennedy
Spring cleaning gets most of the attention, and really, spring has a bit of an unfair advantage.
By then, we've spent months looking out the windows waiting for warmer weather. The first sunny days show up, the doors get thrown open, and suddenly cleaning the porch or dragging furniture around outside doesn't sound half bad. We're just happy to be out there in the sunshine and fresh air again.
Fall chores can be a harder sell.
By September and October, we've already spent months gardening, mowing, watering, fixing things, putting things up, taking things down, and generally keeping up with summer. The days are getting shorter, the mornings are colder, and sitting down with something warm to drink sounds considerably better than scrubbing the deck.
But Fall Me has learned something about Spring Me: she really appreciates it when I don't leave everything for her.
Taking care of a few outdoor jobs now can help prevent damage during the winter, but it also means there is less waiting for us when those first beautiful spring days arrive. I'd much rather spend those days planting something or sitting in the sunshine than dealing with a repair I knew about six months earlier.
Which brings me to a particular deck board I've been ignoring all summer.
We put a new deck on the front of our house last summer, and sometime this summer one of the boards decided it didn't want to cooperate anymore and curled up. I noticed it. I knew it needed to be fixed.
And then I proceeded to step over the darn thing for pretty much the entire summer.
We had hoped to get a cover built over this deck this year, and since that project would involve working on the deck anyway, the plan was to deal with the curled board at the same time. Other projects took priority, though. We did get the back deck by my office covered (hooray!), but the front deck cover has officially moved onto the "next summer" list.
The curled board, unfortunately, can't go with it.
I'll be shoveling snow off this deck all winter, so that repair needs to happen now. A snow shovel catching the edge under several inches of snow sounds like a good way to damage the deck, break a shovel, or send me somewhere I really don't want to go.
So yes. Fall Me is finally replacing the board.
And while we're at it, we might as well get the rest of the porch, patio, and deck areas ready for winter too.
Why Bother Cleaning Something That's About to Get Covered in Snow?
It seems a little backward, doesn't it?
We're going to clean everything up and then Mother Nature is going to cover it in leaves, dirt, ice, and snow.
But summer leaves more behind than we realize. Dirt, pollen, leaves, food spills, plant debris, and moisture can collect between boards, underneath planters, along the house, and in all those little corners we don't pay much attention to.
Organic debris left sitting against a damp surface can contribute to staining, mildew, algae, and deterioration. Add months of moisture, freezing, and thawing, and little problems have plenty of time to become bigger ones.
We're trying to send these areas into winter clean, dry, repaired, and ready for whatever the weather throws at them.
Thankfully, most of the time that doesn't require a pressure washer or an entire Saturday.
Start by Getting Everything Out of the Way
Before adding water or cleaner, move the things that have accumulated on your porch, patio, or deck over the summer.
Planters, rugs, chairs, decorations, toys, and anything else sitting on the surface need to come up so you can see what's happening underneath them. Sweep away leaves, pine needles, dirt, grass clippings, and cobwebs, paying particular attention to corners, between deck boards, along the house, and underneath anything that hasn't moved since June.
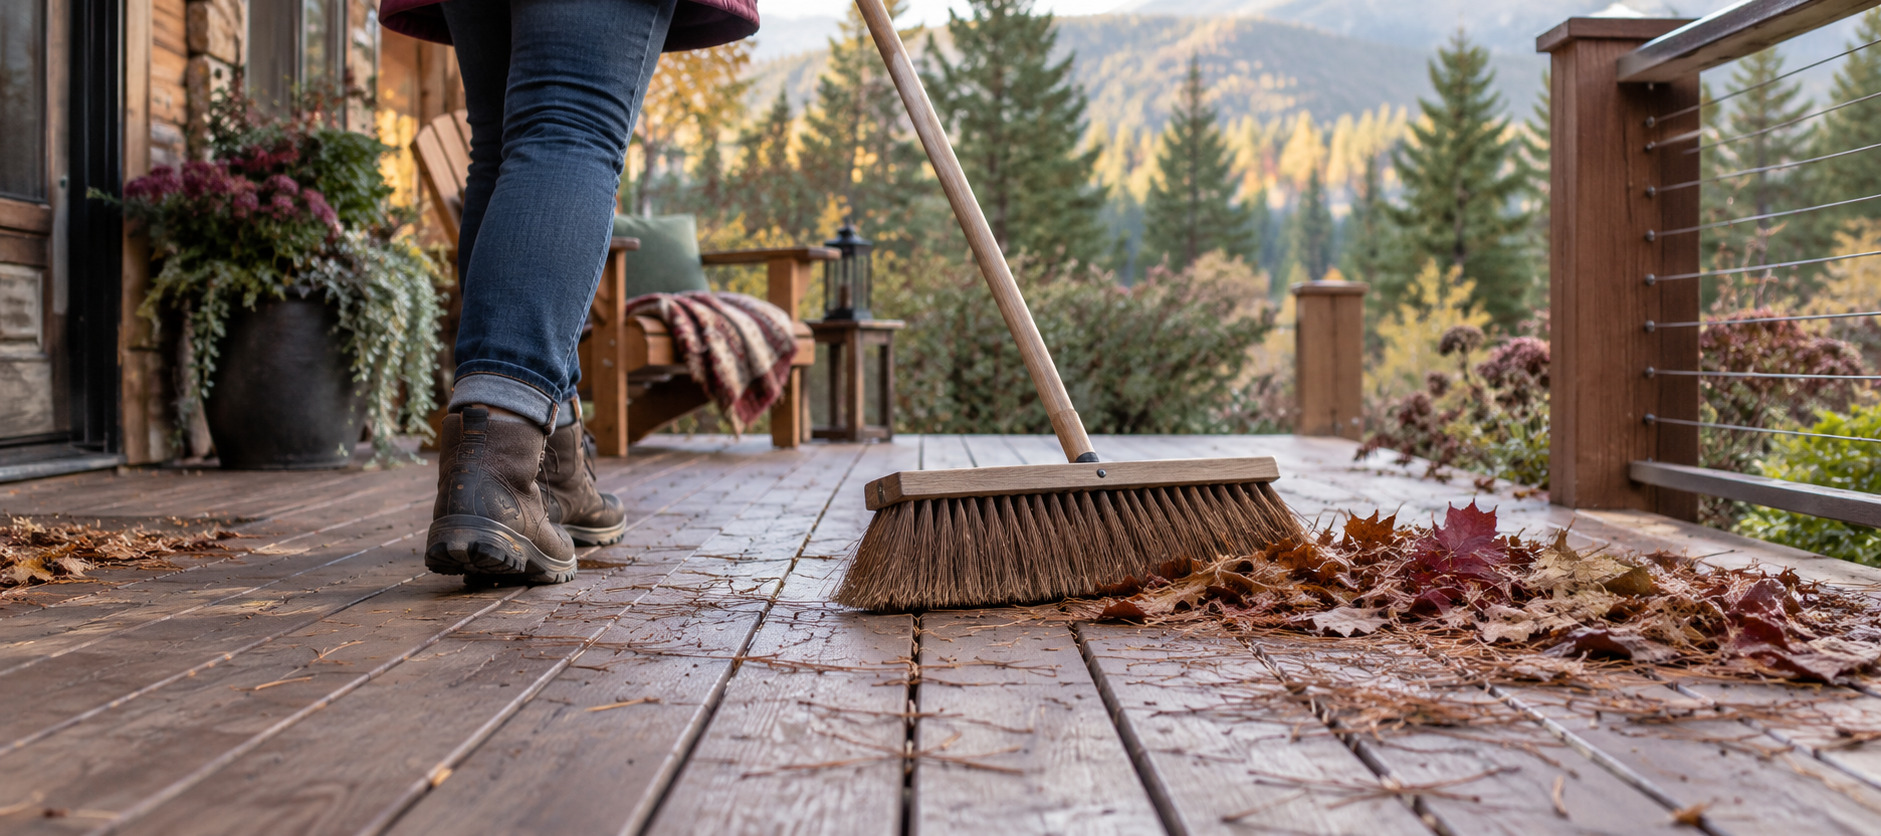
If you're following along with this Fall Cleanup series and you've already cleaned and stored your outdoor cushions and fabrics, you're ahead of the game. Once all that stuff is out of the way, this job gets considerably easier.
Before You Clean, Take a Good Look Around
Once everything is cleared off, resist the urge to immediately grab the hose. This is a good opportunity to actually inspect the area.
Check for loose screws or fasteners, raised nails, cracked or splintered boards, loose railings, damaged steps, uneven edges, rotting wood, and places where water seems to collect instead of draining away. Give the railings a little wiggle and take a good look at the steps.
And yes, look at those little repairs you've successfully ignored all summer. Unfortunately, ignoring them hasn't made them go away, and once they're buried under snow and ice they can become considerably more troublesome.
Fix the Little Things Before Snow Hides Them
Tighten loose screws and fasteners and replace anything that's badly rusted or damaged. If two boards don't meet smoothly or you have a raised edge, figure out why before you start sanding or grinding it down.
Depending on the material and what's causing the problem, a small uneven spot may be something you can correct. Other times, particularly when a board has warped, curled, cracked, or started deteriorating, replacement is the better answer.
That's where we are with mine.
I should probably explain that I don't exactly shovel snow in a calm, dainty fashion. If the snow isn't too deep, I prefer to snowplow it. Two hands on the shovel handle, a little momentum behind me, and one long push toward the edge of the deck so I can send the whole load over the side.
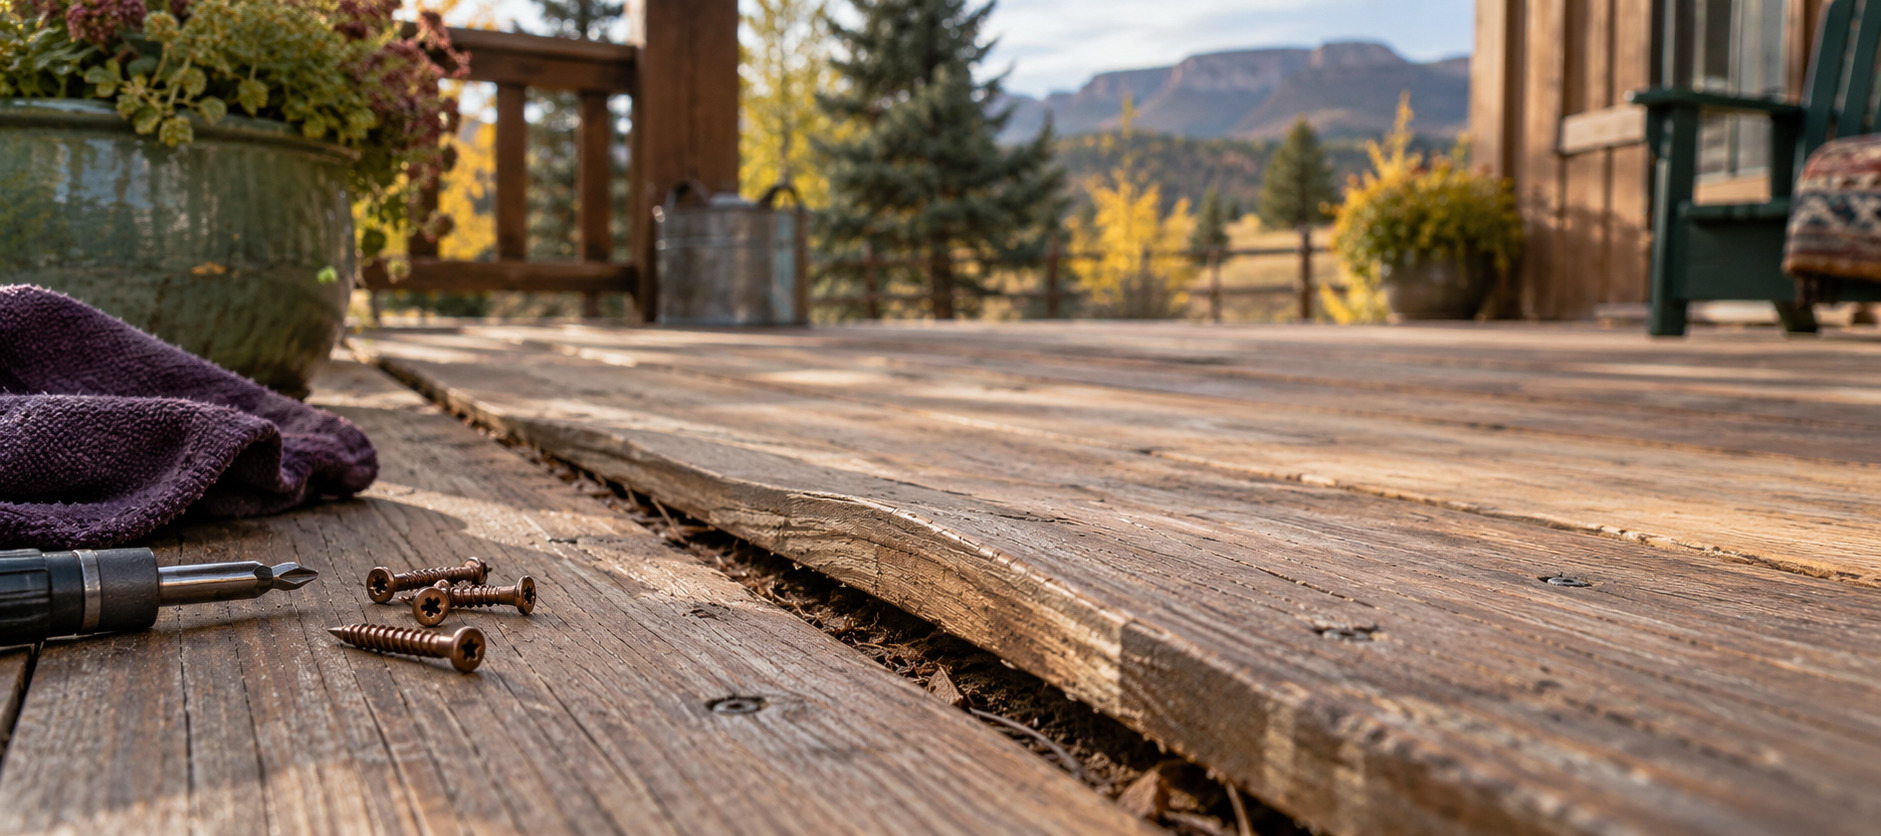
It's wonderfully efficient—right up until the shovel catches a raised screw or the edge of a curled board.
You can probably picture what happens next. The shovel stops. I don't. There's that teeth-jarring impact as the handle comes back toward your body, and suddenly taking ten minutes to tighten a screw before winter seems like it would have been a very good idea.
I'd prefer not to test that scenario with my sternum this year.
So before the first real snowstorm, I want a smooth path for that shovel. Replacing one board and tightening a few screws on a pleasant fall afternoon sounds considerably better than finding either one at full snowplow speed in January.
Ten minutes of work now could save me a bruised sternum and a broken shovel later.
Before You Start Cleaning, Check the Weather
This is something worth doing before the bucket ever comes out.
Pick a stretch of decent fall weather for this job if you can, particularly if you plan to protect or refinish wood after it's clean. You'll need enough time for everything to dry thoroughly after washing, and stains, sealers, and oils have their own requirements for temperature, moisture, rain-free time, drying, and curing.
Read the directions on whatever product you're planning to use and then look at the forecast—not just for this afternoon, but for the next several days.
If your fall weather has already turned cold and damp and the product can't be applied or cured properly under those conditions, I'd rather wait for the right weather window than rush through it simply because a fall-cleanup checklist told me I was supposed to get it done.
A sticky or poorly cured finish that you're walking across all winter isn't much of an improvement.
Sometimes doing a job well means admitting that you missed this year's weather window and waiting until spring.
We've already accomplished plenty.
Now We Can Clean
Here's where I like to keep things simple.
You don't necessarily need a special machine or a collection of harsh cleaners to clean an outdoor surface. For ordinary summer dirt and grime, a garden hose, bucket, long-handled scrub brush, and a little soap can accomplish quite a bit.
There's another reason I prefer starting with gentler cleaners outside: whatever I rinse off the deck has to go somewhere.
Around our place, that may mean the nearby grass, flower beds, garden soil, or wherever the runoff naturally travels. I don't particularly want to clean my deck with something unnecessarily harsh and then spend next spring wondering why there's a dead patch beside it.
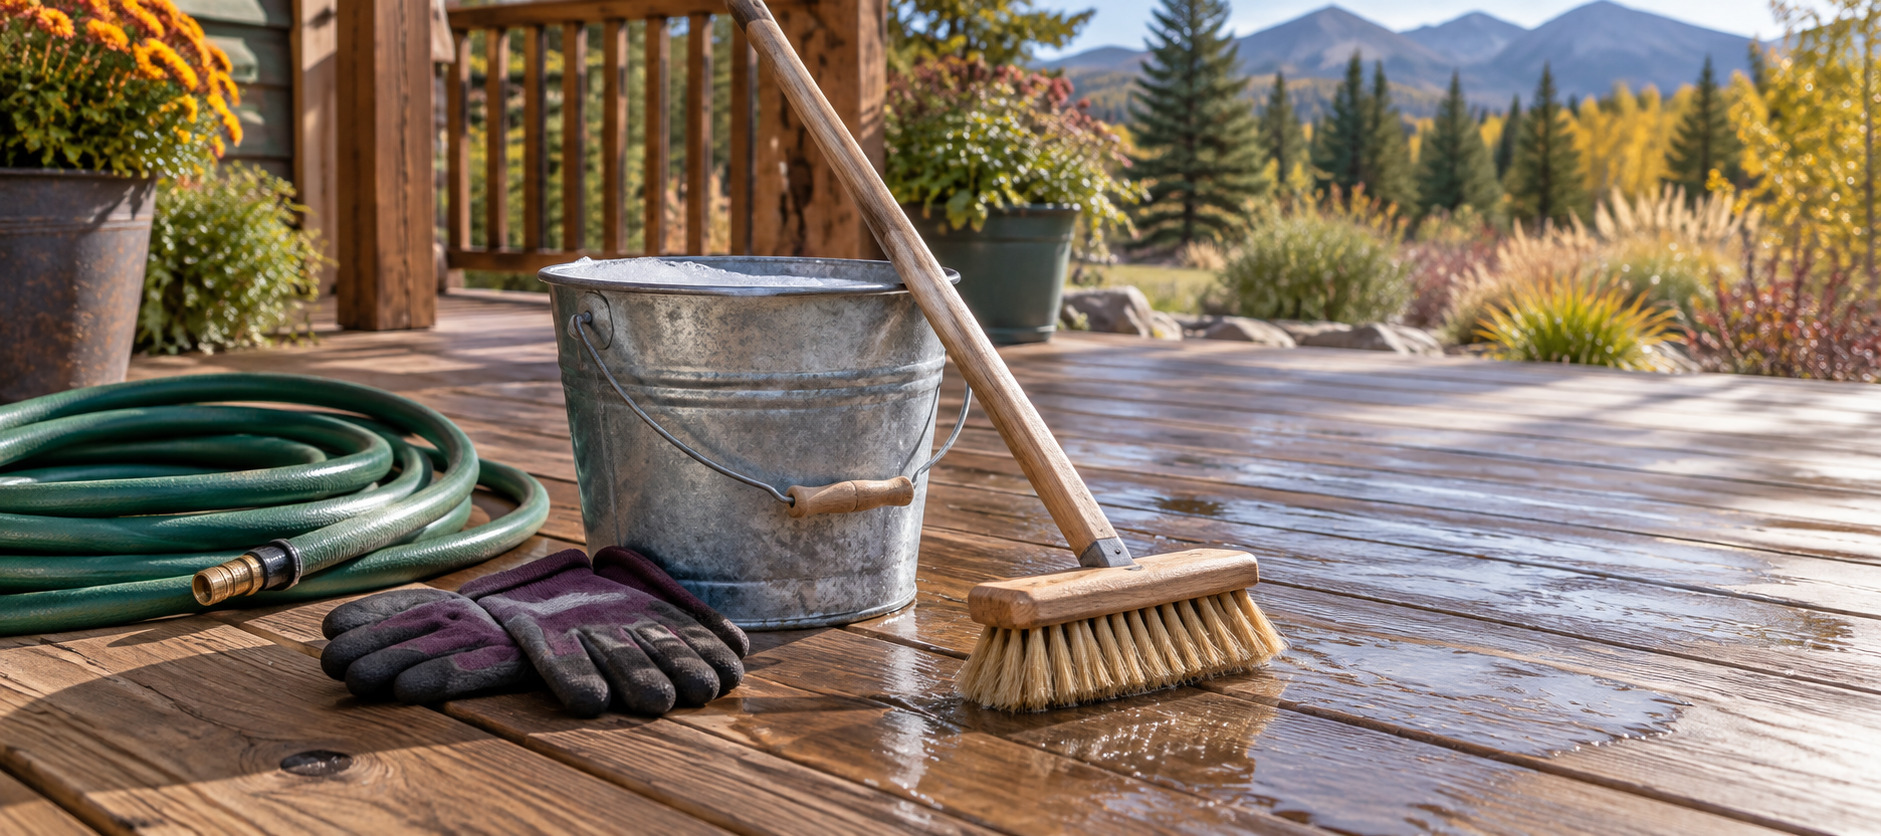
Natural cleaners can still harm the plants nearby, so I think about where the rinse water is going before I choose what goes into my bucket.
The other thing you need to know is what you're cleaning. Wood, composite decking, concrete, pavers, and natural stone don't necessarily tolerate the same cleaners. Before trying something new, check what's appropriate for your surface and test it somewhere inconspicuous first.
My Simple Starting Point
Shopping-link note: Some links in this post connect to our doTERRA Wellness Advocate shops. If you choose to purchase through one of these links, the partner whose link you use may earn compensation at no additional cost to you. We only share products that genuinely fit the recipe or project.
For routine cleaning, I start with warm water and a small amount of mild Castile soap or my fav doTERRA On Guard Cleaner Concentrate. Use a brush appropriate for the surface, work in manageable sections, and rinse thoroughly with the hose.
You don't need to scrub every square inch like you're trying to remove evidence from a crime scene. Concentrate on the dirty areas, places where things have been sitting, and corners where grime has collected.
On Guard Cleaner Concentrate is one of those products I like having under the kitchen sink because I can grab the same bottle for so many different jobs instead of owning seventeen different cleaners. A little goes a long way, and it's made with plant-based surfactants along with the On Guard essential oil blend of Wild Orange, Clove, Cinnamon, Eucalyptus, and Rosemary.
Those oils have a long history of use for cleansing and purifying, and several of their natural constituents have been studied for antimicrobial activity. I like having that essential-oil blend in the cleaner when I’m tackling damp, grimy areas, along with the plant-based surfactants that help lift the dirt. That combination is why I keep On Guard under my kitchen sink and reach for it for so many different jobs.
One important exception: doTERRA advises against using the concentrate directly on natural stone, so that's another place where knowing your surface matters.
What About Vinegar and Essential Oils?
You know vinegar has a permanent spot in my cleaning cupboard. Because it is acidic, I don't use it blindly on every porch, patio, or deck.
Certain natural stones and some finishes or sealers can be damaged by acids, so check what your surface can tolerate before using it. When I'm uncertain, I start with the gentler soap-and-water approach.
For surfaces where diluted vinegar is appropriate, this is one of my favorite outdoor washes:
Outdoor Vinegar Wash: Combine 3 cups water with 1 cup white vinegar, then add 5 drops Tea Tree essential oil and 5 drops Clove or Thyme essential oil. Mix it well, test a small area first, scrub where needed, and rinse thoroughly.
I especially like this combination in damp, shady areas where we tend to see mildew or that greenish buildup that shows up around outdoor spaces.
The oils work alongside a good scrub brush. Unfortunately, I haven't found an essential oil called Elbow Grease yet.
Mildew, Algae, and Those Green Shady Spots
If you live somewhere damp—or simply have a porch or patio that stays shaded—you may be dealing with more than ordinary dirt.
Mildew and algae tend to show up where moisture lingers and air circulation isn't great. Even in our much drier Colorado climate, protected and shaded spots can stay damp longer than you'd expect.
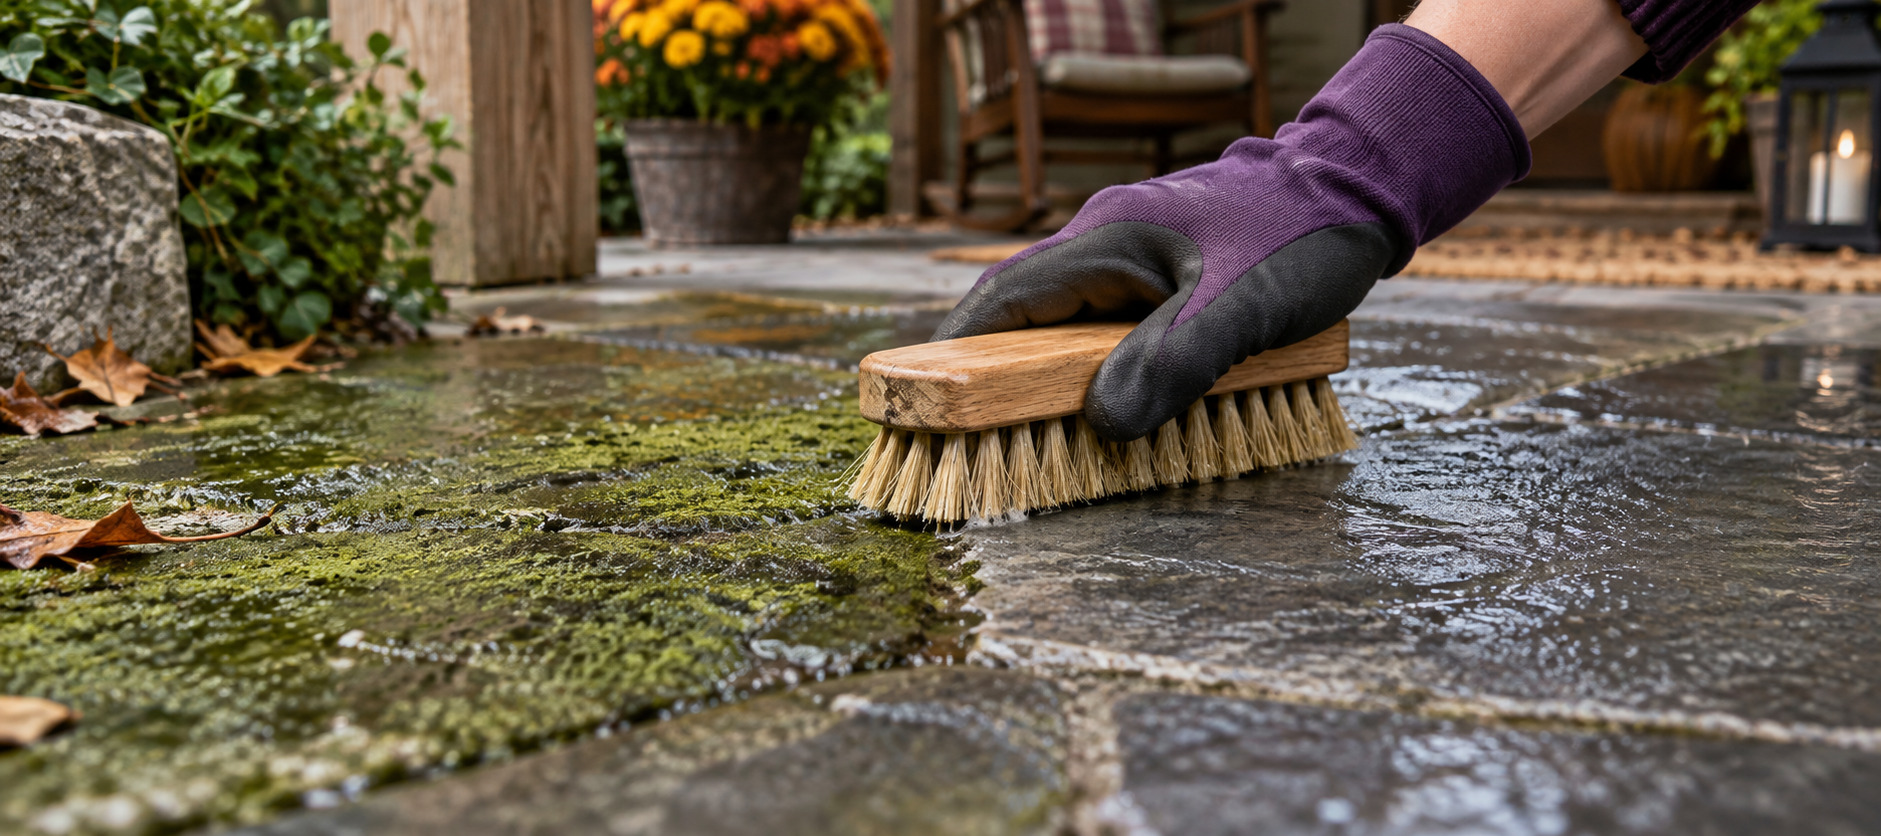
Start by scraping or brushing away the heavy buildup and removing the leaves, pollen, dirt, and other organic debris that has collected there.
Once the surface debris is gone, follow with the appropriate cleansing solution for your material.
Don't Forget the Railings, Steps, and Corners
It's easy to concentrate on the big flat surface and forget everything around it.
While you're out there, wipe or scrub the railings, posts, gates, steps, and the area around your door. Clean underneath railings where spiders and cobwebs tend to collect. If you can access underneath the deck and debris has piled up there, clear that away too.
Shake out or wash the doormat, wipe down the door and threshold, and clean the porch light while you're at it.
As for the cobwebs, apparently the spiders have already volunteered to handle the Halloween decorating. Unfortunately, their decorating style is a little too authentic for me, so most of it is coming down.
Do You Really Need the Pressure Washer?
Maybe, although it doesn't need to be the first thing you reach for.
A pressure washer can make quick work of certain outdoor cleaning jobs, but more pressure isn't necessarily better. Too much pressure, the wrong nozzle, or holding the wand too close can damage wood and some manufactured decking.
If you're going to use one, check the recommendations for your particular surface first.
Personally, if the hose and scrub brush get the job done, I'm perfectly happy to stop there. It's quieter, simpler, and there's considerably less chance of accidentally carving my initials into the deck.
Let It Get REALLY Dry
Once you've finished cleaning, give the surface enough time to dry thoroughly before putting rugs, planters, or furniture back down.
And if you're planning to apply a protective finish to wood, really let it dry. Surface-dry and ready-for-finish aren't necessarily the same thing. Follow the moisture and drying recommendations for the finish you've chosen rather than guessing.
A couple of sunny, breezy fall days can be wonderful allies here, assuming the product you're using allows for the temperatures you're expecting.
Once the wood is properly dry, we have one more decision to make.
Does Your Wood Deck Need Protection Before Winter?
If you have an actual wood deck or porch, fall can be a good time to look at the finish and decide whether it needs another protective coat before winter.
Water is hard on wood, and repeated cycles of getting wet, freezing, thawing, and drying aren't particularly kind either. A protective finish can help limit how readily the wood absorbs moisture.
Conventional deck stains and water-repellent finishes may be the most practical choice when long-lasting protection and strong UV resistance matter.
For anyone trying to reduce conventional chemical products around the home, pure tung oil or an exterior natural-oil product designed for decks and porches is another option for horizontal exterior wood.
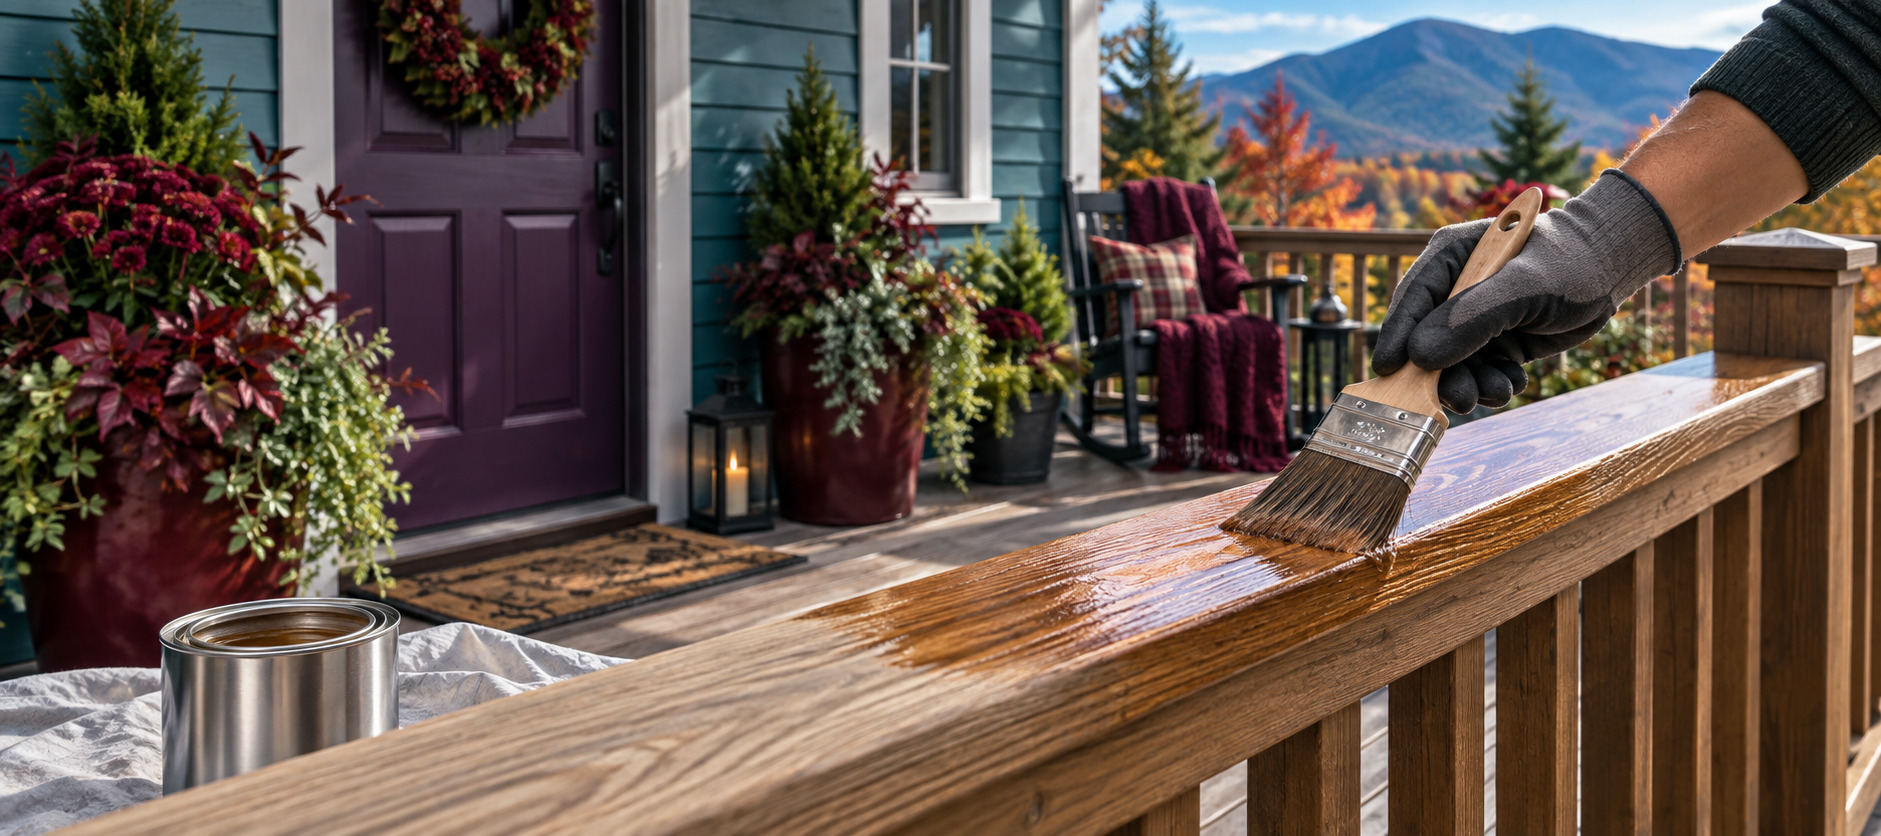
If you've been following this series, you've already heard me talk about natural oils in our outdoor wood furniture cleanup. The idea is similar here, but a deck has a much harder life than a chair or table. It's horizontal, gets walked on, sits under rain and snow, and spends a whole lot of time in the sun.
I like natural penetrating oils because they soak into the wood rather than simply creating a film over the surface, and a product with a simple ingredient list can be appealing when you're thinking about the places where kids play and animals walk.
Natural penetrating oils usually require more maintenance.
Pure tung oil generally doesn't provide the same UV protection as a good pigmented exterior deck finish, so choosing it means planning to refresh the surface more often.
For me, that's part of the decision: What am I comfortable using, how much protection does this particular deck need, and how often am I willing to maintain it?
And here's where our earlier weather check becomes especially important. Pure tung oil cures slowly. Depending on the product and application, you may need a much longer stretch of rain-free, above-freezing weather than you would expect. If winter is already breathing down your neck, wait until spring rather than risk a finish that never cures properly.
Also read the actual ingredient list. A can labeled "tung oil finish" isn't necessarily pure tung oil. Some products contain solvents, drying agents, resins, or other ingredients, so don't assume something is completely natural—or automatically a better choice around kids and animals—based on the name on the front of the can.
Whatever finish you choose, follow its directions for application, drying, and curing before allowing pets or people back onto the surface.
And one little safety note that's worth remembering: oil-soaked rags can generate heat as some drying oils cure and can catch fire if they're wadded up and tossed into a pile. Follow the manufacturer's directions for handling and disposing of them safely.
Natural doesn't mean we get to ignore chemistry.
Think About Snow Before the Snow Arrives
Once everything is clean, repaired, dry, and protected if necessary, stand there for a minute and imagine the area covered in six inches of snow.
Where are you going to shovel? Where will the snow go? Are the steps and railings secure? Is anything sticking up that could catch a shovel? Is there a planter, decoration, rug, or piece of furniture sitting exactly where you're going to wish it wasn't in January?
Move it now.
If you have composite or another manufactured decking material, it's also worth checking what the manufacturer recommends for snow and ice removal. A plastic shovel is often a safer choice than a metal edge that can scratch the surface.
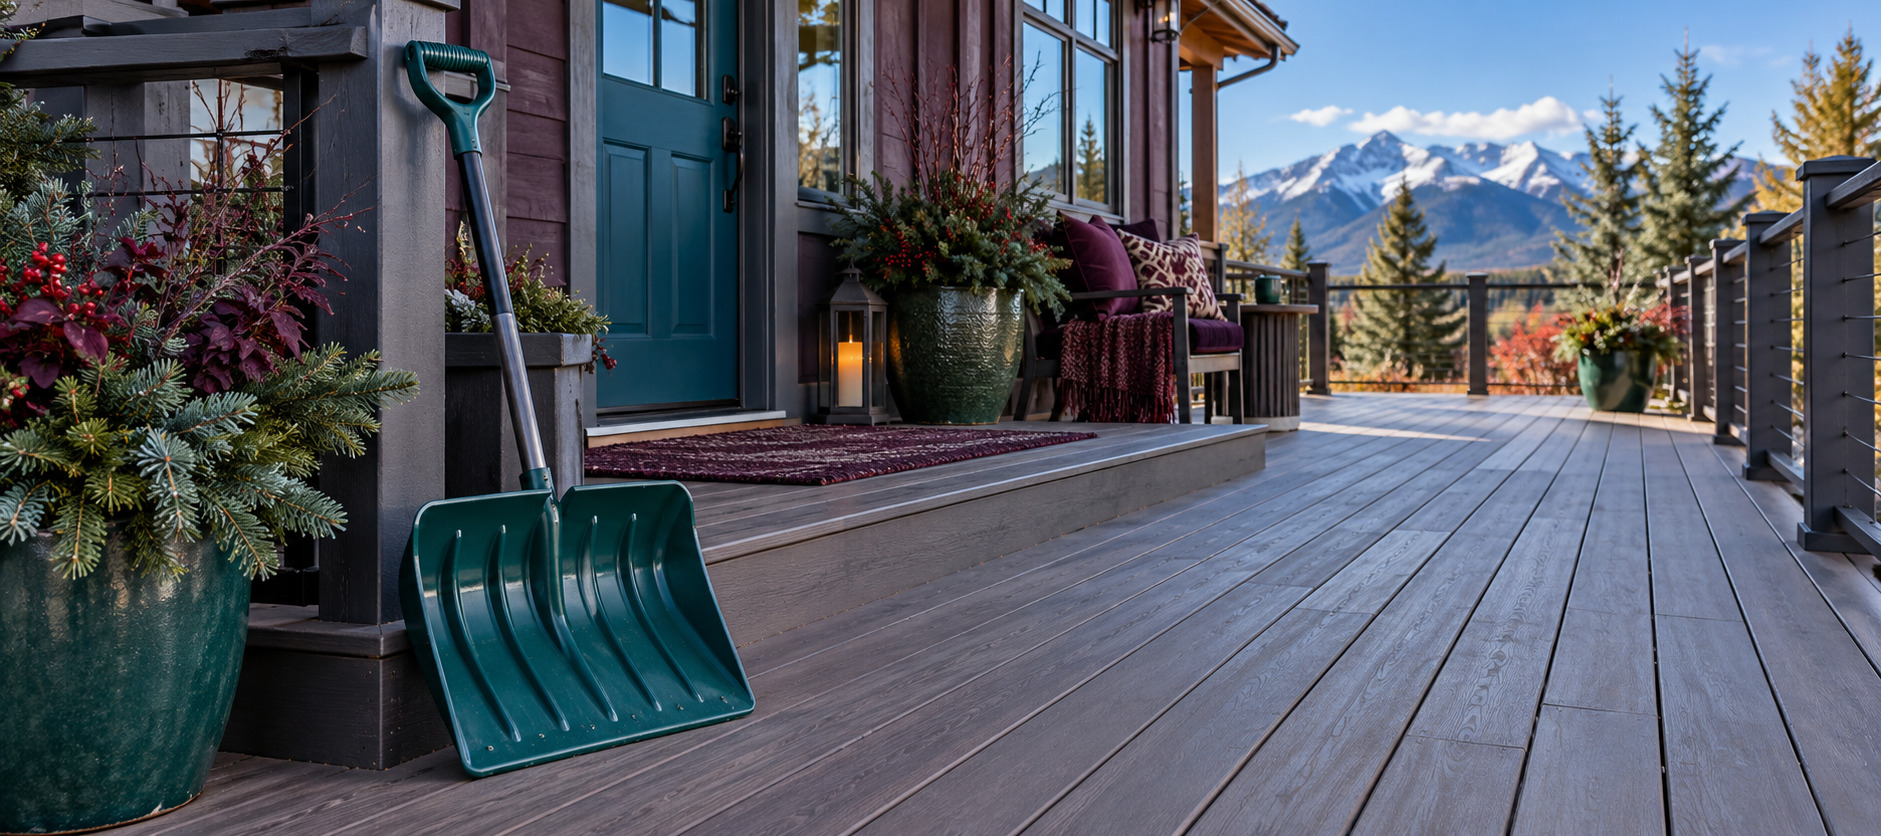
And if you've been ignoring a repair all summer, you know what to do. Looks like I'm officially out of excuses, too.
Making Spring a Little Easier
I don't expect our porches, patios, and decks to come through winter looking exactly the way they did when we finished cleaning them in September or October. Mother Nature isn't going to cooperate with that plan.
The payoff comes when spring finally arrives and I walk outside to find that the repairs were already made, the wood was protected, the summer clutter wasn't left buried under the snow, and I don't have six months' worth of soggy leaves packed into every corner.
Hopefully, next summer I'll finally be writing to you from underneath that new front deck cover we've been meaning to build.
Until then, I'll settle for a clean deck, a replaced board, a sturdy railing, and a smooth path for my snow shovel.
I'm working my way around our homestead right alongside you, trying to do a few things now that will make life a little easier when the seasons change.
Keep the whole plan handy with the free Fall Cleanup Checklist & Caddy Guide, or visit the Fall Cleanup Resource Hub to choose your next project.
A little at a time. One area at a time. Before the snow starts flying.
From my homestead to yours,
Sandy