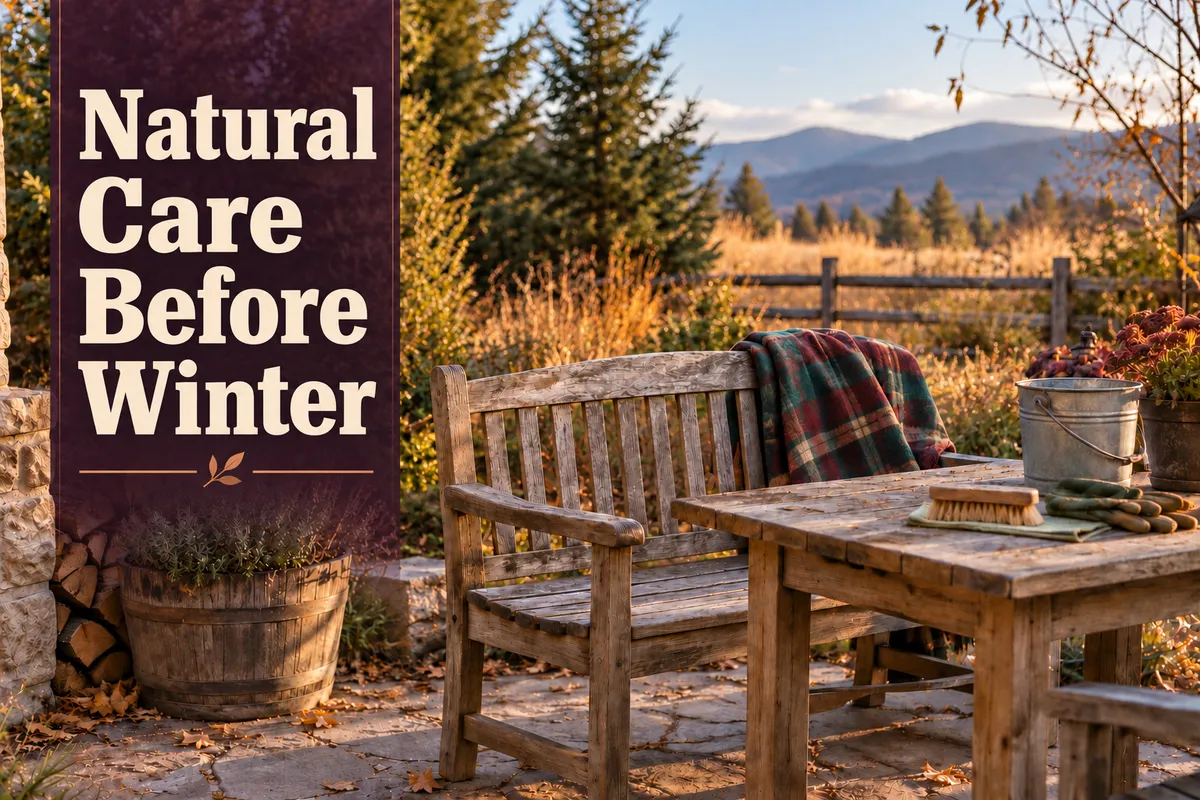
Natural Ways to Protect Outdoor Wood Furniture Before Winter
“Wood is universally beautiful to man. It is the most humanly intimate of all materials.”
— Frank Lloyd Wright
Most of the outdoor furniture around our place is pretty practical stuff. We live on a working homestead, so it gets used. People sit on it with dirty jeans, grandkids climb all over it, somebody inevitably sets something wet on it, the wind blows dirt across it, and every now and then an animal decides it needs a closer inspection. By the end of summer, our outdoor furniture usually looks like it has earned its keep. And that's okay with me.
I love old things, and I've refinished enough furniture over the years to know that wood doesn't have to look brand-new to be beautiful. I'd much rather give something a little attention and help it last another ten years than automatically replace it because it's showing its age.
Outdoor wood does need some help, though. Here on our Colorado homestead at about 6,000 feet, intense sunshine and dry air are probably harder on our outdoor wood than humidity is. Add wind, snow, and big temperature swings, and outdoor wood takes quite a beating.
I've also lived in other climates, so I know our dry Colorado weather isn't everybody's problem. In a damp climate, you may be battling mildew, algae, moss, and wood that seems like it never completely dries out.
Either way, fall is a good time to give outdoor wood a little attention before winter settles in.
If you've been following along with my Fall Cleanup Series, we already tackled general outdoor furniture and hard-surface cleaning in the first post. I'm not going to make you clean the same chair twice, but I will give you the basic wood-cleaning recipe again here in case this is the first article of mine you've landed on.
Then we'll go a step farther and talk about what I actually do to help our wood make it through winter naturally.
Start With Clean, Dry Wood
Before I repair, sand, oil, or store anything, I want it clean.
For ordinary summer dirt, dust, bird droppings, and general outdoor grime, I keep this pretty simple.
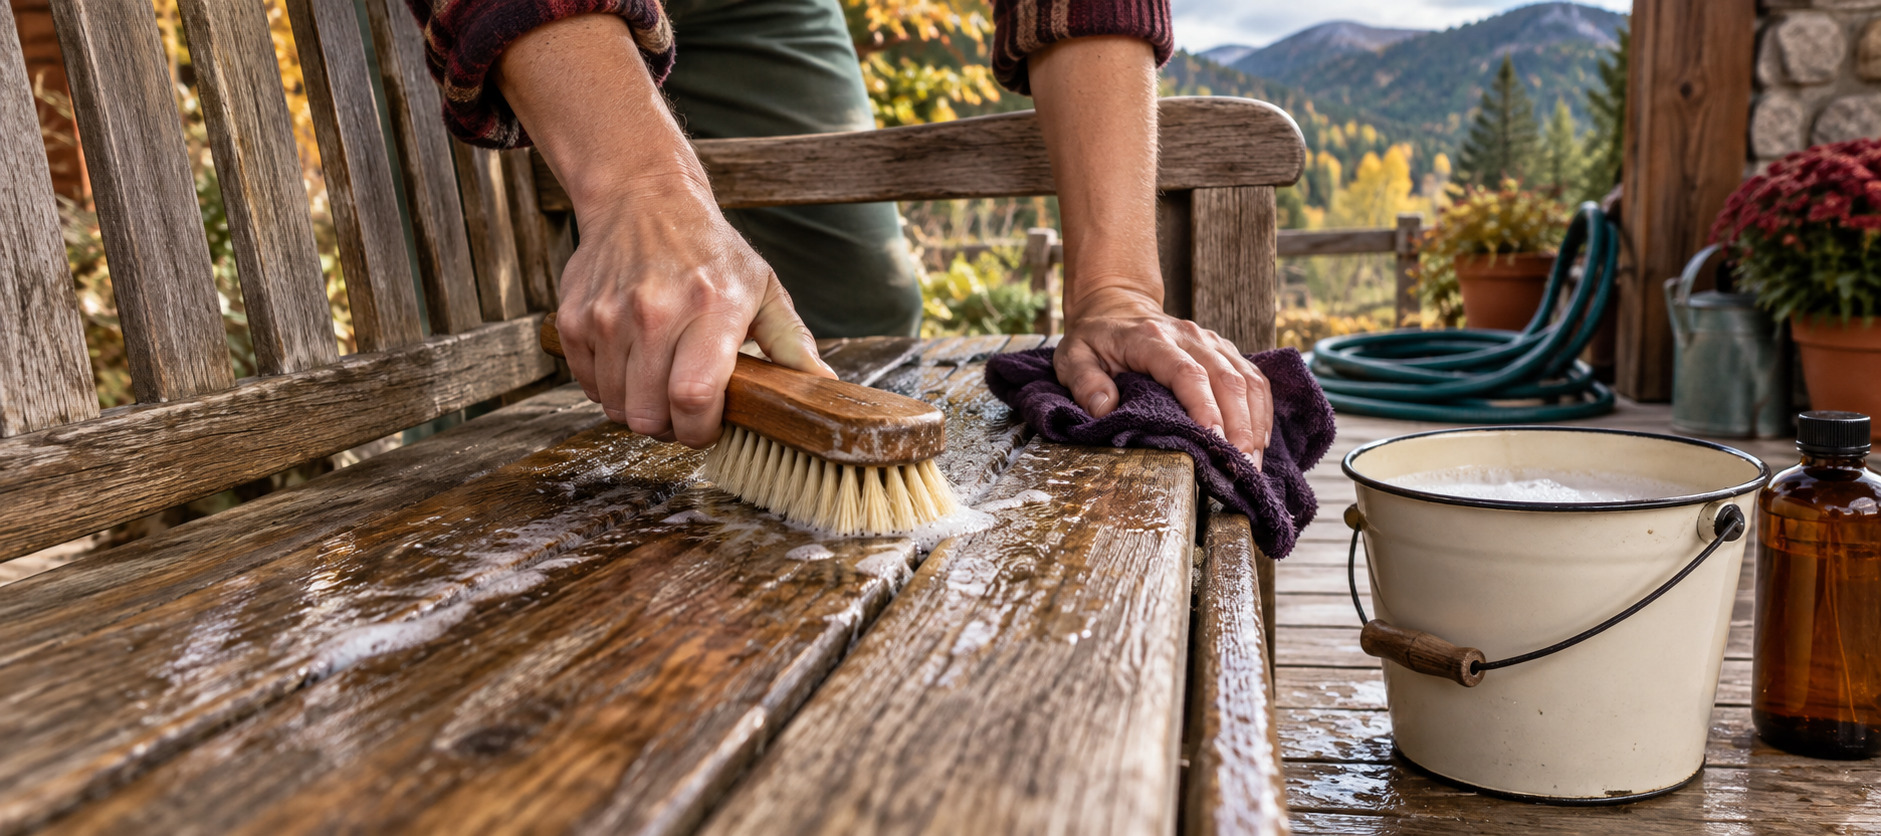
My Basic Outdoor Wood Wash
You'll need:
1 gallon warm water
1–2 tablespoons liquid Castile soap
A soft-bristled scrub brush or cleaning cloth
Garden hose or bucket of clean rinse water
Mix the Castile soap into the warm water. Working in manageable sections, lightly wet the wood and scrub with the grain. Rinse away the soap and loosened dirt without completely soaking the furniture.
Then let it dry. Really dry.
Don't wash your table Saturday afternoon, oil it Saturday evening, and congratulate yourself on being wildly productive. Give that moisture time to leave the wood first.
Depending on your weather and the thickness of the wood, that may mean waiting a day or several days before applying an oil or putting the furniture into winter storage.
What If Your Furniture Is Growing Something?
Now, if you live somewhere humid and your outdoor furniture is starting to look like it might grow its own moss garden, you've got another step before you put it away.
That green coating may be algae or moss, while black, gray, or blotchy areas can be mold or mildew. Whatever you're dealing with, don't simply oil or seal over it.
Start by brushing away loose moss, leaves, and debris outdoors. Then give the piece a thorough cleaning.
For mild surface growth on unfinished or previously tested outdoor wood, I like bringing essential oils into the cleaning routine.
Essential-Oil Wood Cleaning Wash
You'll need:
1 gallon warm water
1–2 tablespoons liquid Castile soap
10 drops doTERRA Tea Tree essential oil
10 drops doTERRA Thyme essential oil
A soft-bristled scrub brush
Mix everything together and give the water an occasional swish as you work so the oils stay distributed throughout the wash.
Scrub with the grain, paying particular attention to areas where growth has collected. Rinse well and then let the furniture dry completely, preferably somewhere with good sun and airflow.
If you're working on painted, stained, sealed, antique, or expensive furniture, test your cleaner in an inconspicuous spot first.
I chose Tea Tree and Thyme not only because herbs and plant oils have a long history of traditional use for dealing with mold and mildew, but because researchers at the USDA Forest Products Laboratory have tested essential oils against mold and wood-decay fungi, and thyme was one of the oils that showed particularly interesting antifungal activity on treated wood.
I love finding research like that because it gives us a reason for choosing a particular essential oil instead of throwing ten drops into a recipe just because it smells good.
For heavy, established mildew that normal cleaning does not remove, I may use an appropriate stronger treatment. Occasionally that means a diluted bleach solution or mildew cleaner, used outdoors with plenty of fresh air and according to the label. I would rather stop the growth and save a usable piece of furniture than allow it to rot. Wear the recommended protection and keep children and pets away while you work.
Whatever cleaner you use, let the wood become completely clean and dry before protecting it.
While It's Drying, Give It a Quick Checkup
A quick check while the wood dries can catch most of what needs attention.
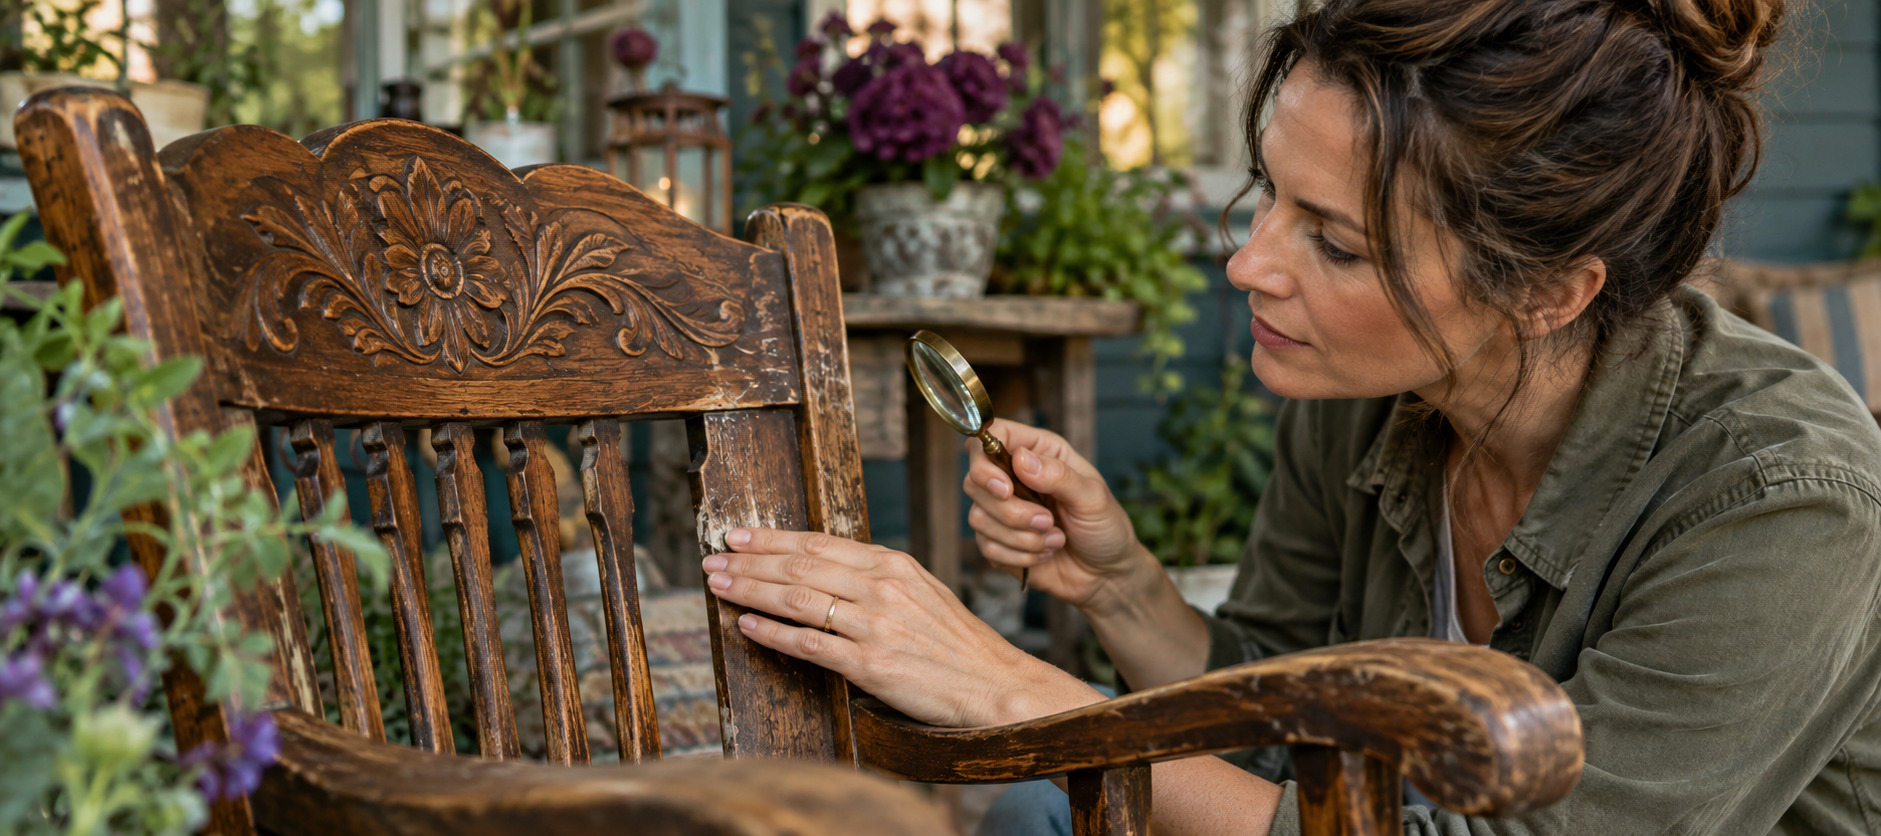
I sit in the chairs and see if anything wiggles. I check screws, bolts, joints, and hardware, and run my hand carefully along the wood looking for rough grain or splinters. I also look for cracks that seem to be getting larger and places where an old finish has worn away enough to expose bare wood.
If I find a rough spot or splinter, I'll sand that area with the grain until it's smooth.
A weathered look alone does not send me running for the sander. Wood can turn gray as it ages outdoors without being damaged, particularly woods such as teak and cedar.
So take a look before creating an unnecessary refinishing project for yourself.
We've got enough fall chores already.
If the Wood Looks Dry and Thirsty, Here's What I Do
For the ordinary, utilitarian outdoor wood around our place, I want to nourish the dry wood, give it some protection, and help it last. A museum-quality finish would be wasted on furniture that lives this kind of life.
If I have bare wood or a piece that's already been maintained with a drying oil, a traditional natural oil is absolutely an option I'll consider. And read on, because I'll show you the two essential oils I like adding to mine and why I chose them.
Simple Linseed-Oil Treatment for Outdoor Wood
Start with wood that is clean and completely dry.
If there are rough areas, lightly sand those spots with the grain and remove all the sanding dust.
Then:
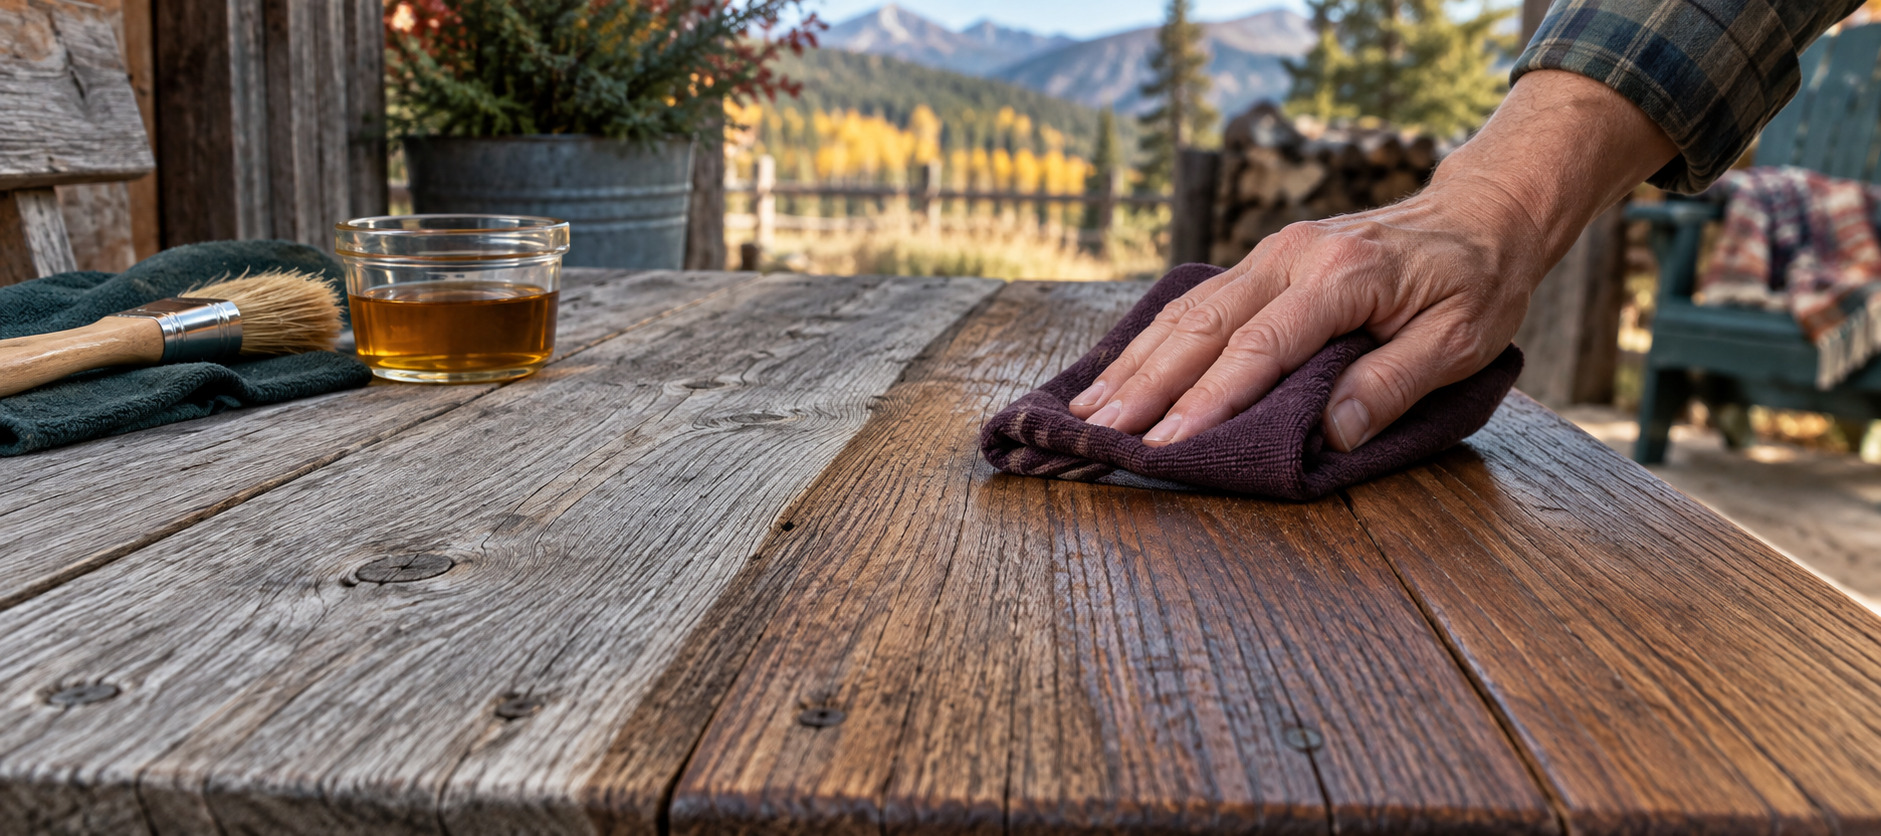
Apply a thin coat of your chosen linseed/flax wood oil with a lint-free cloth or brush, following the grain.
Give the oil time to penetrate according to the directions on your particular product.
Wipe away all the excess that hasn't soaked into the wood. More isn't better here. Thick puddles of oil can become sticky instead of giving you a nice cured finish.
Allow the coat to cure according to the manufacturer's directions.
If the wood still looks thirsty and the product allows additional coats, apply another thin coat and let that one cure as well.
Don't cover or store the furniture until the finish has cured.
One thing worth knowing when you're shopping: raw linseed oil and boiled linseed oil aren't the same thing.
Raw linseed oil is the very simple traditional product, but it cures extremely slowly. Many products sold today as “boiled linseed oil” aren't simply linseed oil somebody boiled on the stove; they may contain added metallic drying agents or solvents to speed curing.
If keeping the ingredients simple is important to you, read the back of the container rather than trusting the big words on the front. Pure or polymerized linseed/flax oils intended for wood are available and can be a good option. The manufacturer's instructions will tell you how that particular product should be applied.
A natural oil finish will usually need periodic refreshing outdoors, and I'm okay with that. Here in our dry Colorado climate, I watch for the wood starting to look faded, rough, or thirsty again.
If you live somewhere very damp, you'll want to watch more closely for mildew because natural drying oils don't provide the same mildew resistance as some modern exterior finishes.
That's a trade-off I'm willing to consider for everyday pieces where keeping the finish simple matters to me.
Pure Tung Oil Is Another Natural Option
Pure tung oil is another traditional plant-based drying oil that's worth considering for bare outdoor wood.
It penetrates rather than creating the thick plastic-like surface we associate with some conventional finishes, and after proper curing, it produces a water-resistant finish.
Pure tung oil generally requires multiple thin coats and patience. Depending on the product, early coats may be thinned to encourage penetration, followed by additional coats and fairly substantial curing time.
This is one place where I would follow the instructions on the oil you've chosen rather than give you one universal recipe, because products and application systems vary.
Check the label carefully. A product called “tung oil finish” may contain other oils, varnishes, solvents, or drying agents. That blend may work well, but it may not be the simple product you expected.
If I were starting with bare wood and wanted a traditional natural finish, I'd happily consider pure tung oil alongside a simple linseed/flax oil and choose based on the piece, how much weather it gets, and how often I'm willing to maintain it.
Can We Add Essential Oils to the Wood Treatment?
Now we're speaking my language.
Cedar and cedar-family oils have been associated with wood storage and pest deterrence for generations, and there is some fascinating modern research behind that traditional use.
USDA Forest Service researchers have studied cedarwood oil against subterranean termites and wood-decay fungi and found biological activity in experimentally treated wood. Other research has found antifungal activity from Thuja plicata—Western red cedar, or Arborvitae—and other essential oils.
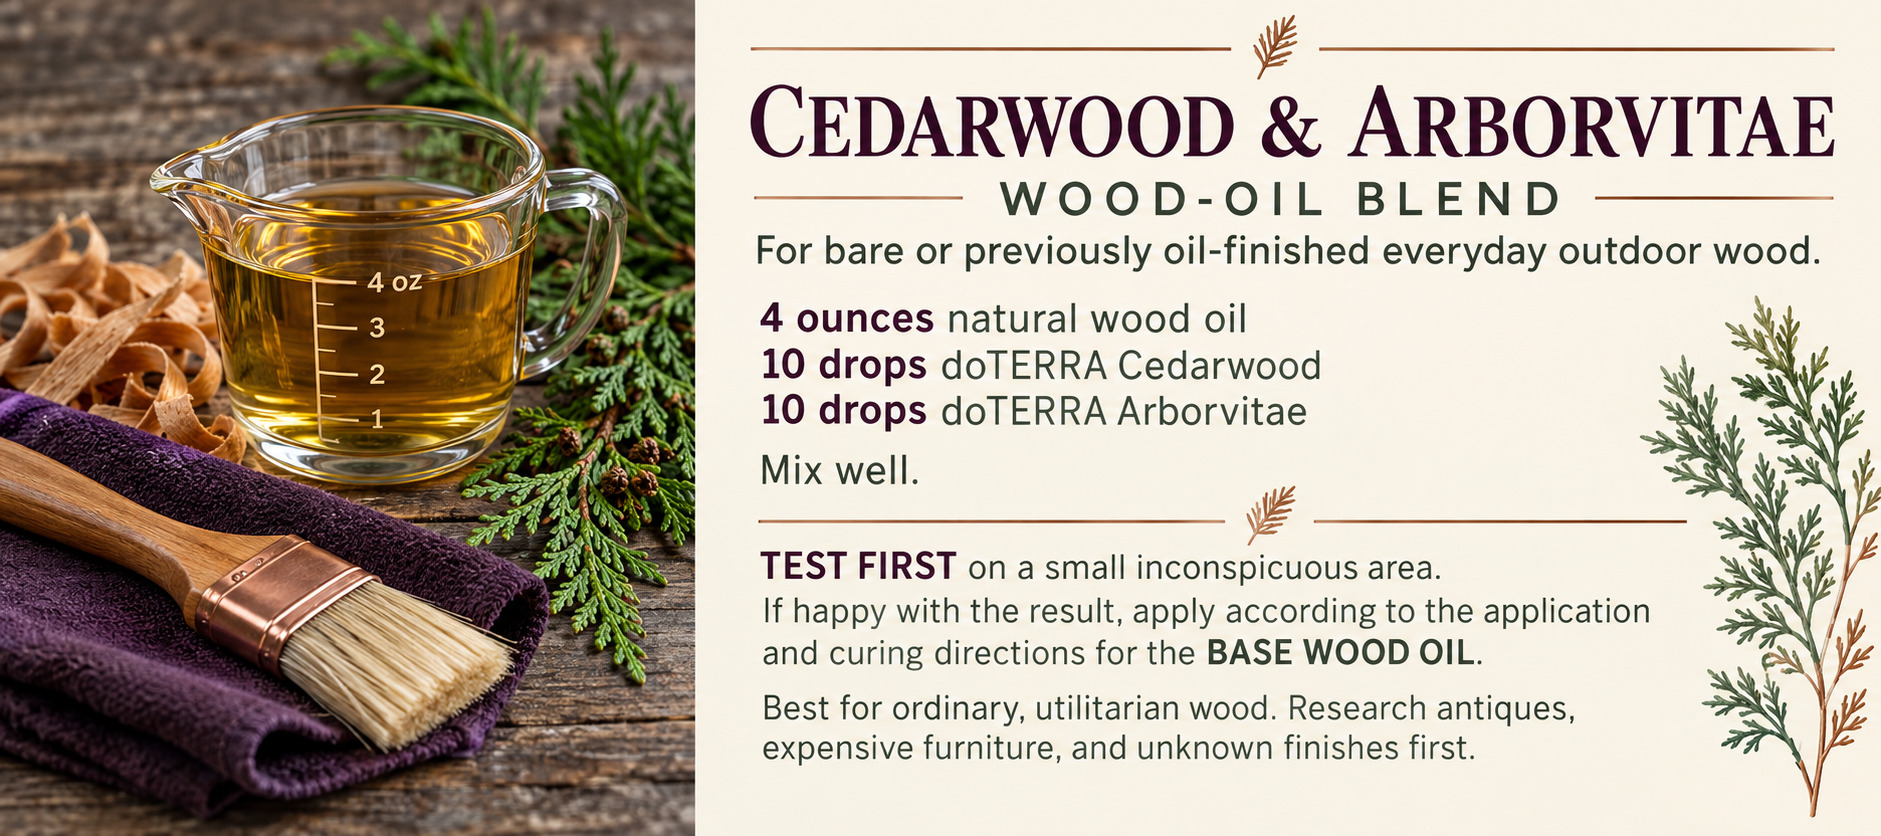
So for the everyday ranch furniture I'm already treating with a natural oil, Cedarwood and Arborvitae are the two essential oils I reach for.
My Cedarwood & Arborvitae Wood-Oil Test Batch
For bare or previously oil-finished utilitarian wood:
4 ounces of your chosen natural wood oil
10 drops doTERRA Cedarwood essential oil
10 drops doTERRA Arborvitae essential oil
Mix the oils together and test the blend on a small, inconspicuous area first. Give it time to penetrate and cure so you can see whether it changes the color or appearance in a way you don't like.
If you're happy with your test area, use the mixture following the application and curing directions for your base wood oil.
I add those 20 drops for more than the scent. Research into cedar-family compounds, along with generations of using cedar around wood and stored belongings, gives me good reason to include them in the everyday wood oil I use around our place.
If you've got Great-Grandma's rocking chair, a very expensive teak dining set, or something with a finish you don't recognize, perhaps do a little research before slathering a drying oil—or anything else—all over it.
Here on the ranch, though, most of our outdoor furniture is more utilitarian than showpiece. An old bench, picnic table, planter, or ordinary unfinished piece is exactly where I'm comfortable trying something like this.
One Really Important Thing About Those Oily Rags
If you've ever been around hay, you know how important it is that it gets put up dry. Hay that's baled or stacked with too much moisture can begin decomposing and generating heat, and under the right conditions, spontaneous combustion is a very real thing.
Rags soaked with linseed oil, tung oil, and other drying oils present a similar kind of danger. As the oil oxidizes and cures, it produces heat. If those rags are wadded up or piled together, that heat can become trapped and build until they ignite.
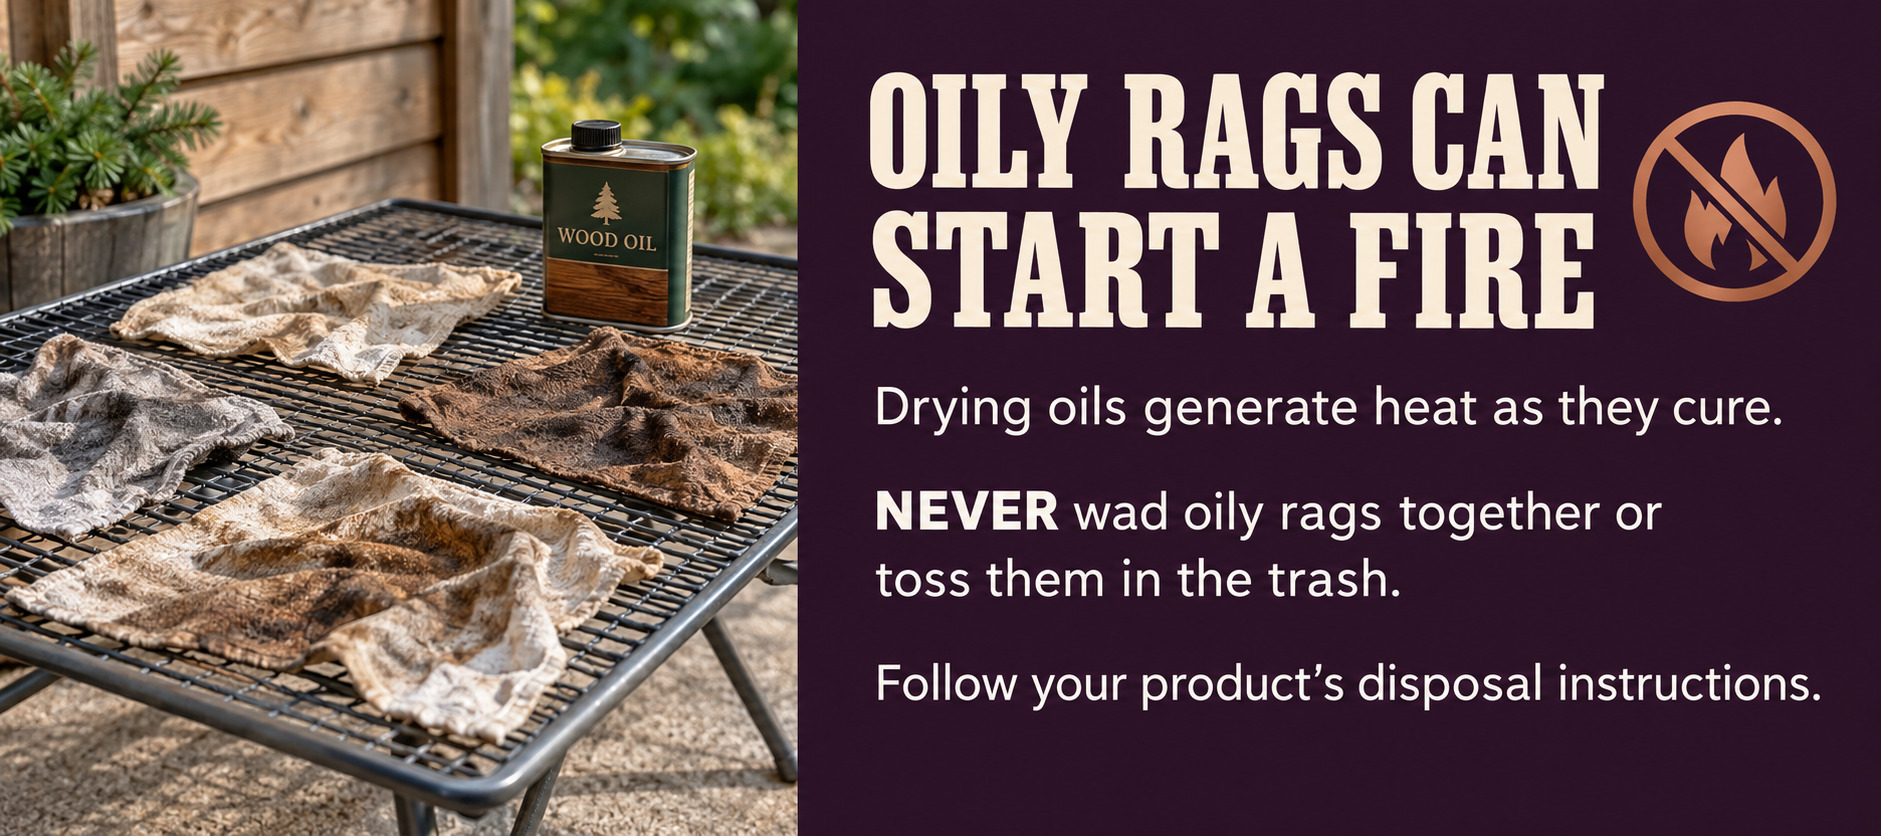
A pile of oil-soaked rags can become hot enough to start a serious fire that threatens property—or worse, someone's life.
So please follow the disposal directions on the oil you're using. Don't wad oily rags together and toss them into the trash. Keep them away from combustible materials and handle, cure, store, or dispose of them exactly as the manufacturer recommends.
It's a simple precaution, but this is one of those times when knowing why the rule exists makes it a whole lot easier to remember.
What If I Want More Protection Than a Natural Oil Gives Me?
My first choice around our home is usually the simplest, least-toxic option that will actually do the job. But if you have an expensive outdoor set, a sentimental piece, or furniture that gets hammered by the weather, you may decide that a modern exterior paint, stain, varnish, or water-resistant sealer gives it the protection you want. Taking care of what we already own matters too.
If you go that route, turn the can around and read the label.
Some conventional paints, stains, varnishes, and sealers contain solvents and volatile organic compounds, or VOCs, that can be released during application and as the finish dries and cures. Lower-VOC and water-based options are also available, so that's something I would compare.
Outdoor furniture gives us one advantage here: we're not applying and curing the product in the middle of the house where vapors can accumulate indoors. I'd still work in plenty of fresh air, follow the manufacturer's safety directions, and allow the finish to cure completely.
I'd be particularly thoughtful about anything a teething baby, puppy, or other determined little creature might decide to chew on.
I start natural when it makes sense, use something stronger when there is a good reason, and make sure I understand what I am using either way.
Give Your Furniture the Best Winter Home You've Got
Once everything is clean, dry, repaired, and treated if necessary, the next layer of protection doesn't require a recipe at all. Give it shelter.
If I can move something under shelter or into the shed for winter, I do. Even moving a bench beneath a covered porch instead of leaving it directly exposed to snow, winter sun, and melting ice can make a difference.
If your furniture needs to stay outside, keep its feet out of standing water, wet leaves, and areas where snowmelt repeatedly collects.
If you cover it, make sure the furniture is completely dry first and allow some airflow underneath. Wrapping damp wood tightly in plastic can trap exactly the moisture we're trying to protect it from.
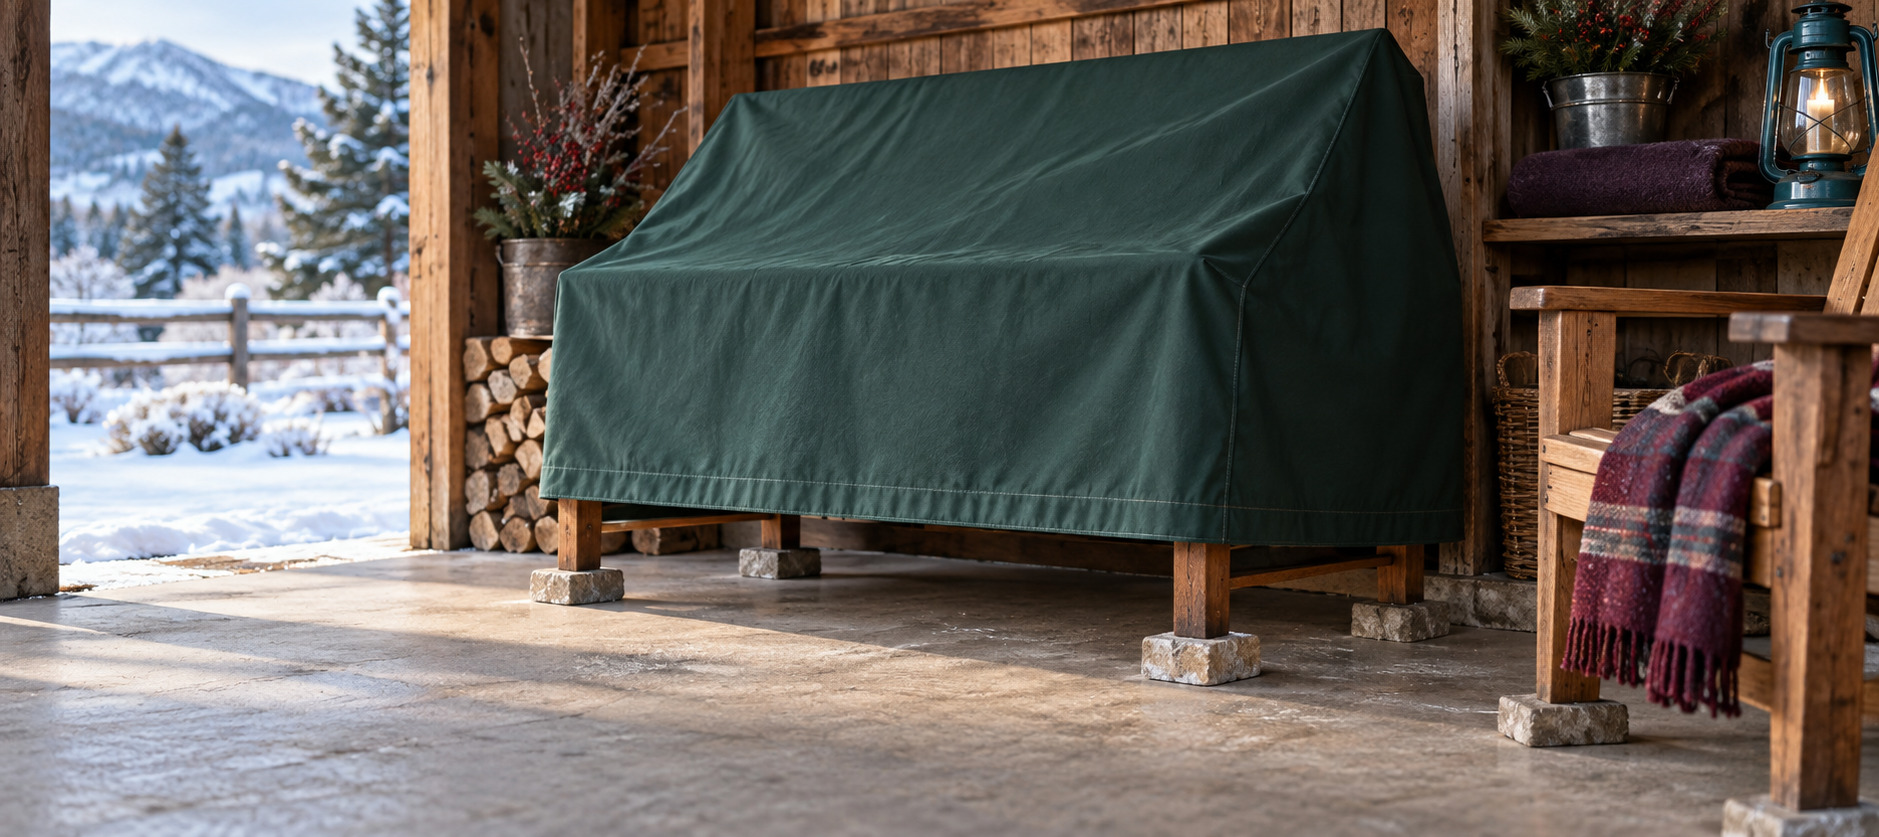
This is especially important in humid climates. If you've just spent an afternoon evicting moss and mildew, don't give them a lovely dark, damp place to move right back in.
Before I put anything into winter storage, I also clean away leaves, grass, food crumbs, cobwebs, old nesting material, and anything else that might make the area particularly appealing to pests.
Living on a homestead has cured me of the fantasy that mice will respect property lines.
Essential Oils in the Storage Area
This is another place Cedarwood and Arborvitae fit naturally into my routine.
Rather than putting more product directly on finished furniture, I can add a few drops of Cedarwood or Arborvitae to unfinished cedar blocks and place them around the storage area. When I can no longer smell them, I can refresh the blocks.
I also use essential oils as one layer of our natural pest-deterrence routine. Depending on what we're trying to discourage and where we're using it, oils such as Peppermint may be useful around storage areas.
Essential oils work alongside the practical parts of pest prevention here. I remove food sources, nesting material, and obvious entry points, then use the oils as another tool around the storage area.
That is how they have become part of everyday life around our home—woven into cleaning, storing, gardening, caring for animals, and putting the homestead to bed for winter.
So, What Would I Actually Do This Weekend?
If you've landed here because you're standing in front of a weathered wooden table wondering what on earth to do with it before winter, here's my simple plan.
Give it a good cleaning and deal with any algae, moss, or mildew you find. Let the wood dry completely. Tighten anything that's loose, smooth the rough spots, and take care of any little repairs that winter is likely to make worse.
If the bare or previously oil-finished wood looks dry, give it a fresh treatment with the natural drying oil you've chosen. If you'd like to experiment with Cedarwood and Arborvitae on an ordinary piece, make a small test batch and try it somewhere inconspicuous first.
Then give the furniture as much shelter as you reasonably can, keep its feet out of moisture, and make sure there's airflow around anything you cover.
That is enough for one weekend. A little care now gives the furniture we already own a better chance of serving us for many more seasons.
Spring You Is Going to Be Pretty Happy About This
There is something awfully satisfying about pulling outdoor furniture back out in the spring and discovering that Fall You left it clean, protected, and ready to go.
To me, that is what this whole Fall Cleanup Series is about: taking care of the things we already have, one manageable job at a time.
If you're working your way around the yard with me this fall, don't forget to grab my free Fall Cleanup Checklist & Caddy Guide. I've put the outdoor jobs we're tackling throughout this series into one place so you can grab your supplies, pick an area, and get something checked off without trying to remember everything at once.
And come spring, that clean bench or those protected chairs can go right back into place without becoming another repair project.
I'll be right here working my way around the homestead too, giving the old furniture some attention and checking these fall chores off right alongside you. We don't have to tackle the whole yard in one weekend.
If you are also cleaning the deck or porch, continue with How to Clean and Prep Porches, Patios, and Decks for Winter.
A little at a time. One area at a time. Before the snow starts flying.
From my homestead to yours,
Sandy