
How to Clean and Store Outdoor Cushions, Fabrics & Textiles Before Winter
“By all these lovely tokens September days are here,
with summer’s best of weather and autumn’s best of cheer.”
— Helen Hunt Jackson
There comes a point every fall when I look around outside and realize cleaning the tables and chairs was actually the easy part.
Because then I notice the cushions, the pillows, the patio umbrella, the hammock, and whatever other fabric-covered thing I apparently thought we needed when spring rolled around.
Suddenly, “putting the patio away for winter” has turned into a project of its own.
If you’re working through fall cleanup with me, this is where I want to remind you of the rule we started with:
A little at a time. One area at a time. Before the snow starts flying.
And if you’re looking at the whole pile thinking, “Sandy, there is no way I’m getting all of this done today,” good. Because I’m not asking you to.
Pick a few cushions, put on some music, and grab your cleaning caddy. We’re getting a few things checked off today, sister.
The goal is pretty simple: get our outdoor fabrics clean, completely dry, and stored well enough that we’re happy to see them again next spring.
Because opening a storage bin to discover musty cushions, mildew spots, mouse evidence, or a whole family of spiders is not exactly the cheerful beginning to patio season I have in mind.
First Things First: What Actually Needs Your Attention?
Before you start filling buckets, let’s figure out what really needs cleaning.
Some of these things may need a good scrubbing, but others might only need a shake, a quick once-over, and a dry place to spend the winter.
I’m all for claiming the easy wins when we find them.
If a cushion is clean, odor-free, stain-free, and completely dry, brush or vacuum it off and call that one done.
Well, look at you. One practically checked itself off the list.
Food spills, bird droppings, muddy paw prints, greasy spots, stains, and the general grime of summer deserve a little more attention before they get tucked away.
And anything with a musty smell, suspicious spots, torn seams, deteriorating foam, broken zippers, or rodent damage needs a closer look.
But before we clean any of it, there’s another question worth asking.
Do You Even Want to Store It?
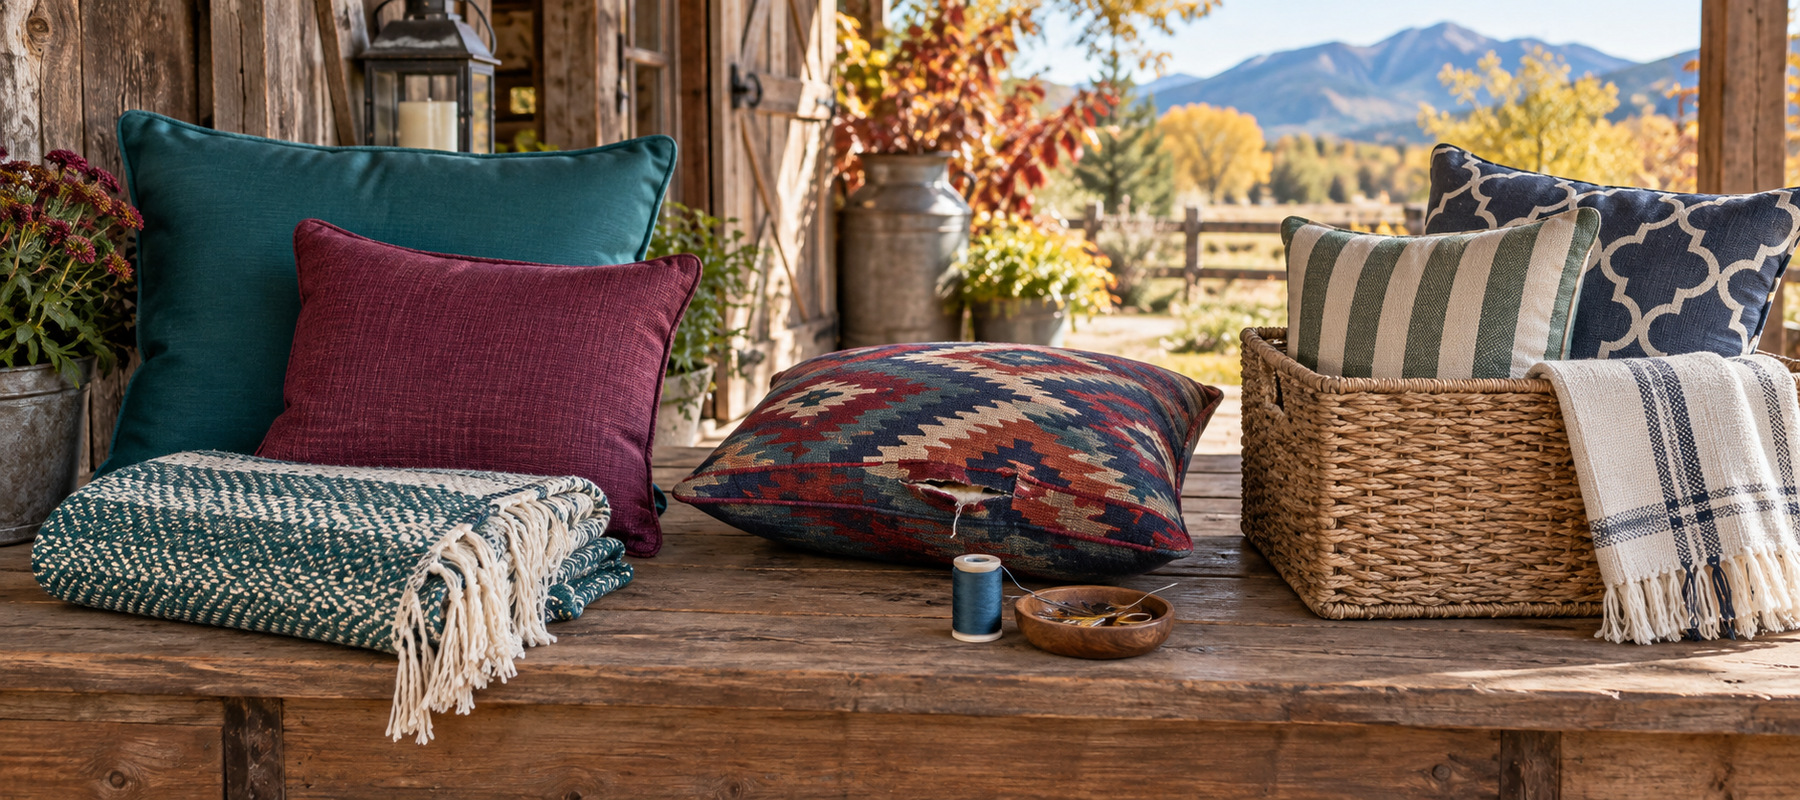
I have a terrible time throwing away something that could be fixed.
There’s always that little voice saying, “I could sew that seam,” or “I could recover that next spring.”
And sometimes I really do.
Other times I store the darn thing all winter, pull it out again in spring and think, “Oh yeah. I was going to fix that.”
So here’s your permission slip, and I’m writing one for myself while I’m at it.
If a cushion or pillow is worn out, badly damaged, uncomfortable, or something you realistically know you aren’t going to repair—and your budget allows you to replace it next year—you don’t have to give it six more months of valuable storage space just because it technically could be saved.
The same goes for things you don’t even like anymore.
If you already know you’re changing the colors on the porch next spring, why clean those old pillows, dry them, find somewhere to store them, haul them back out in April, and then admit you still don’t like them?
If they’re in good condition, give them to somebody who will enjoy them. If they’re truly worn out, let them go. Storage space has value too.
I’d much rather open my storage area next spring and find things I’m excited to use than a pile of projects I spent all winter successfully avoiding.
There. Permission granted for both of us. 😉
And Sometimes the Correct Answer Is: WAIT
If a cushion is damp—or you don’t have enough good weather ahead to get it completely dry—don’t wash it yet and definitely don’t store it yet.
Sometimes procrastination really is the responsible choice. See? I knew we’d eventually find a household chore where putting it off was the correct answer.
Check the Tag Before You Start
Outdoor fabrics can be surprisingly different.
Removable cushion covers may be able to go into the washing machine, while others need to stay right where they are and be cleaned by hand. Performance fabrics also vary—one may tolerate a cleaning solution that could fade or damage another material.
So before trying any recipe—including mine—look for the manufacturer’s care instructions.
If you can’t find them, start gently and test your cleaner in a small, inconspicuous area first.
That’s especially important before using vinegar, peroxide, bleach, or essential oils. Natural doesn’t automatically mean appropriate for every material.
Start Dry Before You Start Wet
Before adding water, get rid of as much dry debris as you can.
Shake things out. Brush them. Vacuum the seams and piping. Peek underneath the cushions and around the zippers.
It’s amazing what works its way into outdoor furniture over a summer.
Around our homestead, we’re not just talking about a little dust. There are windblown leaves, animal hair, grass, bugs, the occasional feather, and probably several things I’m better off not identifying.
If something scurries away when I pick up the cushion, I’m just going to assume it had somewhere important to be.
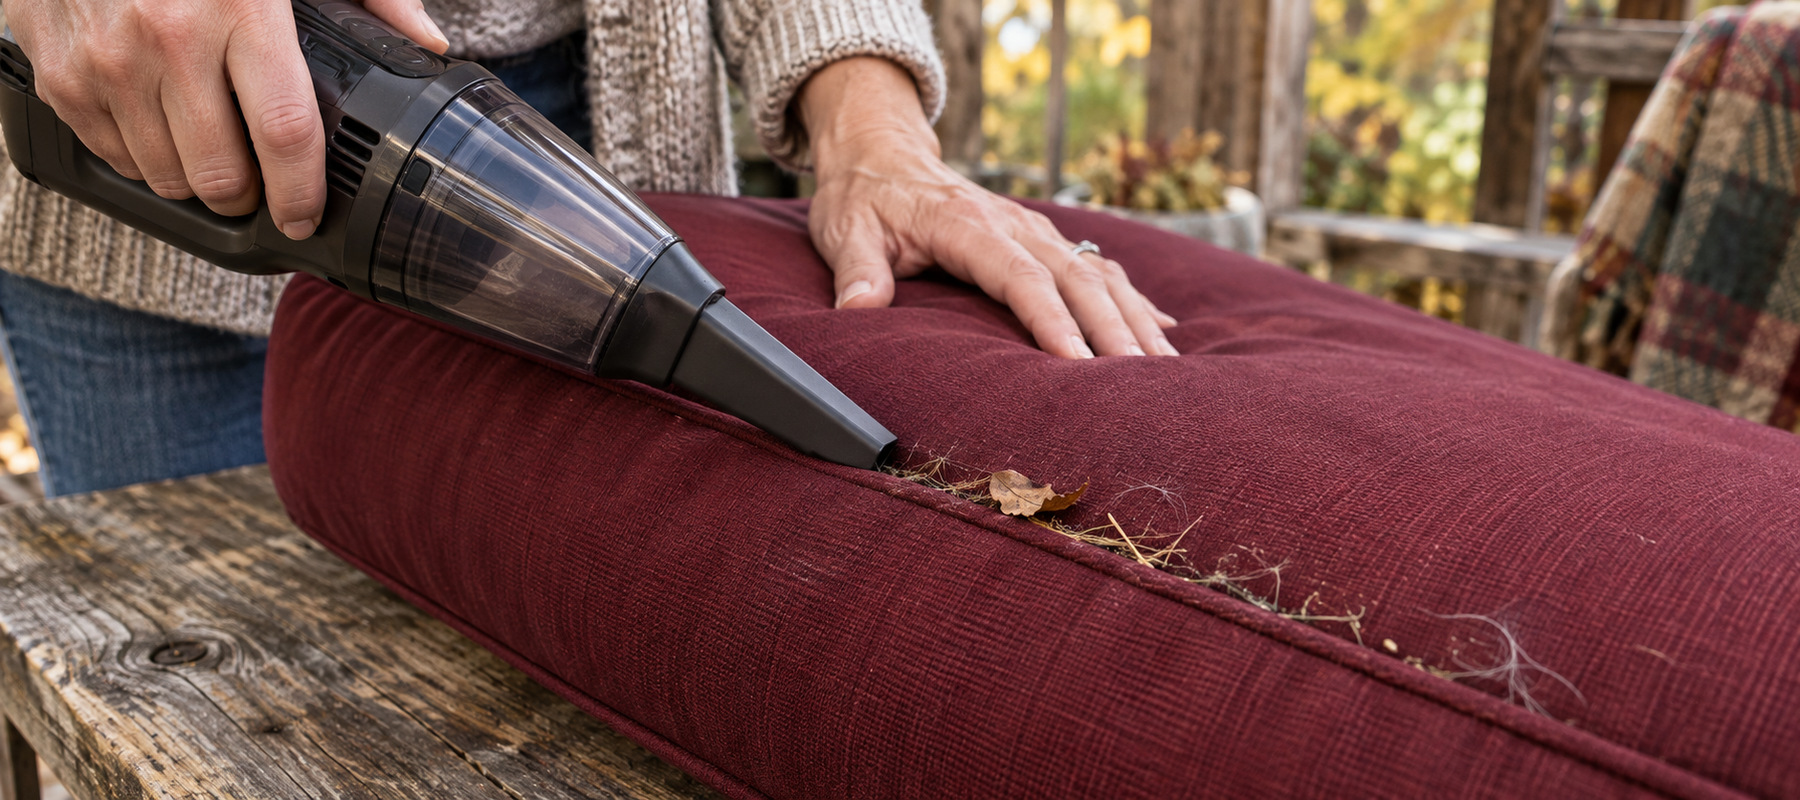
Removing all that dry stuff first makes the actual washing much easier. Dirt and organic debris also give mildew and mold something to grow on, so we certainly don’t need to pack any of that away for winter.
My Simple Everyday Outdoor Cushion Wash
For cushions that just need a good end-of-season cleaning, I keep things pretty simple.
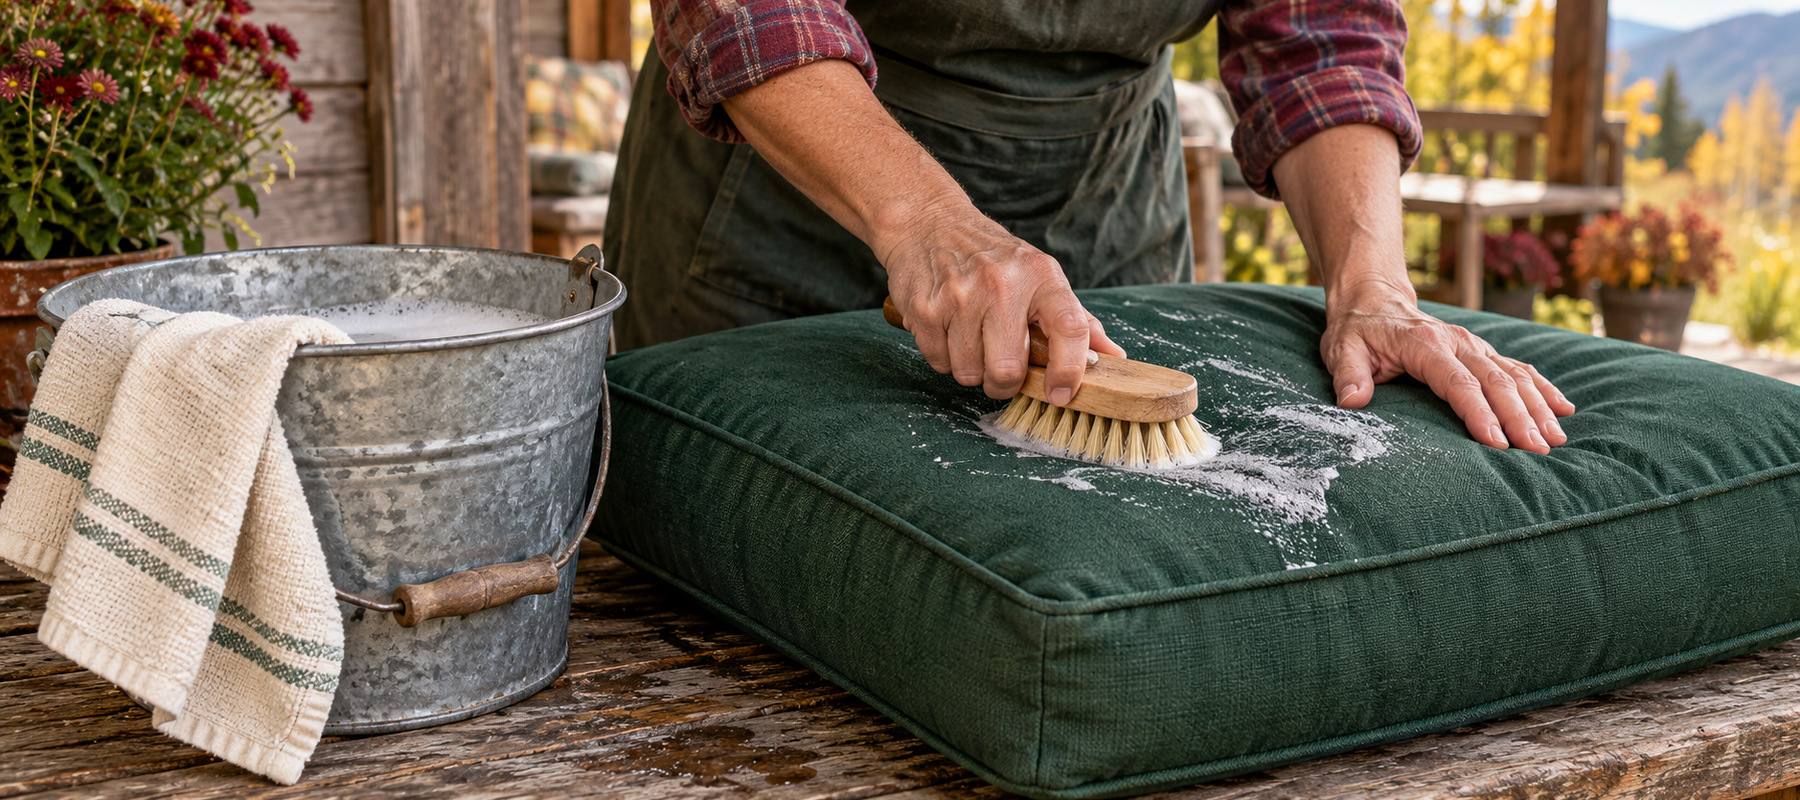
Gentle Outdoor Cushion Wash
You’ll need:
1 gallon lukewarm water
1/4 cup mild liquid soap
Soft-bristled brush, sponge, or microfiber cloth
Mix the soap and Tea Tree into the water.
Brush or wipe the solution over the fabric, paying a little extra attention to seams, piping, and anywhere summer grime likes to collect.
Give the cleaner a little time to work without allowing the soapy mixture to dry on the fabric, then rinse thoroughly with clean water.
And then comes the part I’m going to sound like a broken record about:
Let it dry completely.
Why Tea Tree?
Tea Tree is one of those oils that earns its spot in my cleaning caddy.
It has a long history of use in natural household cleaning, particularly where dampness, mustiness, and mildew tend to be a problem. Modern laboratory research has also found antifungal activity from Tea Tree and some of its major constituents.
I use Tea Tree as part of the whole cleaning process, along with washing, rinsing, and correcting whatever moisture problem allowed the mildew to grow. This is exactly the kind of job where I like having it around.
When a Cushion Smells Musty
A cushion that smells stale after a summer outside doesn’t necessarily need the strongest cleaner you can find.
Start with the basics. Brush or vacuum it thoroughly, wash it according to its care instructions, rinse it well, and give it plenty of fresh air and drying time.
Sometimes the problem really is nothing more mysterious than dirt + moisture + not enough airflow.
Those three seem to get along a little too well.
For Mildewy Spots: My Tea Tree Spray
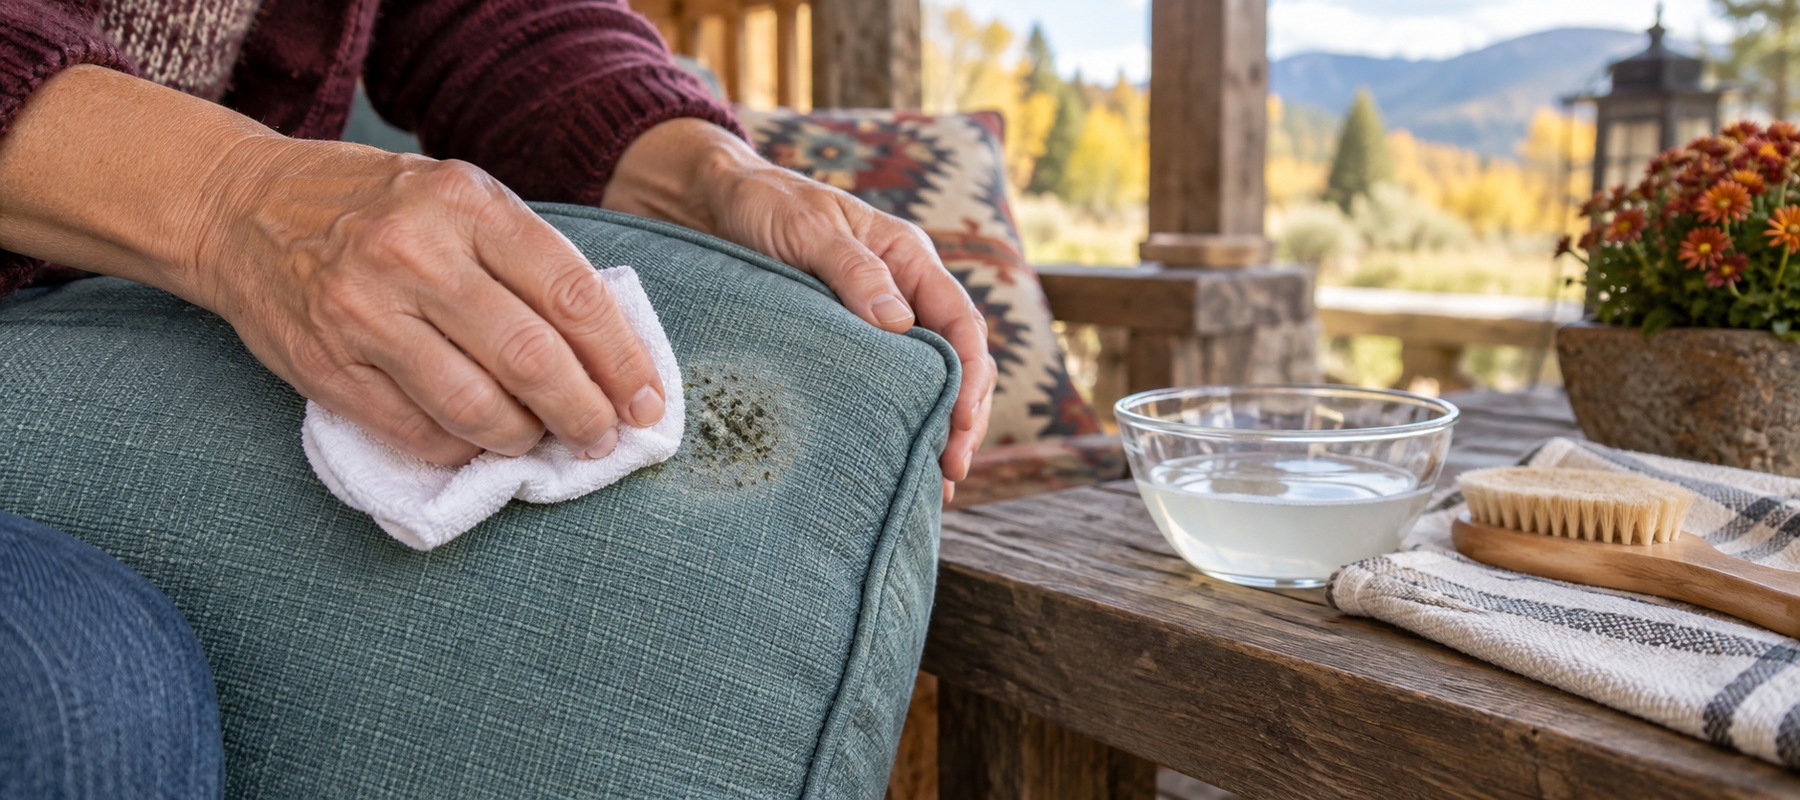
If I’m seeing a few small mildew spots on a washable outdoor fabric, Tea Tree is one of the natural options I’m willing to try before moving on to something stronger.
Tea Tree Mildew Spray
You’ll need:
2 cups water
2 teaspoons doTERRA Tea Tree Essential Oil
Spray bottle
Soft cloth or brush
Combine the water and Tea Tree in your spray bottle and shake well before and during use.
Test this first on an inconspicuous part of the fabric and let your test area dry so you can check for discoloration.
If everything looks good, apply it to the affected area.
For an outdoor cushion I plan to store, I still prefer to physically remove loosened grime and mildew rather than simply spray it and forget about it. Gently work the area if needed, follow the fabric manufacturer’s cleaning and rinsing instructions, and then give that cushion plenty of airflow and time to become completely dry.
Tea Tree isn’t an excuse to put a damp cushion away. Nothing in this bottle fixes the moisture problem that helped create the mildew in the first place.
Tea Tree Isn’t the Only Interesting Oil Here
This is where the essential-oil rabbit hole gets pretty fascinating.
Tea Tree isn’t the only essential oil that gets interesting when mold and mildew enter the conversation. Thyme, Clove, and Oregano have all been studied for antifungal activity, and some of that research is pretty impressive.
Thyme has even been studied against molds collected from damp homes, including Aspergillus and Penicillium. Clove and its major constituent eugenol have demonstrated antifungal activity in laboratory research, and Oregano has performed very well against several types of fungi too.
Oregano, Thyme, and Clove are powerful oils, and that is exactly why I use them thoughtfully. Outdoor fabrics may contain dyes, coatings, water-resistant treatments, and other finishes that respond differently to cleaning products.
For this particular job, I’m comfortable starting with Tea Tree because it has a long history in natural household cleaning, research behind it, and practical outdoor-cushion guidance. The other heavy hitters are still sitting in my oil box, ready for the right job and a little more experimenting. I just prefer to do that experimenting on something less expensive than my favorite patio cushion.
What If You’re a “No Bleach, Ever” Household?
I know some of you are going to get to the next section, see the word bleach, and say, “Nope. Not happening at my house.” And that’s okay too.
If that’s you, I’d encourage you to dig a little deeper into Tea Tree, Thyme, Clove, and Oregano. There’s some really interesting research behind these oils and their antifungal properties, and this is one of those places where old-fashioned natural cleaning and newer science start bumping into each other in ways I find fascinating.
Just remember that we’re still dealing with fabric. More drops doesn’t necessarily mean better results, and a cleaner that works beautifully on one outdoor fabric could discolor or damage another. Check the manufacturer’s recommendations and experiment on a hidden spot before you commit your favorite cushion to the cause.
My Easy Button for Grease, Food, and Really Stubborn Stains
If you’ve been around here awhile, you already know I usually make my own laundry soap. It’s inexpensive, simple, and works beautifully for our everyday laundry.
But I almost always have a bottle or two of doTERRA On Guard Laundry Detergent tucked away too. It’s one of my easy buttons for the really stubborn stuff, and I also like having it around when illness is making its way through the family.
And since I’m not using it for every load, I swear a bottle lasts me practically forever. 😂 For a little spot treatment like we’re doing here, we’re only using a tiny amount, so one bottle hangs around my laundry room for a good long while.
For these outdoor cushions, there’s another reason I reach for it: enzymes.
On Guard Laundry Detergent contains five bio-originated enzymes—protease, amylase, cellulase, mannanase, and lipase—along with naturally based surfactants.
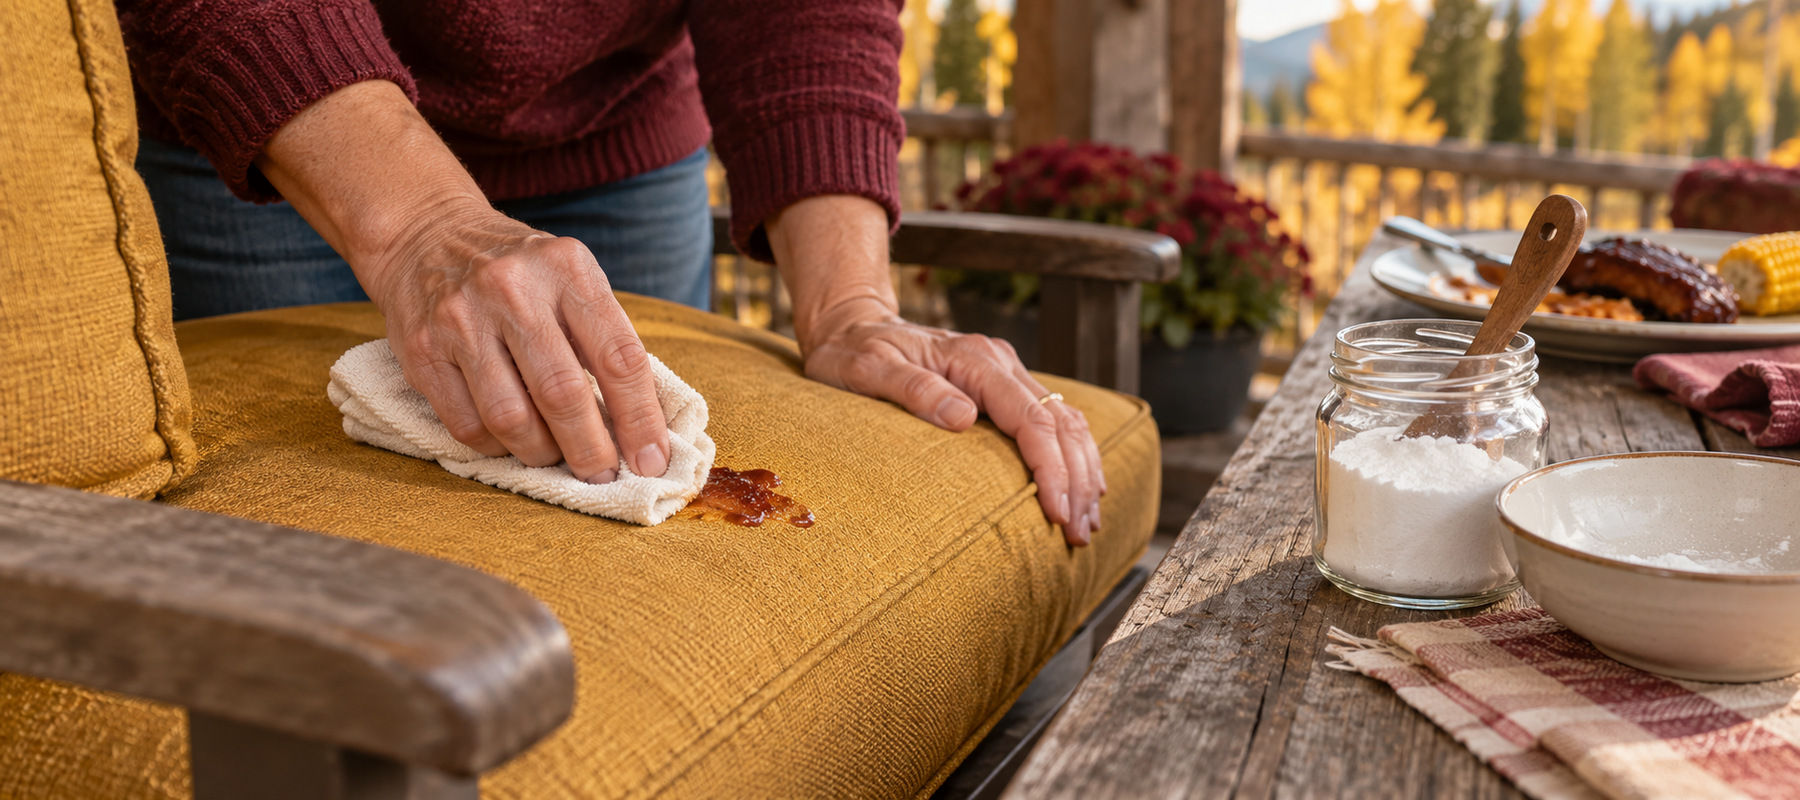
Different enzymes help tackle different kinds of soils. That makes this a pretty handy bottle when you’re looking at greasy food, barbecue sauce, oily fingerprints, or one of those mysterious spots that absolutely nobody in the family knows anything about. Funny how that happens.
For a washable, colorfast fabric, spot-test first. Then put a small amount of detergent directly on the stain and give it a few minutes to work before cleaning and rinsing according to your fabric’s care instructions.
For fresh oily spills, first blot up what you can without rubbing it farther into the fabric. An absorbent such as cornstarch can also help pull up some of that oil before you start cleaning.
Sometimes homemade is my first choice, and sometimes the bottle already sitting in my laundry room is simply the better tool for the job. I’m good with both.
And Yes, I’m About to Say the Word Bleach
Y’all know I do my best to reduce the harsher products and unnecessary chemicals we use around our home, and I’m almost always going to reach for the more natural solution first. But I’m also practical. If I’m standing there looking at a cushion I love—or worse, one cushion from an entire matching furniture set—and my choices are throwing it away or trying the manufacturer’s recommended diluted bleach solution outside in plenty of fresh air, I’m probably trying the bleach.
Some performance outdoor fabrics, including Sunbrella, are specifically made to tolerate a diluted bleach treatment for stubborn mold and mildew.
That does not mean every outdoor cushion can handle bleach, so this is one of those times when we follow the manufacturer rather than winging it.
If the manufacturer says it’s safe, I’ll use the appropriate diluted solution in a well-ventilated place, rinse the daylights out of it, let it dry completely, and see if I can save the cushion.
My approach to natural living is practical. I make thoughtful choices and reduce the things I don’t want around us whenever I reasonably can. Tossing a perfectly good cushion into the landfill when I have one last reasonable way to save it doesn’t make a whole lot of sense to me either.
Drying May Be the Most Important Part of This Entire Job
I could probably put this next sentence in giant flashing letters:
IF IT ISN’T COMPLETELY DRY, IT ISN’T READY TO STORE.
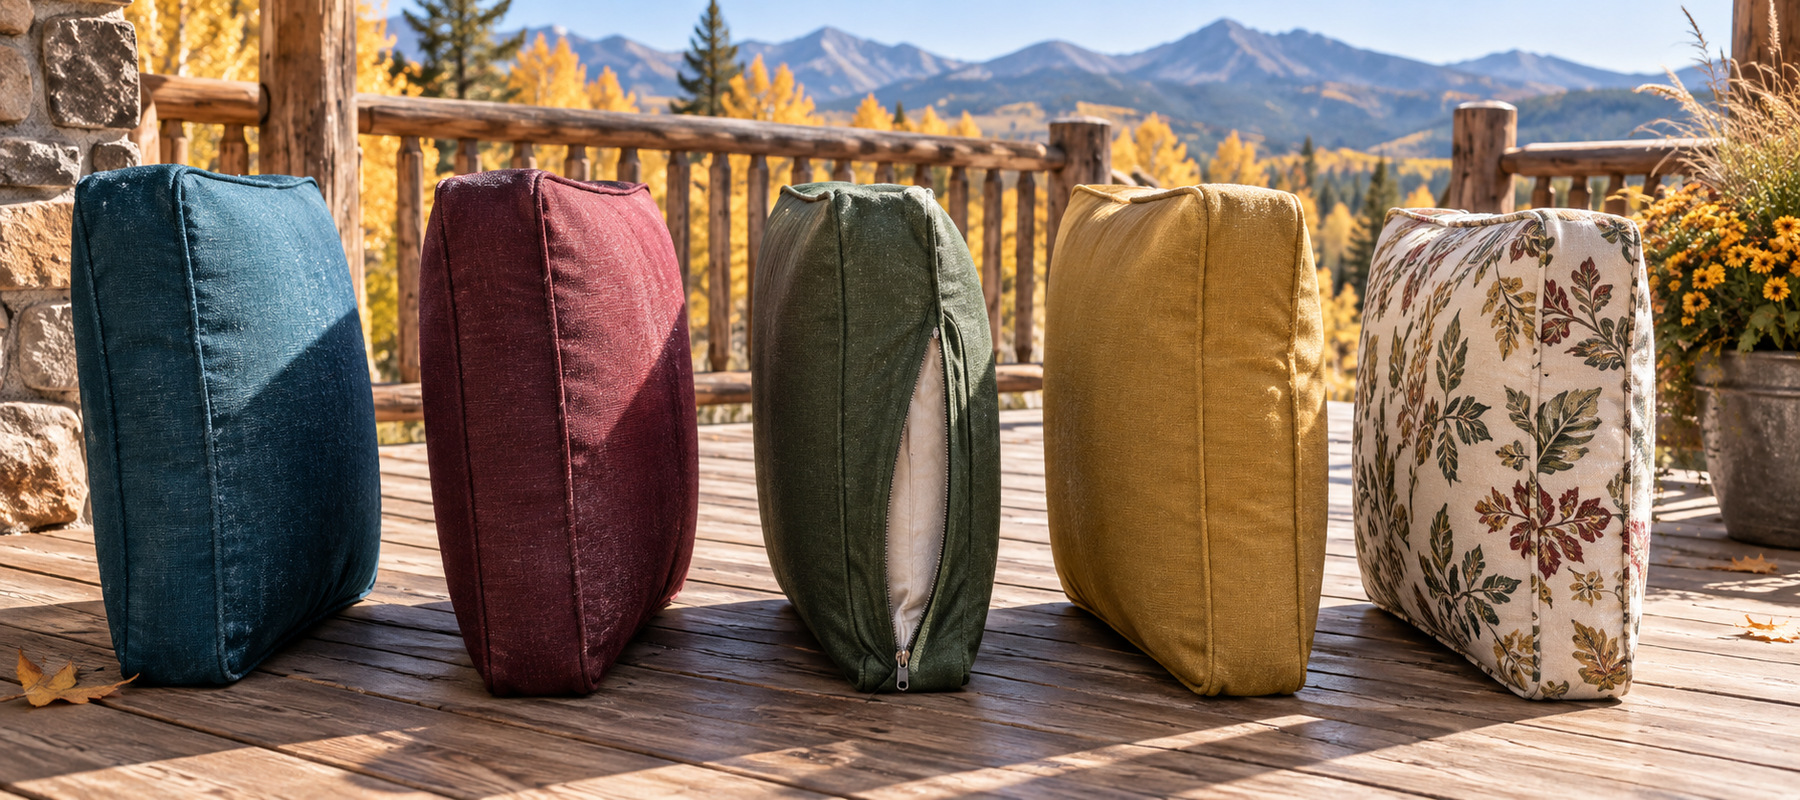
The outside of a cushion can feel dry while that thick foam inside is still holding moisture.
Here in Colorado, our dry climate can fool us a little. The surface may feel bone-dry surprisingly quickly while the inside tells a different story.
And our sun? Lordy. Living at elevation has given me a whole new appreciation for what sunshine and UV exposure can do to outdoor things.
I’ve lived in California, Pennsylvania, and Massachusetts, and I’ve also lived in Germany and England. I don’t remember outdoor furniture taking quite the beating it can take here.
Of course, your battle may be completely different. If you live somewhere humid, moisture may be your bigger headache. Near the coast, you’ve got salt air. Every climate seems to come with its own special way of picking on patio furniture.
So pay attention to the weather outside your back door.
When you’re drying cushions:
Stand them upright instead of laying them flat.
Leave space between them so air can move.
Turn them during the day.
Open zippers when the cushion construction allows it.
Don’t stack anything while it’s still damp.
Bring cushions under cover before evening dew or incoming weather.
Give thick cushions more drying time than you think they need.
And check the forecast before you start washing. If you’ve got a couple of beautiful drying days ahead, wonderful. If rain, snow, or three days of humidity are headed your way tomorrow, today may not be the day to soak six cushions simply because they’re next on the checklist.
The cushions will wait. Your local weather will not.
Don’t Forget the Patio Umbrella
Umbrellas are easy to overlook because they’re standing there looking perfectly innocent while we deal with everything underneath them.
Meanwhile, they’ve been collecting pollen, dust, bird droppings, leaves, and moisture all summer.
Brush away loose debris first. If the fabric needs cleaning, check its care instructions and use a gentle soap solution when appropriate. A soft brush can help loosen stubborn grime without being too rough on the fabric.
Rinse thoroughly and then leave that umbrella fully open until it is completely dry.
Please don’t wash a damp umbrella, close it up, wrap it for winter, and give mildew six months of privacy. Nothing good is going to come of that arrangement.

Hammocks, Curtains, Throws…and All the Other Fabric Things
This is usually the point when I walk around asking myself, “What am I going to wish I had put away when the first real snowstorm arrives?”
Hammocks, outdoor curtains, throws, pillow covers, and other removable textiles may be easier to wash than cushions, but check those care labels too.
Clean what needs cleaning, repair what is actually worth repairing, and make sure every piece is dry before you fold it away. You don’t have to make this complicated.
And remember our earlier permission slip. If you already know you’re never hanging that outdoor curtain again, you don’t need to lovingly wash and store it for another year.
What About Outdoor Rugs?
Yep. They count too. But I’m not turning this into an outdoor-rug cleaning encyclopedia when we’re already up to our eyeballs in cushions.
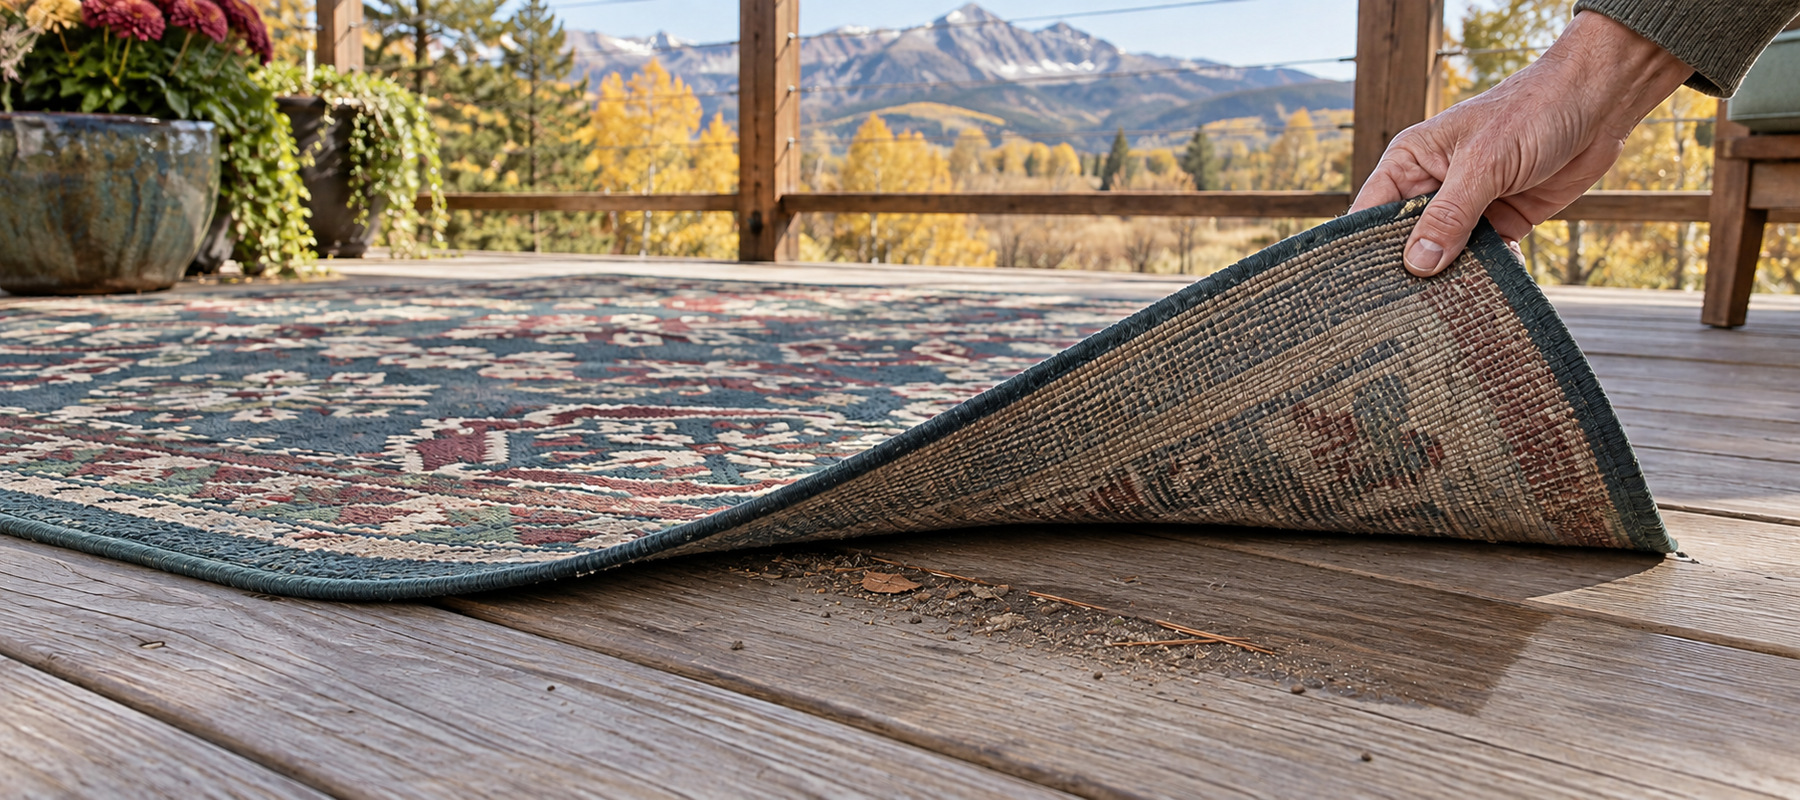
Give your outdoor rugs a really good shake, sweep, or vacuum. Spot-clean obvious messes according to the manufacturer’s instructions, and if the rug needs a full washing, do it while you still have enough decent weather to get the entire thing completely dry.
And please check underneath it. Moisture and dirt can hide under an outdoor rug long after the top looks perfectly respectable.
If you’re storing it, don’t roll up a dirty or damp rug and promise yourself you’ll deal with it next spring. You and I both know how that story ends.
Before You Tuck Everything Away for Winter
Once everything is clean and dry, our last job is making storage as uninteresting as possible to the creatures who would really like to move in.
Apparently a pile of cushion filling looks very different to a mouse than it does to me. To me, it’s patio furniture; to a mouse, it’s a luxury winter condo with complimentary bedding.
Keep cushions away from damp floors and known leaks. Don’t pack anything away with even a little lingering moisture, and check your storage area for obvious places where rodents may be getting inside.
Food, birdseed, and pet food don’t belong next to the cushion storage either unless you’re intentionally opening a bed-and-breakfast for mice.
And this is another place where I like bringing essential oils into my fall routine.
Essential Oils in My Winter Storage Routine
Strong aromatic plants have been used around stored clothing and household goods for a very long time, and there’s modern research investigating essential oils as repellents against several insects as well.
I use essential oils as one more layer in a good storage plan. Three drops of Peppermint may not create an invisible force field around the shed—wouldn’t that be handy?—but aromatic oils are still a useful part of my winter-storage routine.
Instead of putting concentrated essential oils directly onto my cushions, I’d rather put them on something separate, such as a cotton ball, a little piece of felt, an unfinished cedar block, a wooden clothespin, or a small breathable sachet.
Then I can place those around the storage area without risking an oil spot on the fabric.
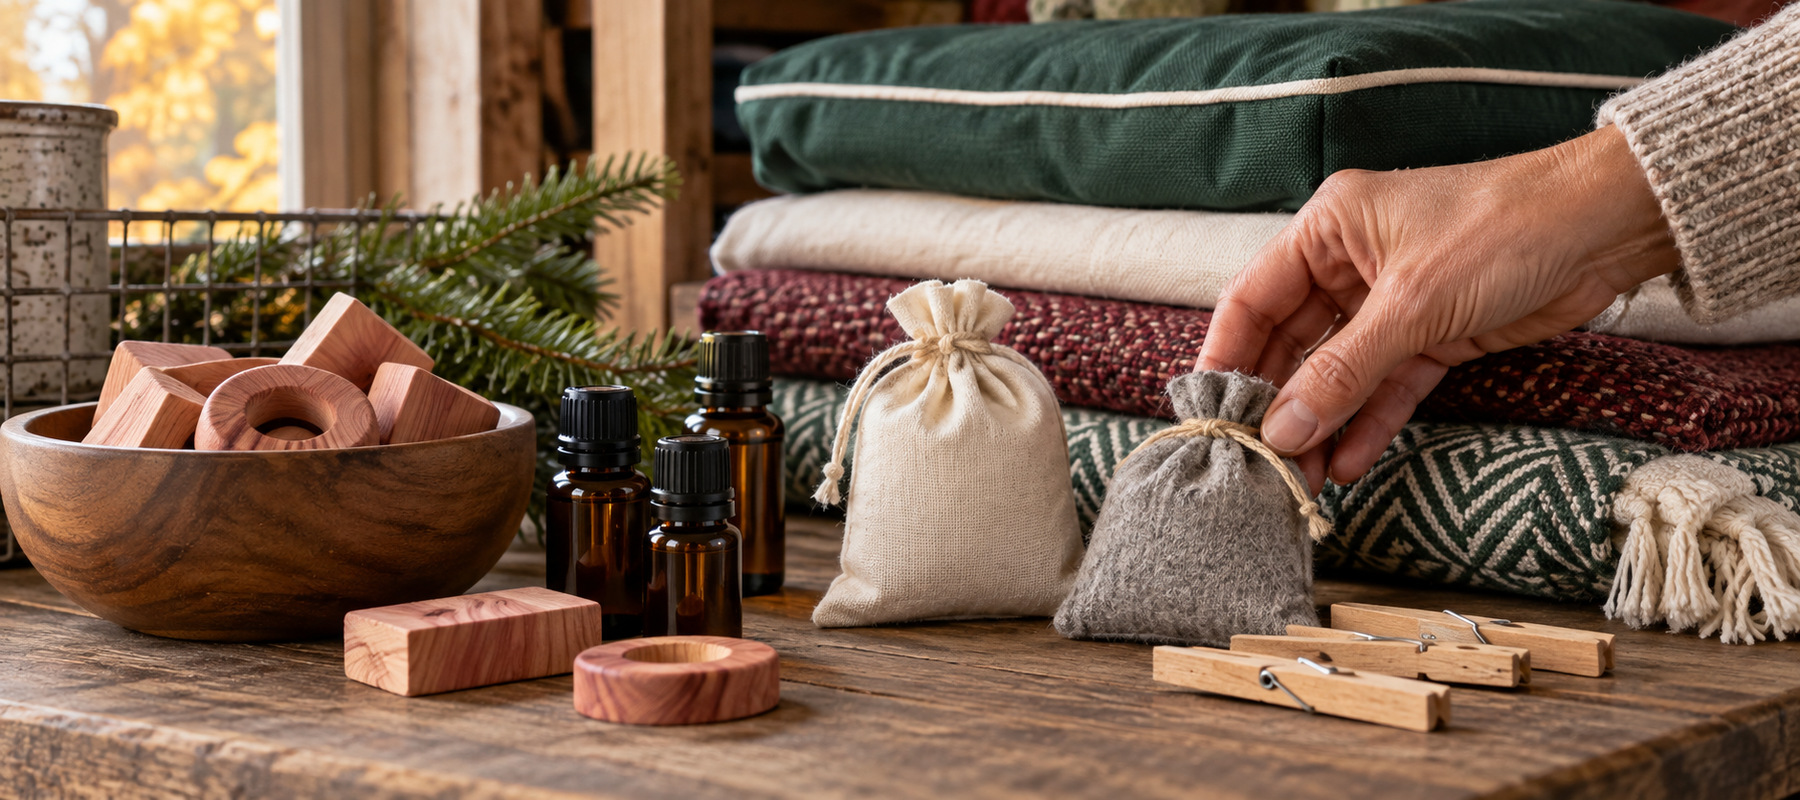
Cedarwood and Rosemary are especially interesting when we’re thinking about fabric-storage pests such as moths, while Peppermint is one of those strong aromatic oils I like having around storage areas.
Thyme is interesting here too. Research into its vapor has found antifungal activity against several molds, which gives me one more reason to keep learning about how these old aromatic-plant traditions may fit into modern homekeeping.
I pair Thyme with good moisture control and proper storage, because keeping those cushions dry is still the foundation of preventing mold through the winter.
The other thing to remember is that essential oils are volatile. That wonderful strong aroma you smell today isn’t going to be equally strong five months from now.
If you’re using aromatic sachets over a long winter, peek in every so often and refresh them when needed.
And, as always around our house full of people and critters, I keep concentrated oils and freshly oiled materials somewhere little hands, paws, noses, and curious mouths can’t get to them.
One Last Look Before You Close the Door
Before I call this part of fall cleanup finished, I take one more look around.
Everything should be clean enough that I won’t regret storing it, dry enough that I’m not creating a mildew experiment, and worth the space I’m giving it until spring.
Anything that needed repair has either been fixed, put somewhere I’m actually going to fix it, donated, or given permission to leave my life.
Once the storage area is dry and reasonably protected from pests, I’m calling it done—and around here in the fall, done counts for a lot.
Every cushion you clean, every pillow you decide to donate, and every little thing you tuck away properly is one less job waiting for you next spring.
Future-you is going to walk outside on that first beautiful warm day, pull out those clean cushions, plop herself down with something cold to drink, and be mighty glad fall-you loved her enough to do a little extra work now.
That’s who we’re doing some of this for. Well, her and the fact that neither one of us wants to open a storage tote full of mouse fluff next spring. 😉
Working Your Way Around the Yard With Me?
If you cleaned the outdoor furniture with me and now you’ve tackled some of the cushions and fabrics, look at us making progress! And I really do mean some. Please don’t finish reading this and decide I said you have to clean every outdoor textile before dinner. I didn’t—pick what you have time for today, and we’ll keep working our way around together.
I put the bigger plan into my Fall Cleanup Checklist & Caddy Guide so neither of us has to keep the whole darn list in our heads.
Get the Free Fall Cleanup Checklist & Caddy Guide
If you missed our first stop, you can start with cleaning outdoor furniture and hard surfaces. When you’re ready for another area, we’ll move on to porches, patios, and decks.
Need One of the Ingredients I Use?
You don’t need a cabinet full of specialty products to tackle these projects. I’ve gathered the cleaners, tools, essential oils, bottles, and other ingredients I use on the Fall Cleanup Ingredients & Supplies page, so you don’t have to hunt through every article to find them.
Have a cushion-cleaning trick that worked beautifully—or one that absolutely didn’t? Come share it in our Living Our Essential Lives Facebook group. I’d love to hear what’s working at your house, especially if Grandma passed down a trick the rest of us need to know. Something you share might even send me down my next rabbit hole. 😉
Now go pick one thing—a cushion, a hammock, or an umbrella. Maybe two if you’re feeling ambitious. I’ll be right here working my way around the homestead too. We’ve got this, sister.
A little at a time. One area at a time. Before the snow starts flying.
From my homestead to yours,
Sandy