How to Clean Outdoor Furniture for Winter: Clean It, Protect It, and Put It to Bed
“An ounce of prevention is worth a pound of cure.”
— Benjamin Franklin
There comes a point every fall when I walk outside and suddenly see everything with fresh eyes.
The deck is dusty. The table looks a little more faded than I remember. Camp chairs have migrated to various corners of the property. Leaves have collected underneath things. Spiderwebs stretch between chair legs and railings, and a few impressive cobwebs are dangling around the windows and doorjambs.
Granted, those spiderwebs and cobwebs make wonderfully authentic Halloween decorations. But as we move toward winter, I prefer to clean them up rather than leave the decorating entirely to the spiders.
And then there are all those lightweight things sitting around that suddenly look less like outdoor décor and more like future projectiles.
Fall has arrived.
Here on our western Colorado homestead, we're close to 6,000 feet in elevation. The air is dry, the sun is intense, and the wind can be downright ridiculous. Gusts of 50, 60, even 70 miles per hour aren't unheard of.
We learned that lesson particularly well when a trampoline we'd carefully staked down at all four corners ended up in the neighbor's pasture.
Thankfully, it didn't take anything important with it.
So when I’m getting the outside of the house ready for winter, I look beyond the cleaning itself and consider sun damage, wind, moisture, freezing temperatures, and anything I’d rather not repair next spring.
Because around here, winter has a habit of arriving before I've officially invited it. One afternoon I'm thinking, I really should clean those chairs. The next morning they're covered with snow.
And once everything is wet, frozen, or buried under six inches of white stuff, even a simple job becomes harder. Things don't dry as quickly, covers trap moisture, and suddenly I'm doing a chore with frozen fingers that would have been pretty pleasant on a sunny October afternoon.
I've decided there are quite a few jobs Fall Me needs to buckle down and do because Spring Me will be awfully grateful.
Outdoor furniture is one of them.
“Spring Me will thank Fall Me.”
Start Simple, Then Bring Out the Good Stuff
Outdoor furniture gets dirty in a very uninteresting way: dust, pollen, bird droppings, leaves, muddy paws, spilled drinks, and whatever the wind happens to deliver.
Sometimes a hose, a soft brush, and a little elbow grease are all I need. I keep a simple job simple, and when the dirt needs a little more help, the right cleaner saves time and scrubbing.
For most washable metal, plastic, resin and similar outdoor furniture, I start with warm water and a gentle cleaner.
Shopping-link note: Some links in this post connect to our doTERRA Wellness Advocate shops. If you choose to purchase through one of these links, the partner whose link you use may earn compensation at no additional cost to you. We only share products that genuinely fit the recipe or project.
Simple Outdoor Furniture Wash
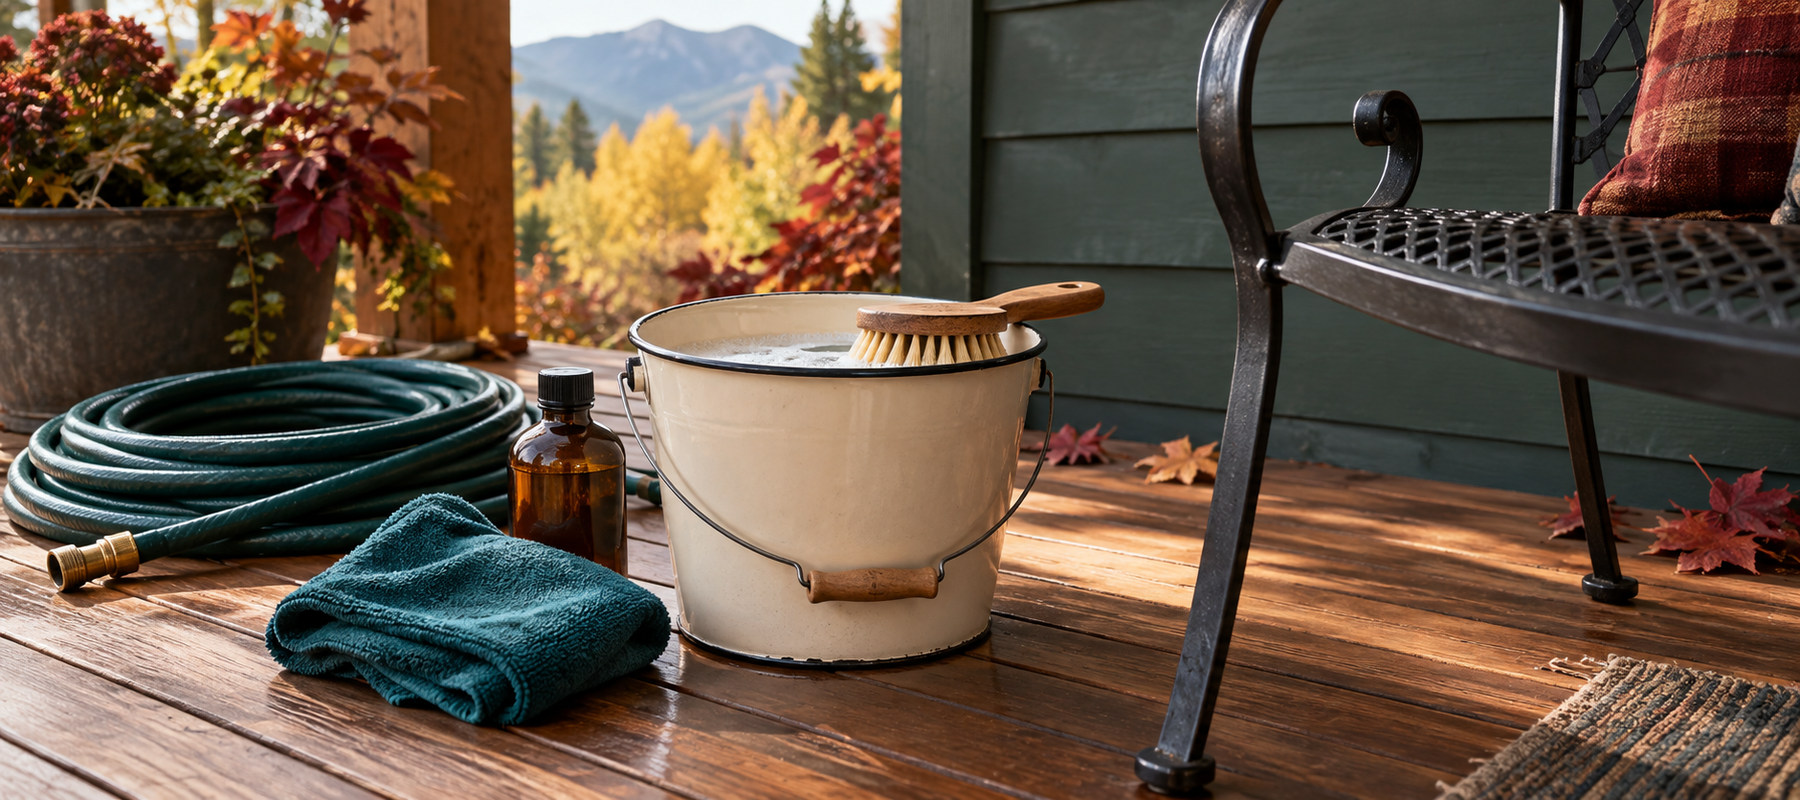
You’ll need:
1 gallon warm water
A small amount of unscented liquid Castile soap or doTERRA On Guard Cleaner Concentrate, diluted according to the current label directions
A few drops of doTERRA On Guard or Abode essential oil blend, if desired and appropriate for the surface
A soft-bristled brush or microfiber cloth
A garden hose
Brush or rinse away loose dirt and leaves first. Mix your cleaner into the warm water, scrub the furniture gently, then rinse thoroughly.
And if you already keep On Guard Cleaner Concentrate in the house, this is one of those places where I appreciate the word concentrate. A little goes a surprisingly long way. You're not pouring half a bottle into a bucket every time you clean something, which helps stretch those cleaning dollars over a whole lot of projects.
Always check the directions for the product you're using, and test an inconspicuous area first if you're unsure about a particular finish.
Most importantly, let everything dry completely before covering it or putting it into storage.
That last part matters more than we sometimes think.
What About Really Dirty Furniture?
If the furniture has a season's worth of grime on it, give the cleaning solution a little time to work before attacking it with the scrub brush.
Wet the surface, apply your soapy water, let it sit briefly, and then scrub with a soft brush.
Pay attention to the material you're cleaning. Painted metal, plastic, resin, unfinished wood and sealed wood don't necessarily appreciate the same treatment.
Lemon and Wild Orange are two of my favorite oils for cutting grease and grime, but I use them carefully on outdoor furniture. Their solvent action can be hard on some paints, plastics, adhesives, and finishes, so I save them for surfaces I know can handle them.
Metal Outdoor Furniture
Most of our permanent outdoor furniture is metal, much of it with an open lattice or slatted design. That makes cleaning relatively easy because I can scrub it and rinse everything straight through instead of chasing dirty water around a solid surface.
But cleaning is only half of my fall inspection. Once the dirt is gone, I can actually see what happened over the summer.
Look for:
chipped or peeling paint
small rust spots
loose screws or hardware
scratches that expose bare metal
faded or chalky finishes
bent or damaged pieces
Our Colorado sunshine can be brutal on dark outdoor furniture. A piece that started the summer looking rich and dark can gradually take on that chalky, faded look.
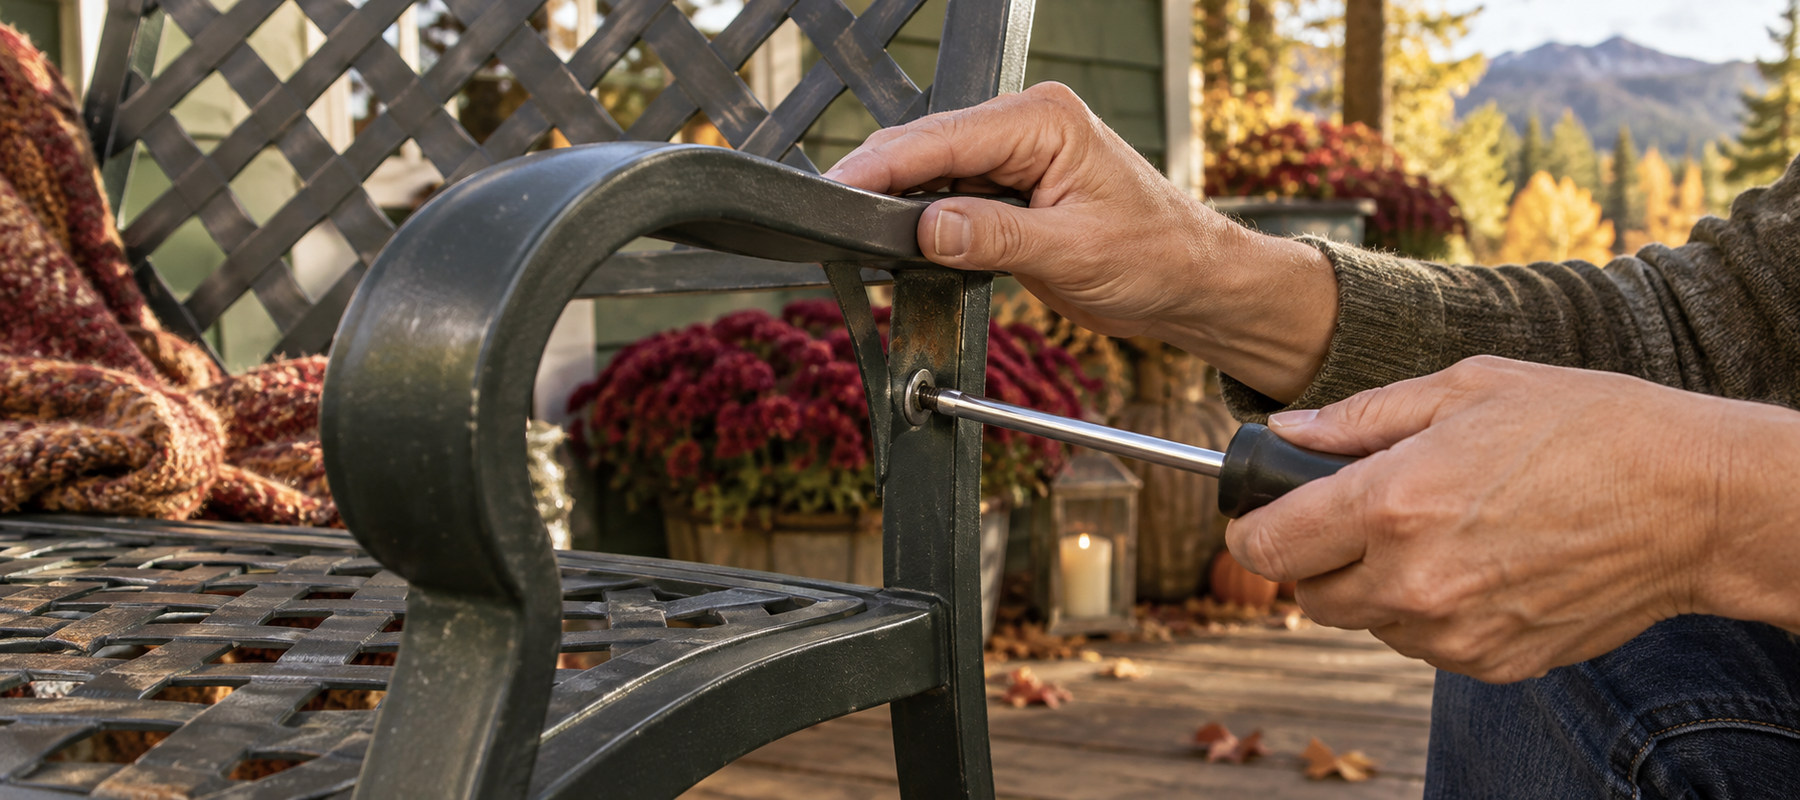
Cleaning helps, but it can't permanently restore a finish that has actually deteriorated.
Fall is a good time to touch up chipped paint, deal with small rust spots before they become large ones, and tighten loose hardware. I'd much rather discover a wobbly chair now than when somebody sits in it next spring.
Outdoor Wood Needs a Little More Love
Wood is where I slow down a bit.
Our dry air and intense high-elevation sunshine can be hard on outdoor wood. It can fade, dry, crack and weather surprisingly quickly.
And this is where our discussion about natural wood protection gets interesting.
Long before shelves were filled with cans of modern deck sealers, people protected wood with penetrating oils. Linseed oil and tung oil are both traditional drying oils—they penetrate the wood and then cure rather than simply remaining greasy on the surface.
The USDA Forest Products Laboratory has also spent decades studying penetrating oil finishes and more natural approaches to protecting exterior wood.
Simple Natural Wood Oil
For unfinished or previously oil-finished outdoor wood, a simple starting point is:
1 cup pure tung oil or raw linseed oil
10 drops Cedarwood essential oil
10 drops Arborvitae essential oil
Combine the ingredients in a glass jar.
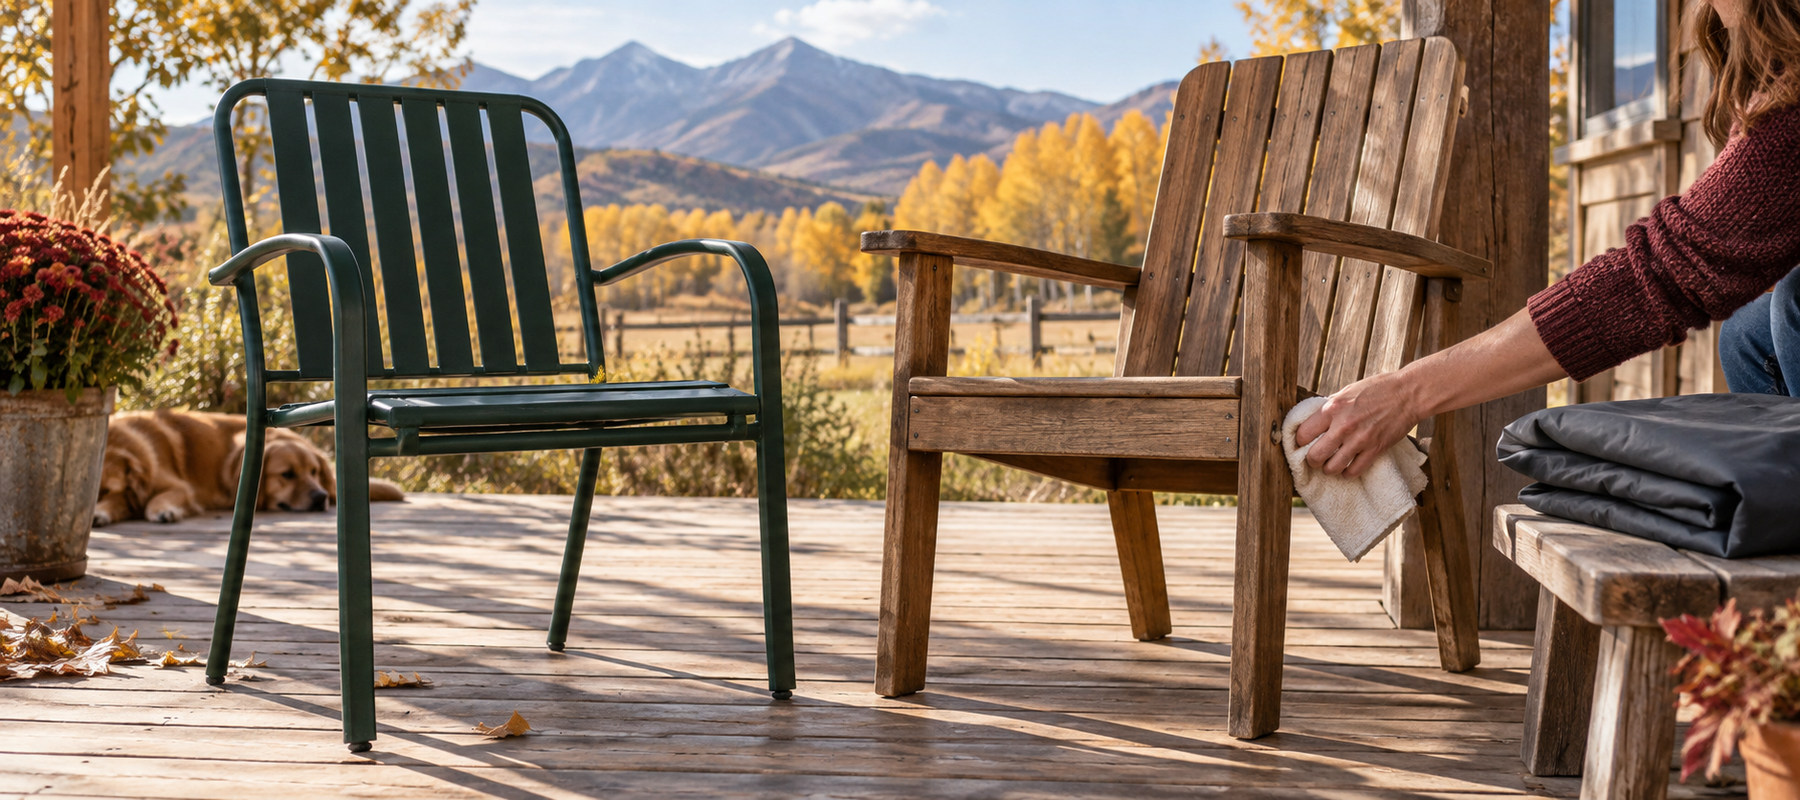
Make sure the wood is clean and completely dry, then test the mixture in a hidden spot.
Apply a very thin coat with a lint-free cloth or appropriate brush, working with the grain. Give the oil time to penetrate, then wipe away any oil remaining on the surface.
Let it cure thoroughly before using the furniture or applying another coat. Several thin coats are generally much better than one heavy, sticky coat.
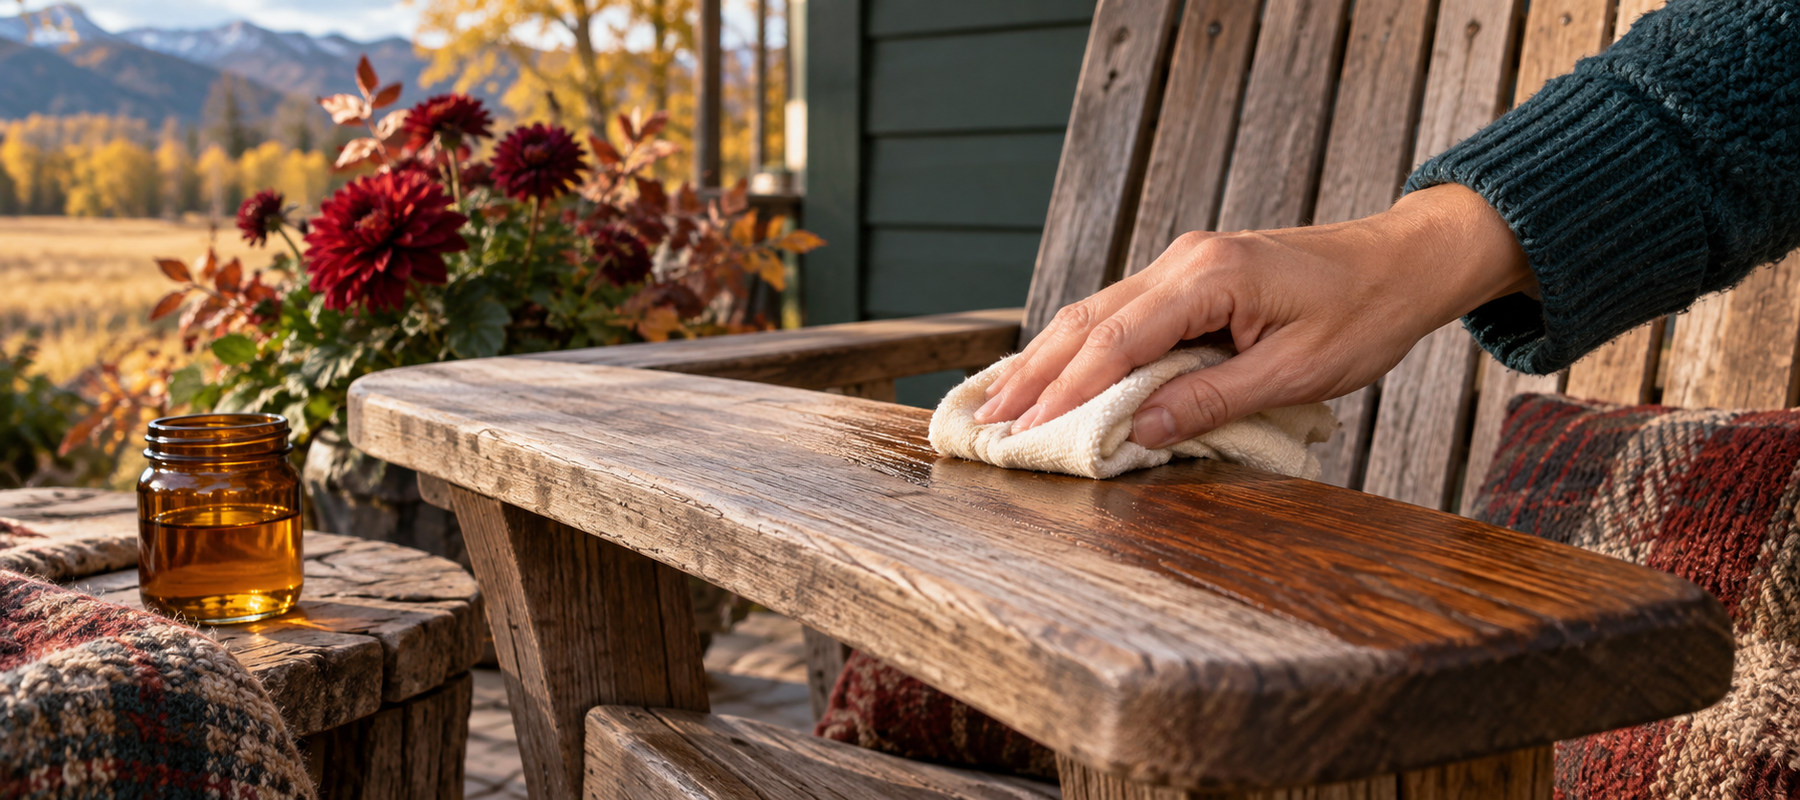
This is intended for bare or previously oil-finished wood—not painted wood or wood sealed with polyurethane or another film-forming finish.
And one very important safety note: rags soaked with drying oils such as linseed or tung oil can generate heat as they cure and can catch fire if they're wadded together. Lay used rags flat outdoors to dry in a safe location away from buildings and combustible materials, or follow the disposal instructions on the oil container. Never toss an oily rag into a pile in the garage or trash can.
Why Cedarwood and Arborvitae Belong in This Recipe
I chose Cedarwood and Arborvitae because both oils fit the job. Their wonderfully woodsy aroma is a bonus.
Cedarwood has actually been studied by USDA Forest Service researchers as part of the search for more natural methods of protecting wood. In controlled laboratory research, Eastern red cedarwood oil and cedar-derived compounds have shown activity against certain wood-decay fungi and termites.
Arborvitae is interesting for a similar reason.
doTERRA Arborvitae comes from Thuja plicata—western redcedar—and is distilled from the wood. Western redcedar has long been prized for the natural durability of its heartwood.
The tung or linseed oil penetrates and cures in the wood. I add Cedarwood and Arborvitae because of their traditional use in wood care and the research behind them. Their woodsy smell is a bonus, but it isn’t the reason I chose them.
Tung Oil or Linseed Oil?
Both are plant-derived drying oils, but they're not exactly the same.
Pure tung oil comes from the seeds of the tung tree and develops a water-resistant finish as it cures. It may require multiple coats and patience between applications.
Raw linseed oil comes from flaxseed. It also penetrates and cures in the wood, although raw linseed oil can cure quite slowly.
You'll also see boiled linseed oil in hardware stores. Despite the name, modern boiled linseed oil isn't necessarily just linseed oil that's been heated. Some products contain metallic drying agents or other additives to speed curing.
If your goal is knowing exactly what's in the product you're using, read the label.
Forest Service researchers have even studied linseed oil combined with naturally durable heartwood extracts. Some combinations resisted termites and decay better than linseed oil alone in testing, although they did not outperform conventional wood preservatives over long-term field trials.
I appreciate knowing what the research shows because it helps me understand how each option performs. I want to use natural products knowledgeably and choose the right level of protection for the piece in front of me.
Why I Skip Olive Oil
Because I'm saving that for dinner.
Olive oil occasionally shows up in homemade furniture recipes, but it isn't a traditional drying oil like tung or linseed oil. It can remain oily instead of curing into the wood, which means it can attract dust and grime.
For outdoor wood that needs actual protection, I'd rather use an oil designed to cure.
Where Beeswax Fits
I love beeswax, and it absolutely has a place in natural wood care.
A beeswax-and-oil finish can add some water resistance and leave wood with a beautiful feel and appearance. For a protected porch chair, wooden planter, or decorative piece that isn't sitting directly in rain and snow, it may be just what you want.
For furniture that's fully exposed to Colorado sun, rain, snow, and freeze-thaw cycles—or Florida humidity, for that matter—I would want to research the particular wood and choose a more robust penetrating finish.
Natural wood care still deserves a thoughtful choice, especially when the piece is valuable or sentimental.
Mildew Needs Its Own Treatment
Here in western Colorado, our dry climate means mildew isn’t usually a huge outdoor-furniture battle. My friends living in Florida may now feel free to laugh at me—warm weather and all that moisture give them a very different job to tackle.
If you're dealing with visible mildew staining, start by cleaning away loose dirt with soap, water and a soft brush. For compatible surfaces, a simple vinegar-based wash can sometimes help with the remaining staining.
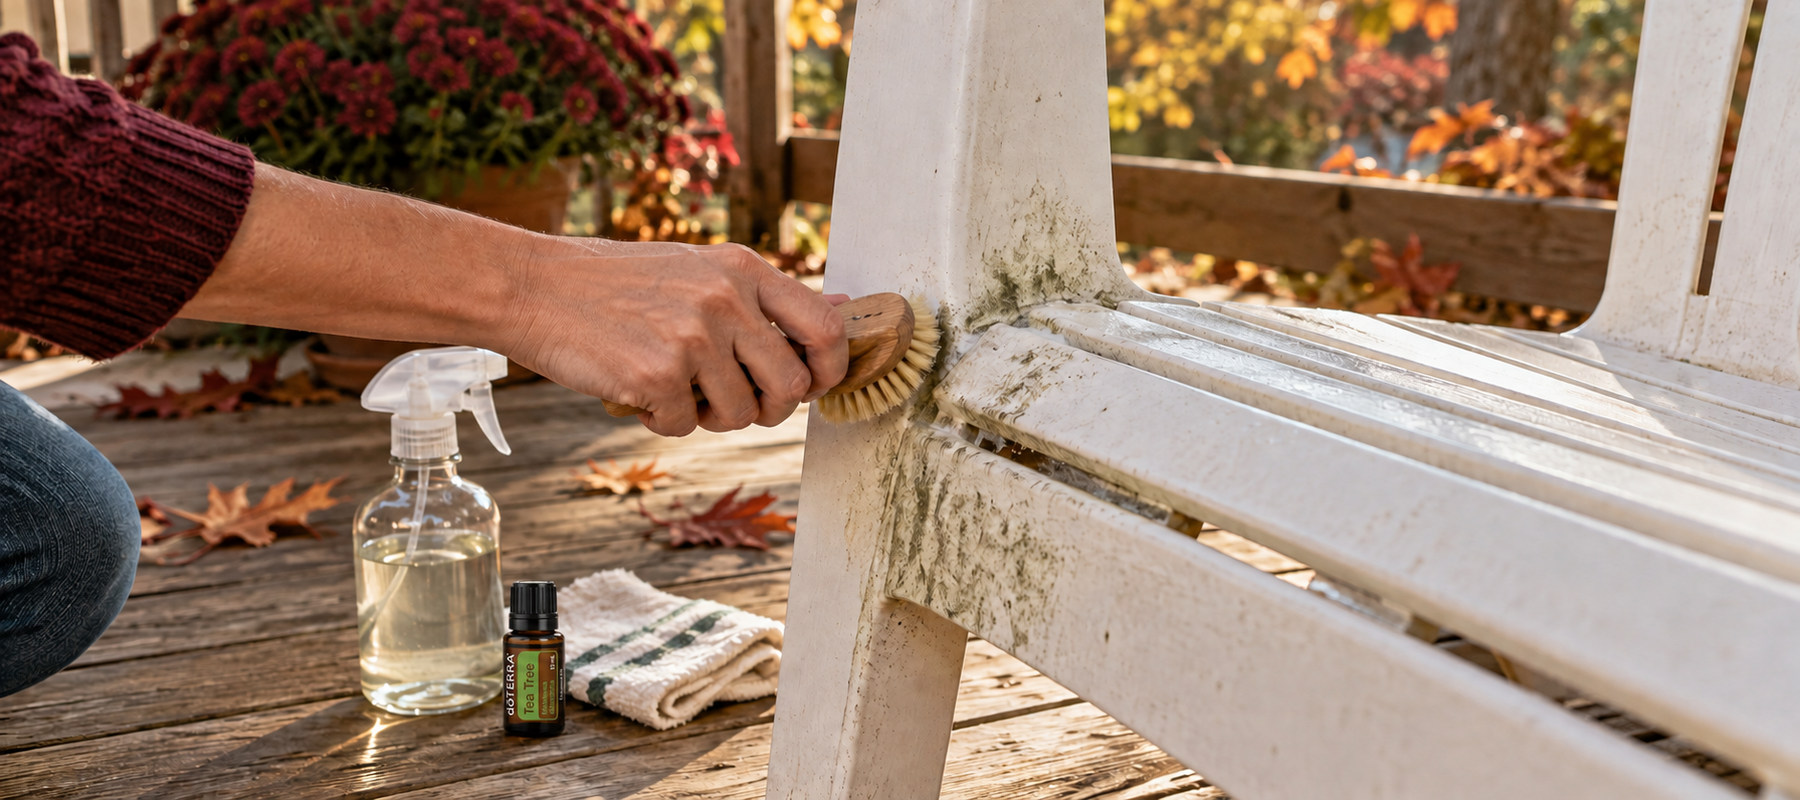
Simple Vinegar Cleaning Wash
3 cups water
1 cup white vinegar
5 drops Tea Tree essential oil
5 drops Clove or Thyme essential oil—whichever you have on hand
Combine in a glass spray bottle and shake before using.
I like Tea Tree here, along with either Clove or Thyme—whichever happens to be in my cupboard. All three have been studied for antifungal activity, which is why I reach for them when mildew shows up on the outdoor furniture.
Sometimes modern research has a funny way of circling back around to ingredients our grandmothers and great-grandmothers already knew were useful.
Test it first in an inconspicuous spot. Spray the affected area, allow it to sit briefly, scrub gently, rinse thoroughly and let the surface dry completely.
Vinegar isn't appropriate for every material or finish, so don't assume that because something came from the pantry it is harmless to every surface.
And cleaning visible mildew is different from preserving wood against fungal decay. If mildew keeps returning, the bigger question is why that furniture stays damp.
More sunshine, better airflow, getting it off wet ground, or storing cushions separately may solve more than another bottle of cleaner ever will.
A Word About Essential Oils and Wildlife
This may not apply to everybody, but it certainly applies at our house.
We live in bear country.
This has been an especially dry year, and we've had more bear activity than usual as they search for food.
That makes me a little more conscious about what I leave outside—particularly in late summer and fall when bears are trying very hard to put on calories before winter.
The National Park Service advises treating scented toiletries and personal-care products such as soap, sunscreen, lotion and lip balm as attractants in bear country, right along with food, garbage and pet food.
Around here, even the grain barrels have to be locked well enough that a determined bear can roll them around without actually getting them open.
Ask me how entertaining that is.
Cleaning my patio table with a diluted essential-oil cleaner is very different from leaving strongly scented products outdoors. I wash and rinse as usual, then put essential oils, cleaners, lotions, sunscreen, and similar products away. Living in bear country has made that part of my normal routine. We share this land with wildlife, so I pay attention to what I leave outside.
Beyond the Patio Furniture
Once I start walking around the property with a scrub brush, I inevitably find other things that need attention.
Our camp chairs are a good example.
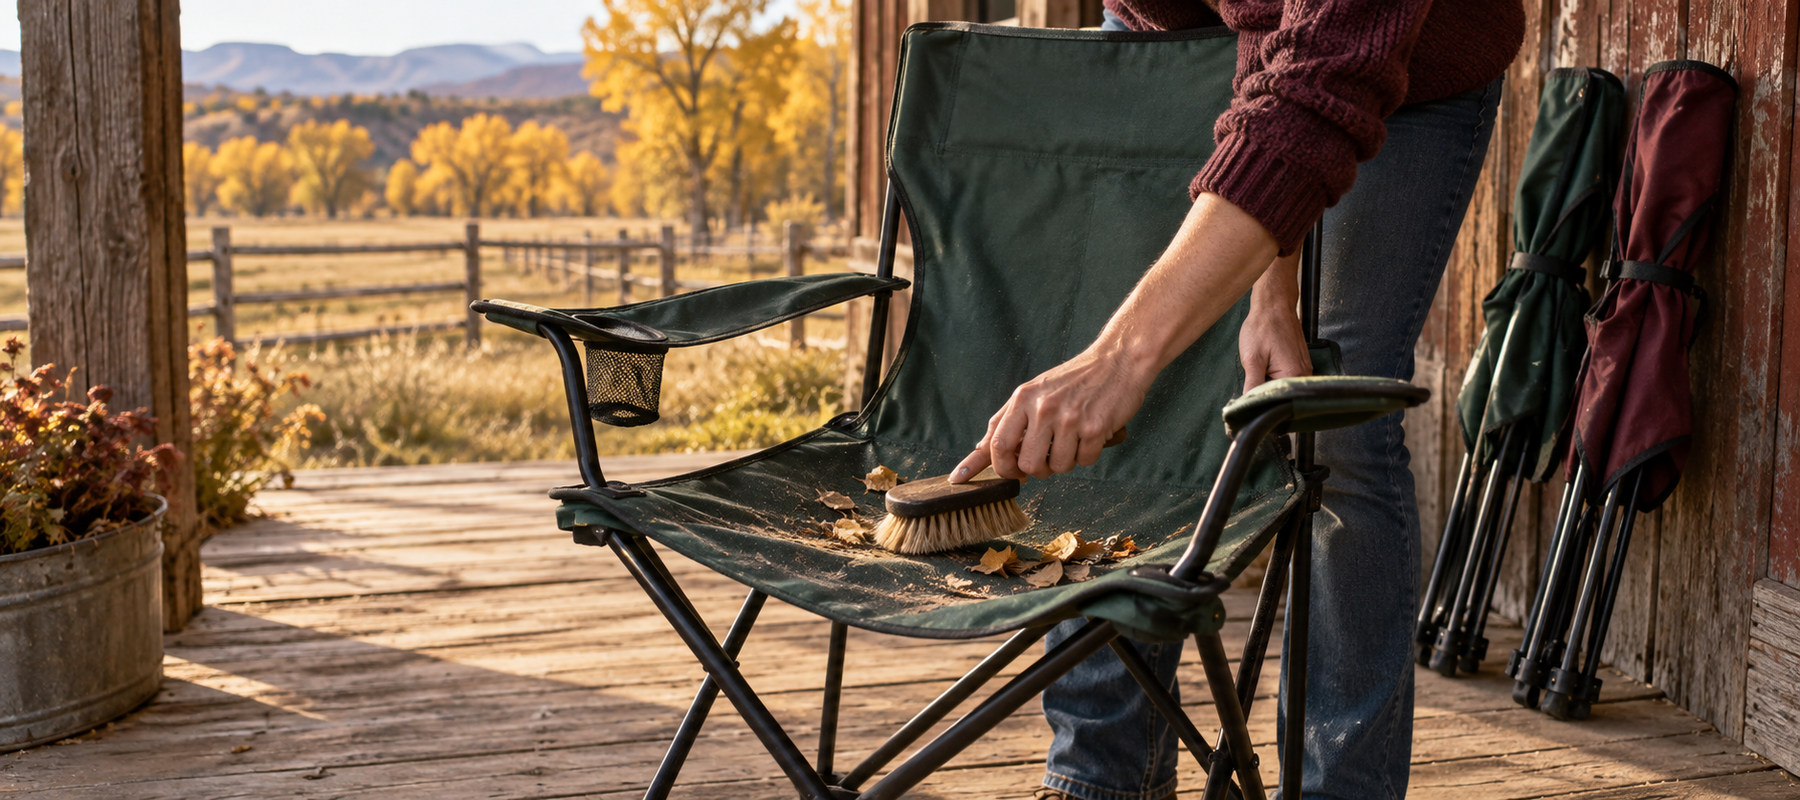
They tend to follow us to the round pen or pasture when we're working horses. Because we usually fold them up afterward, they don't get terribly dirty, but before winter storage I'll open them, shake and brush everything out, clean any dirty spots and make sure they're completely dry before folding them away.
Then there are the shutters around the windows.
Those collect an impressive amount of dust, spiderwebs and miscellaneous outdoor grime. A soft brush, cleaner and hose make pretty quick work of them.
Of course, once the shutters are clean, the windows suddenly look terrible.
One job always seems to introduce me to another.
If you're already in fall-cleanup mode, this is a perfect time to use my homemade natural window-cleaning recipe, too.
I'd much rather clean those windows on a beautiful fall afternoon than when it's 30 degrees outside and I'm wondering why I didn't do it when I had the chance.
And then there’s the trampoline. It may not technically qualify as outdoor furniture, but if it’s staying outside all winter, it makes my fall cleanup list. I clear leaves and debris from around the springs and padding, inspect the whole thing, and make sure it is secured. Considering our history with airborne trampolines, that last part gets priority.
Start Before the First Snowflake
My most important advice is to tackle this while the weather is still pleasant.
Furniture needs time to dry before it's covered or stored. Wood finishes need time to cure. Paint needs appropriate temperatures. Wet cushions and freezing nights are not particularly cooperative.
And there are few chores I enjoy less than brushing snow off something while thinking, “I knew I should have done this last week.”
Every job I finish now is one less unpleasant surprise waiting for Spring Me. The camp chairs come out ready to use, the little paint chips do not turn into large rust spots, and the wood may need less attention. Most of all, I am not unwrapping a chair that spent six months trapped under damp plastic. Spring Me will thank Fall Me.
Wind Changes the Rules
If you live somewhere windy, fall cleanup includes one additional question:
What could move?
We don't keep many patio umbrellas or shade cloths around because our wind has already taught me how that story ends.
Lightweight decorations, empty pots, loose furniture covers and portable chairs can become surprisingly adventurous when the wind gets serious.
So as part of fall cleanup:
put lightweight décor away
store empty pots and containers
secure covers
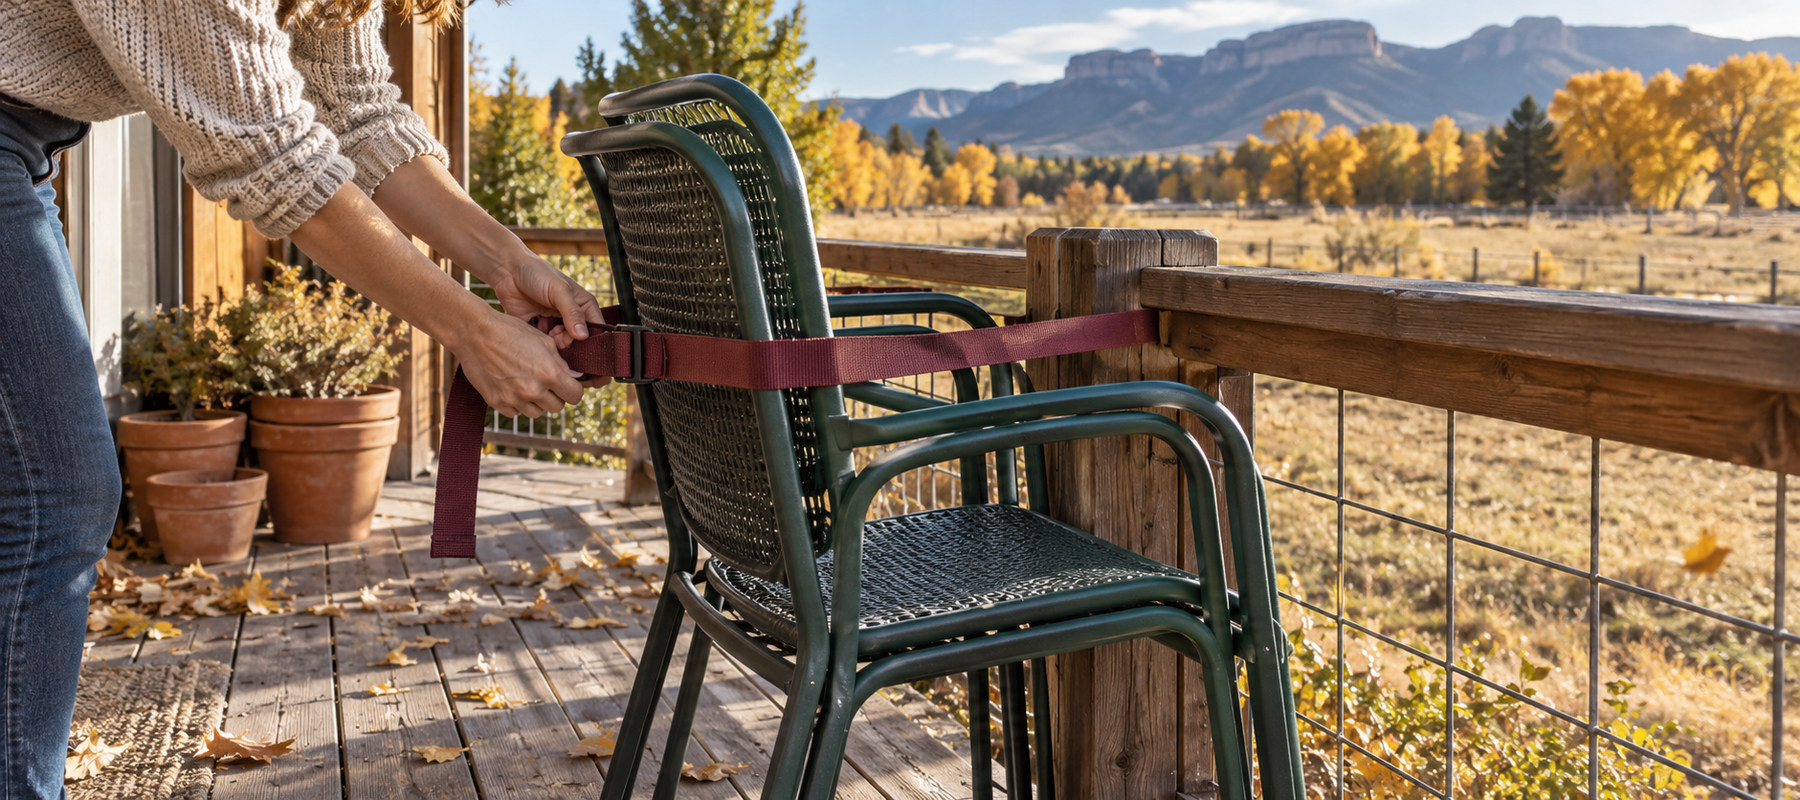
fold and store portable furniture
check anything large that will remain outside
That trampoline’s little trip to the neighbor’s pasture is all the reminder I need.
Before You Put Everything Away...
Before everything goes into storage, we still need to talk about cushions, pillows, fabric chairs, and the rest of the outdoor textiles. A cushion that feels almost dry can create a very unpleasant surprise after several months in a storage tote.
You can also read about cleaning outdoor fabrics, dealing with stains and musty smells, getting everything truly dry, and deciding what should be stored, covered, or left outside.
Because opening a storage tote next spring and discovering that last fall's slightly damp cushion has spent the winter growing its own little ecosystem is not the kind of spring surprise I'm looking for.
For today, let’s get the hard surfaces taken care of. Clean them, allow them to dry completely, repair the chips and scratches, tighten the hardware, protect the unfinished wood, deal with rust while it is still small, and secure anything the wind might decide to relocate.
And then stand back for a minute and enjoy having one more piece of the homestead tucked in for winter.
Fall cleanup around here is rarely glamorous.
But when spring finally comes back around, I want to uncover the furniture, pull out those camp chairs and get on with enjoying it—not immediately inherit a list of chores I could have handled months earlier.
And if your fall list is beginning to wander across several scraps of paper—as mine often does—you can download our Fall Cleanup Guide and keep the before-the-first-freeze jobs together in one place. The guide will also connect you with the rest of this fall-cleanup series as each new post is added.
Download the free Fall Cleanup Checklist & Caddy Guide
Visit the Fall Cleanup Resource Hub to find the rest of the series as each new project is added.
So if you're looking around at a few more fall chores than you really feel like tackling, know that I'm right here doing the same—probably with a scrub brush in one hand and a list of three more things I just noticed need doing in the other.
We’ll get there, and when spring rolls around, we’ll both be awfully glad Fall Us buckled down and got it done.
A little at a time. One area at a time. Before the snow starts flying.
From my homestead to yours,
Sandy