
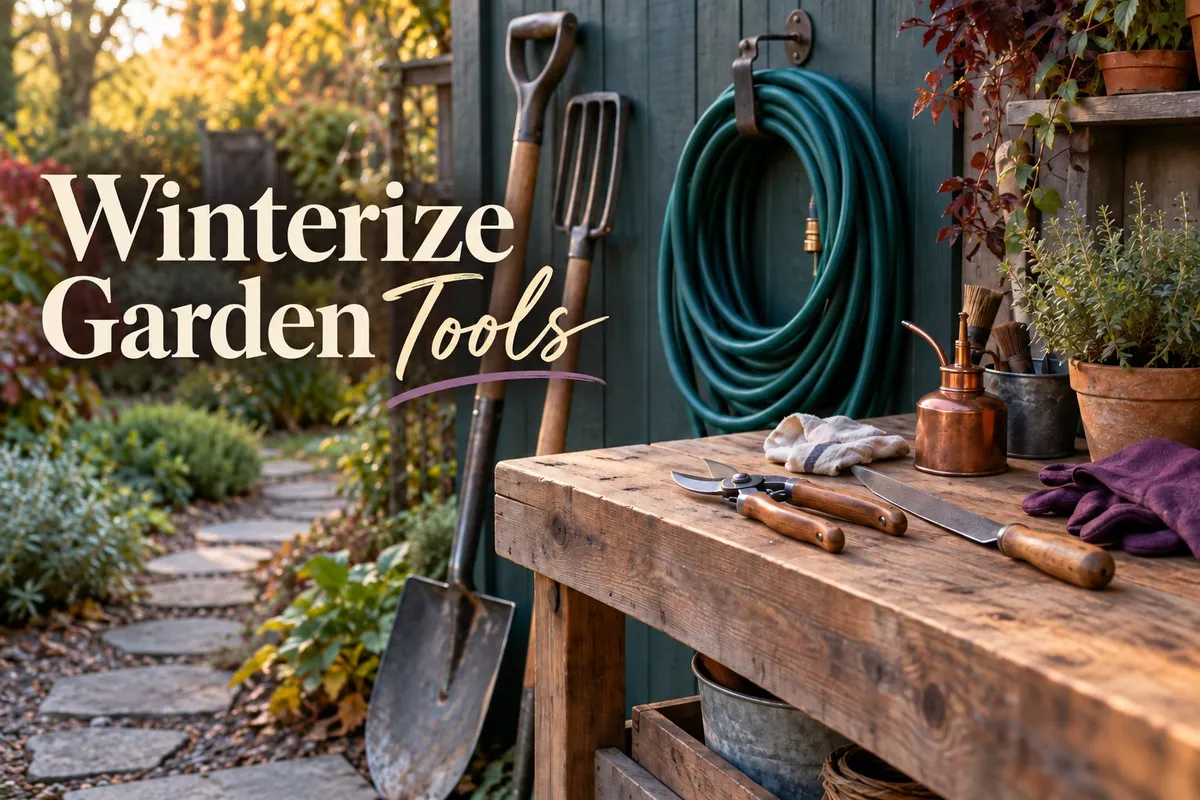
Fall Cleanup for Garden Tools, Hoses, and Outdoor Supplies
“Great things are done by a series of small things brought together.”
— Vincent van Gogh
There is the fall cleanup I picture in my head, and then there is the version that actually happens around here.
In the ideal version, every shovel, rake, hoe, pruner, hand tool, and wheelbarrow gets cleaned, inspected, sharpened, oiled, and tucked neatly under cover. Every hose is drained and coiled. Every bucket has a home. Nothing is left lying where it can disappear under the first good storm.
That is what happens when I have my crap together.
In the real version, we get most of it done, a few things are still being used until the last possible minute, and at least one storage tub remains full of garden odds and ends I was certain I would organize before winter. Whether you have a balcony garden, a suburban yard, a few raised beds, or a working homestead, outdoor life does not simply close for the season. Some supplies get put away, while others need to stay accessible for pets, animals, repairs, winter gardening, or the ordinary jobs that keep happening after the weather changes.
That is why I like to approach this part of fall cleanup in layers. First, take care of the tools. Then shut down the summer watering systems. After that, prepare the hoses, hydrants, water tanks, and equipment that still have a job to do all winter.
If you would like a simple list to carry outside with you, you can download my Fall Cleanup Checklist & Caddy Guide here: Get the free guide.
Start by gathering the tools
Before I clean anything, I try to round up the tools that have wandered around the property. That may include shovels, rakes, hoes, pruners, loppers, hand tools, sledgehammers, wheelbarrows, and anything else we have used in the garden, for fencing, or around the animals. Your collection may be much smaller—perhaps a few hand tools, a hose, and a pair of pruners—but those tools still benefit from being cleaned and protected before they are stored.
Getting them into one place makes it easier to see what needs attention. I look for dried mud, rust, dull cutting edges, loose tool heads, splintering handles, and cracks in the wood. I also separate the things we may need during the winter from the tools that can be stored until spring.
This step is worth doing even if you do not have time for a full tool makeover. We have wasted more tools than I care to count because we did not take care of them properly. It is an expensive lesson every time. We have even picked up sledgehammers and other heavy tools only to have a neglected wooden handle break apart when we tried to use it. A few minutes spent checking them in the fall can save money, frustration, and possibly an injury later.
Clean, sharpen, and protect what you can
My basic end-of-season routine is simple:
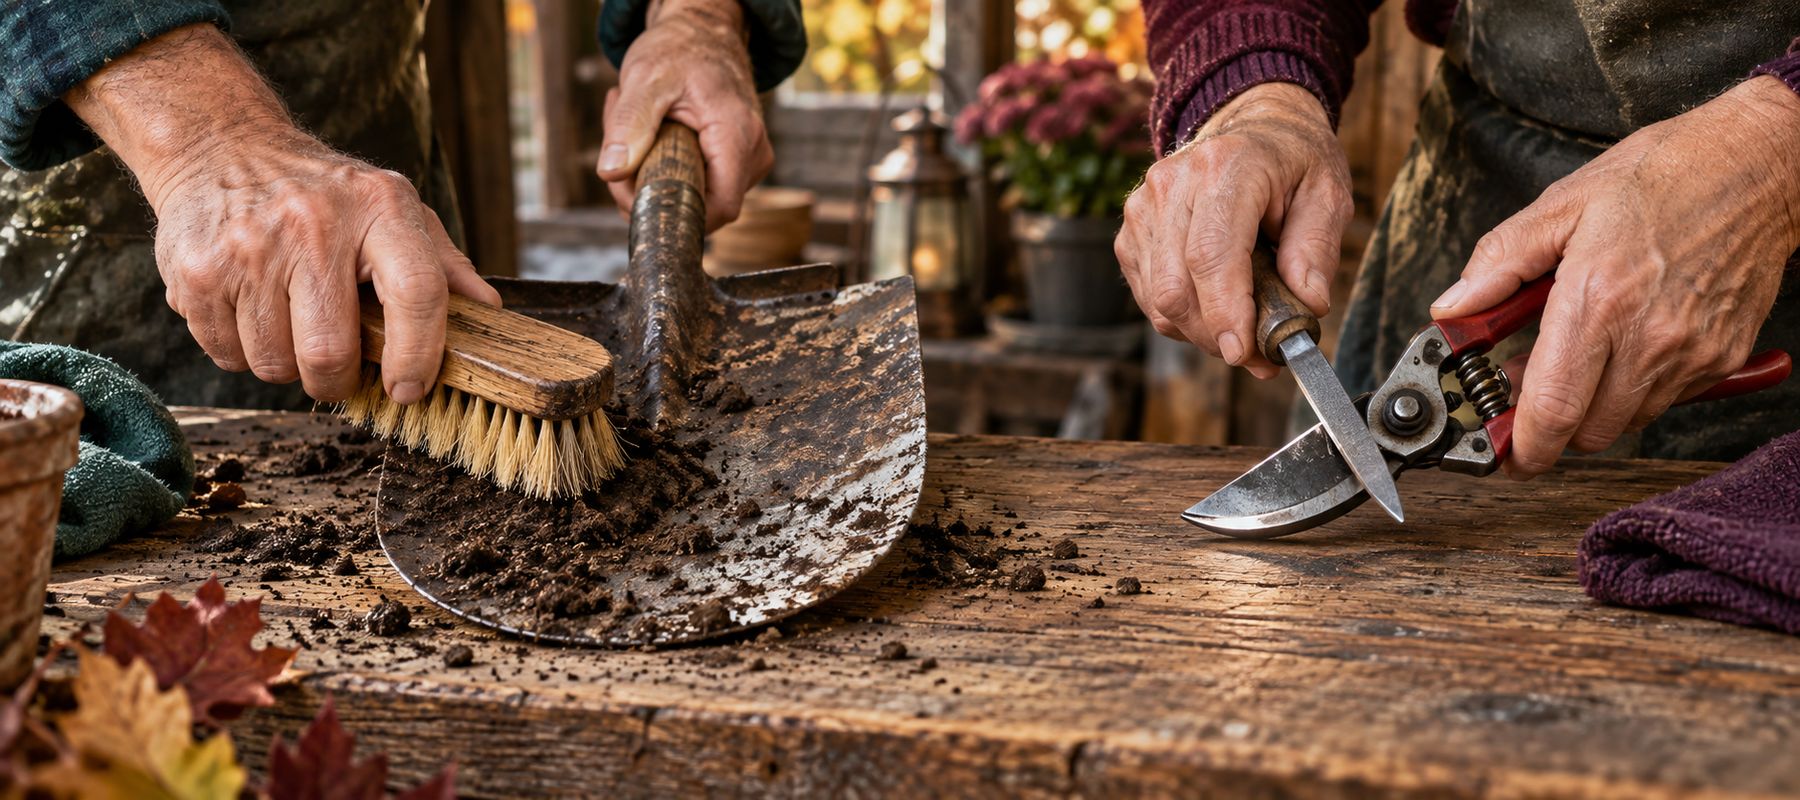
Scrape or brush off the dirt, dried plant material, and rust.
Wash tools that need more than a dry brushing.
Allow everything to dry thoroughly.
Sharpen pruners, hoes, shovels, and other cutting edges that have become dull.
Tighten loose screws and tool heads.
Smooth rough wooden handles with a sanding block if needed.
Oil the wooden handles and wipe a light protective coat onto the metal.
Cleaning first matters because we do not want to seal a summer's worth of dirt and plant residue beneath the oil. Once the tool is clean and dry, the oil helps condition the wood and gives the metal another layer of protection while it is stored.
My essential-oil tool-care routine
For wooden handles, I usually reach for hemp oil, walnut oil, or tung oil. I have used olive oil and almond oil when that was what I had available, but hemp, walnut, and tung are the ones I am more likely to choose when I am intentionally caring for the tools.
Shopping-link note: Some links in this post connect to our doTERRA Wellness Advocate shops. If you choose to purchase through one of these links, the partner whose link you use may earn compensation at no additional cost to you. We only share products that genuinely fit the recipe or project.
I do not measure this like a formal recipe. I spread some oil on a rag, add a couple of drops of Tea Tree essential oil, Oregano essential oil, or sometimes both, and rub the mixture into the handle. I also use an oiled rag on appropriate metal tool surfaces, especially where I want protection from rust and residue left from the previous growing season.
Tea Tree and Oregano are not included merely to make the tools smell good. Tea Tree has demonstrated broad-spectrum antimicrobial activity in published research, while oregano essential oil and its naturally occurring constituent carvacrol have been studied for strong antibacterial and antifungal activity. Research has also examined oregano oil against plant-related fungi, including Fusarium, Aspergillus, and Penicillium species. That makes these oils a practical fit for my goal: clean away last season's residue, discourage unwanted microbial and fungal growth during storage, and avoid carrying as much of last season's garden trouble back out with my tools in the spring.
If you used a tool on a plant with an obvious problem, give that tool extra attention instead of tossing it into the general pile. Remove all plant material, clean the joints and blades carefully, and treat every surface you can reach before oiling and storing it.
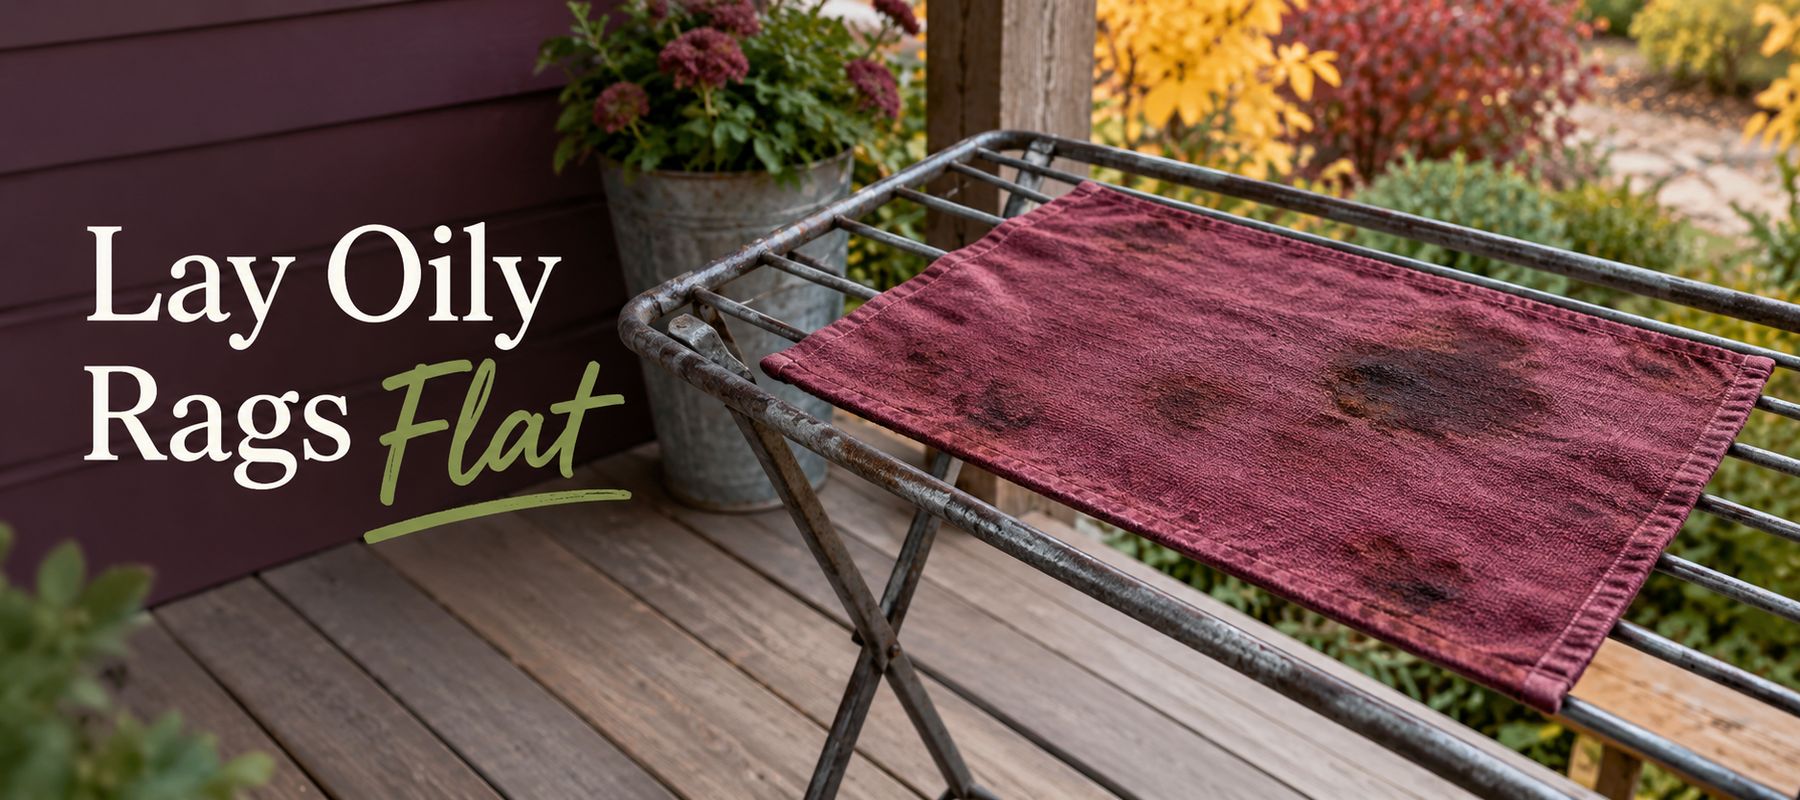
A quick reminder about oily rags: Some of the oils used to condition wood can create heat as they cure. Do not wad oily rags into a pile or toss them straight into a storage bin. Lay them flat in a safe, well-ventilated place away from anything combustible until they are completely dry, following the oil manufacturer's disposal directions. I explained this more fully in my post about cleaning and protecting outdoor wood furniture.
Drain and store the summer watering supplies
Once the tools are handled, I move on to hoses, nozzles, sprinklers, and drip irrigation.
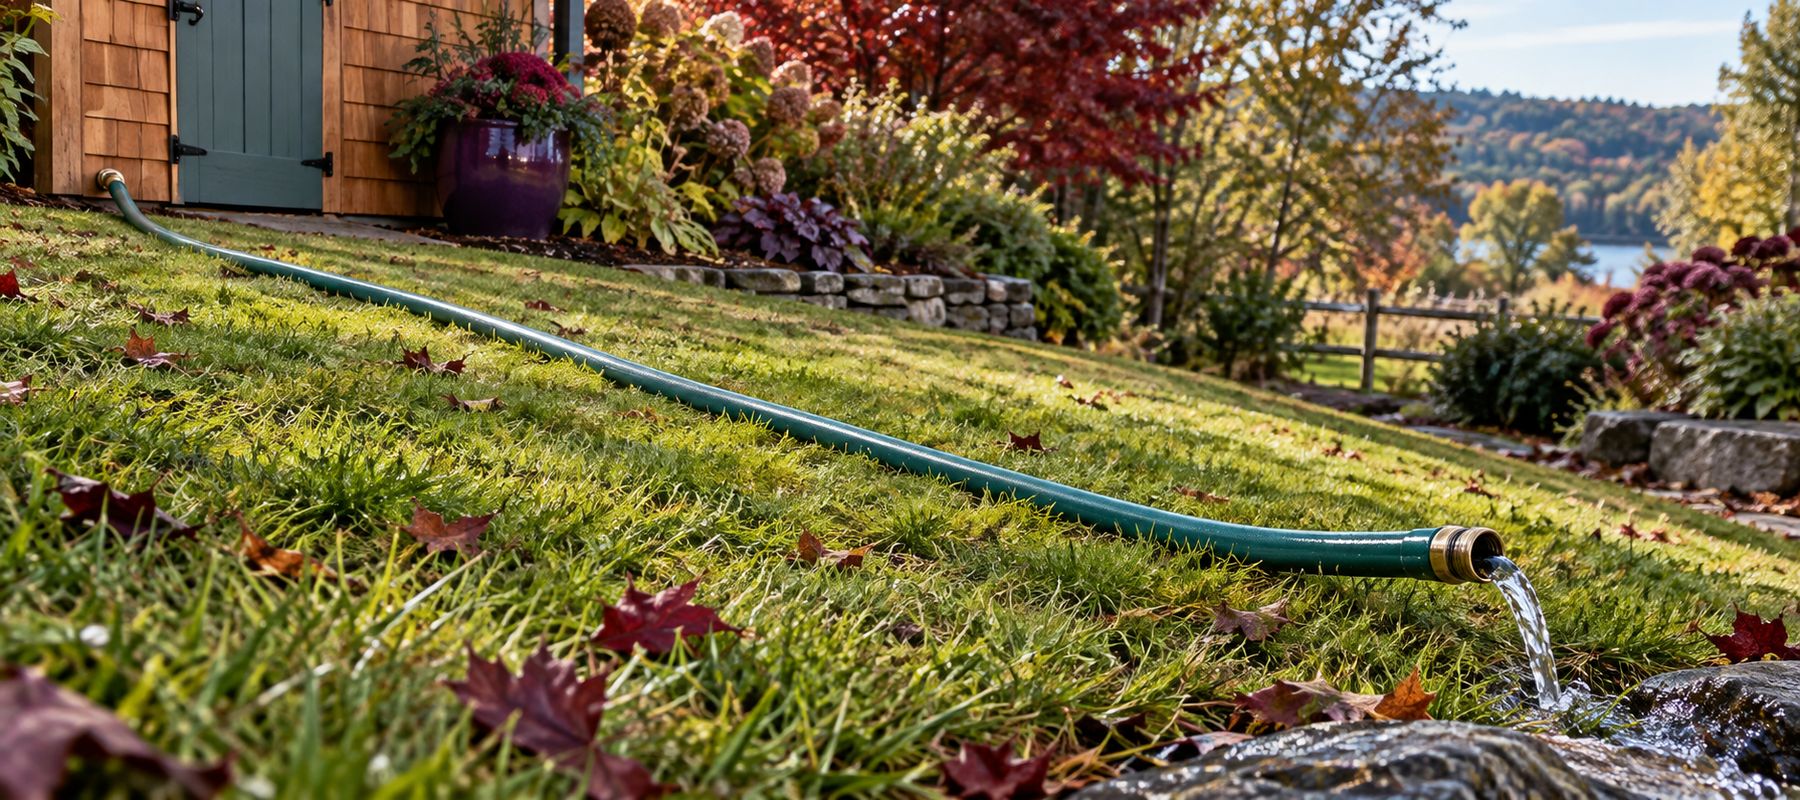
We drain the hoses and sprinklers we are finished using, remove the nozzles, and put away what we will not need again until spring. Emptying a hose is easier if you stretch it out and work from one end to the other rather than coiling it while it is still holding water. This is also a good time to check the washers, fittings, and nozzles and decide whether anything needs to be repaired or replaced.
We typically blow out the drip irrigation that waters our garden, flowerpots, and areas around the house. If you have an in-ground sprinkler or irrigation system, it also needs to be drained, blown out, or otherwise winterized according to the design of your system. Water trapped in lines, valves, sprinkler heads, or backflow components can freeze and cause damage. Colorado State University Extension has a helpful overview of preparing a sprinkler system for winter.
Compressed air can also damage an irrigation system or cause an injury when it is used incorrectly. If you do not know the pressure limits, proper connection point, and correct sequence for your system, this may be one of those jobs worth handing to an irrigation professional.
Separate what is being stored from what must work all winter
Some people can drain every hose and put them all away until spring. Others may still need one for winter gardening, cleaning muddy equipment, filling pet or animal water, or handling an occasional outdoor job. Before storing everything, decide what you will realistically need and keep those few items accessible.
Around here, putting the hoses away is not as simple as draining every one and shutting the door. We still need water for the cows, pigs, chickens, horses, and other animals throughout the winter, so certain hoses remain in use.
Those are the hoses we have to be especially careful with. When we finish filling the tanks, we disconnect the hose from the hydrant, blow or drain the water out, and lay it where it runs slightly downhill. If water settles in a low spot, it can freeze inside the hose and leave us without that water line the next time we need it.
We have learned the hydrant part of this lesson the hard way. A couple of times, someone forgot to disconnect the hose after filling a tank. The hose froze, and then the hydrant froze solid with it. We spent about two weeks waiting for the hydrant to thaw while hauling water from another part of the property. When a bunch of animals depend on that water, forgetting one hose creates a lot more work than taking a minute to disconnect and drain it.
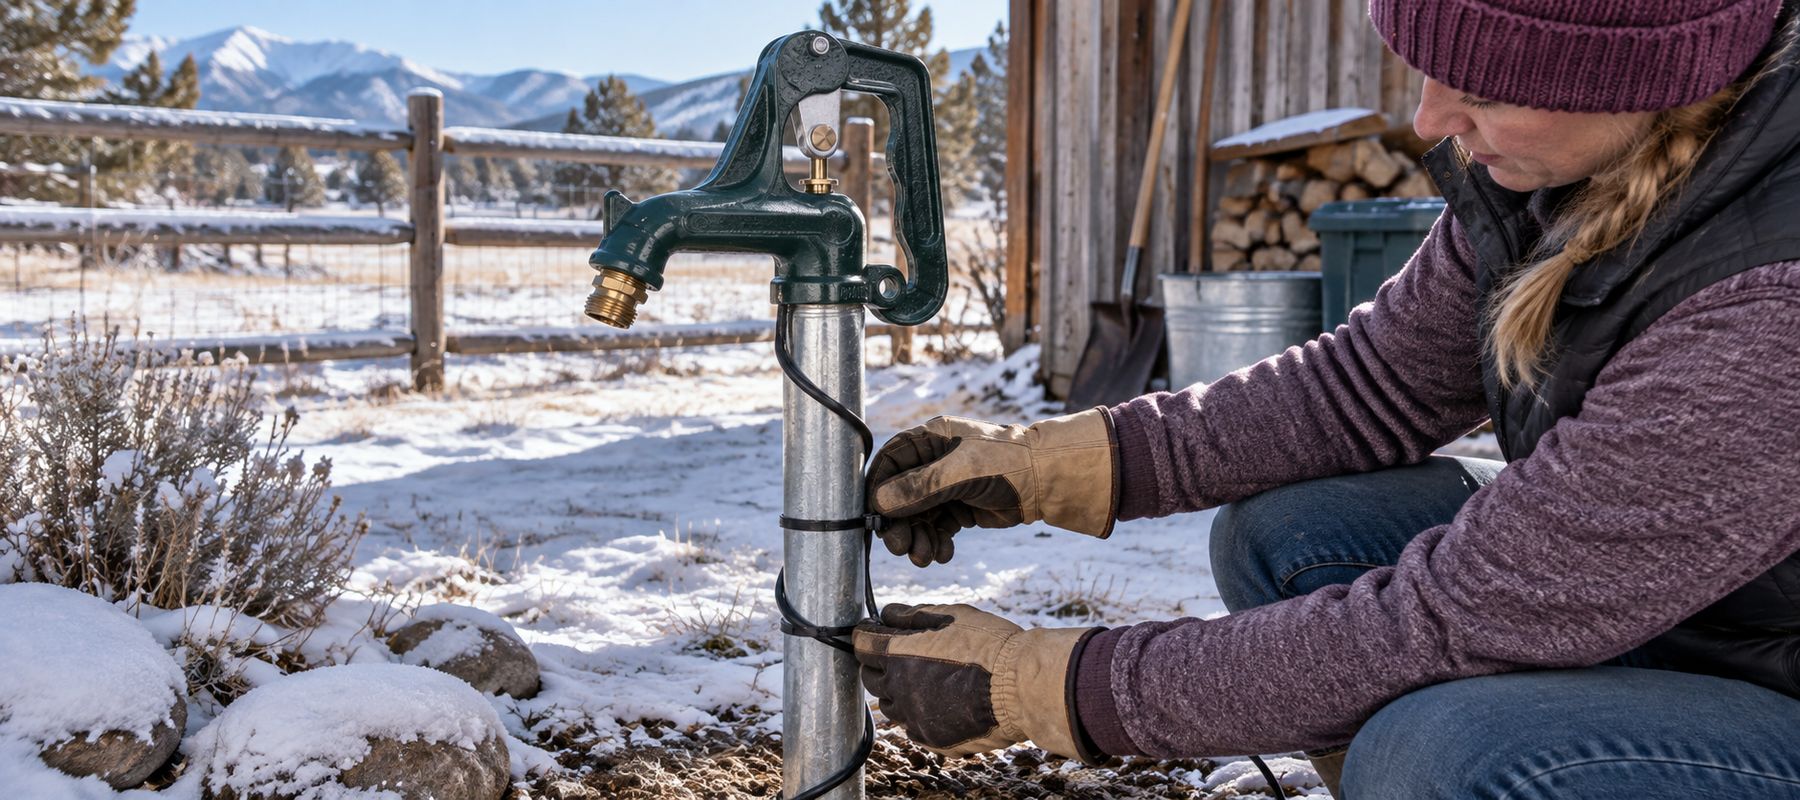
For the outdoor hydrants we expect to use during winter, we wrap the problem areas with heat tape and sometimes add an insulated sock. We do not always keep every sock on all winter; some go on during the coldest stretches when we know a particular hydrant needs extra help. Use heat tape only as directed for the specific product and the type of pipe or hydrant you are protecting.
Prepare the outdoor systems you will still use
Your winter setup may be as simple as keeping one outdoor faucet protected and one hose within reach. You may also have a greenhouse, heated birdbath, poultry waterer, pet area, or another outdoor system that still needs water or electricity. Fall is a good time to make sure those items are clean, working, and safely set up for the colder months.
Fall is also when we put away the chicken and goose pool and switch the livestock water setup over for winter. We often use smaller tanks during the cold months because they are easier to empty, clean, and manage when the weather is working against us.
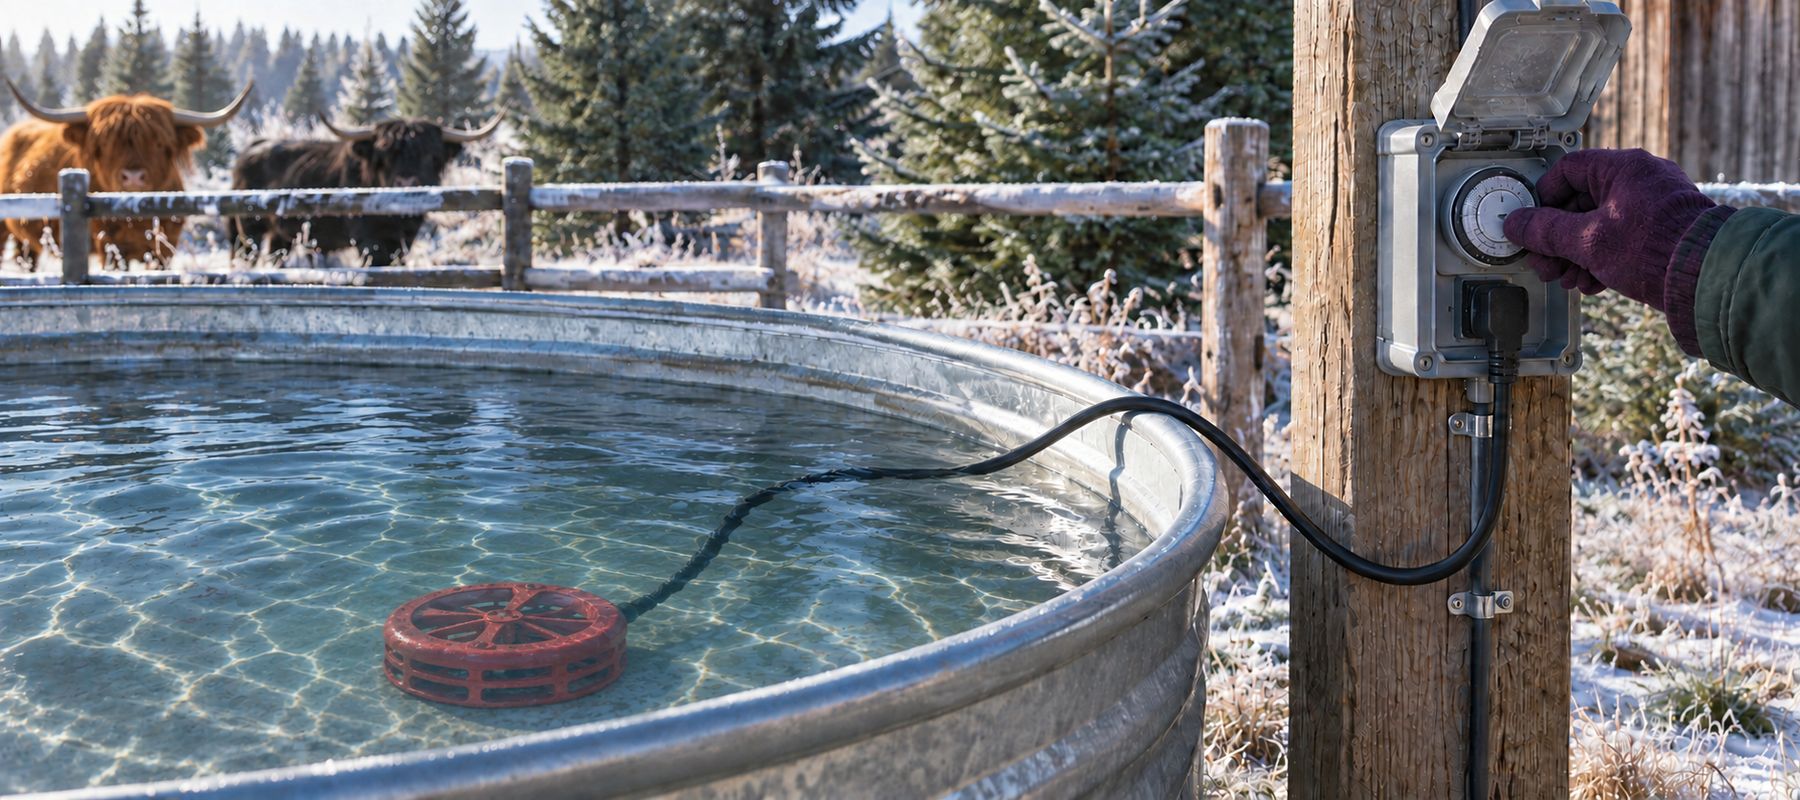
This is the time to gather the tank heaters, inspect them, and get them organized before we desperately need them. Look over the heater, cord, plug, and any protective covering. Make sure the heater is appropriate for the tank material and that every outdoor electrical connection is set up for wet conditions and the electrical load it will carry.
We use timers with our tank heaters so they can turn off during the warmer part of the day and come back on as the temperature drops. That helps us avoid running them when they are not needed. If you use a timer, it needs to be outdoor-rated, able to handle the heater's electrical load, and allowed by the heater manufacturer. This is a place to follow the directions for the equipment you actually own rather than borrowing someone else's setup.
The important part is to do this while the weather is still giving you time to think. Sorting out a questionable plug or finding a missing heater is much easier on an ordinary fall afternoon than it is during the first bitter cold night.
Put away the hummingbird feeders and bring out the winter bird feeders
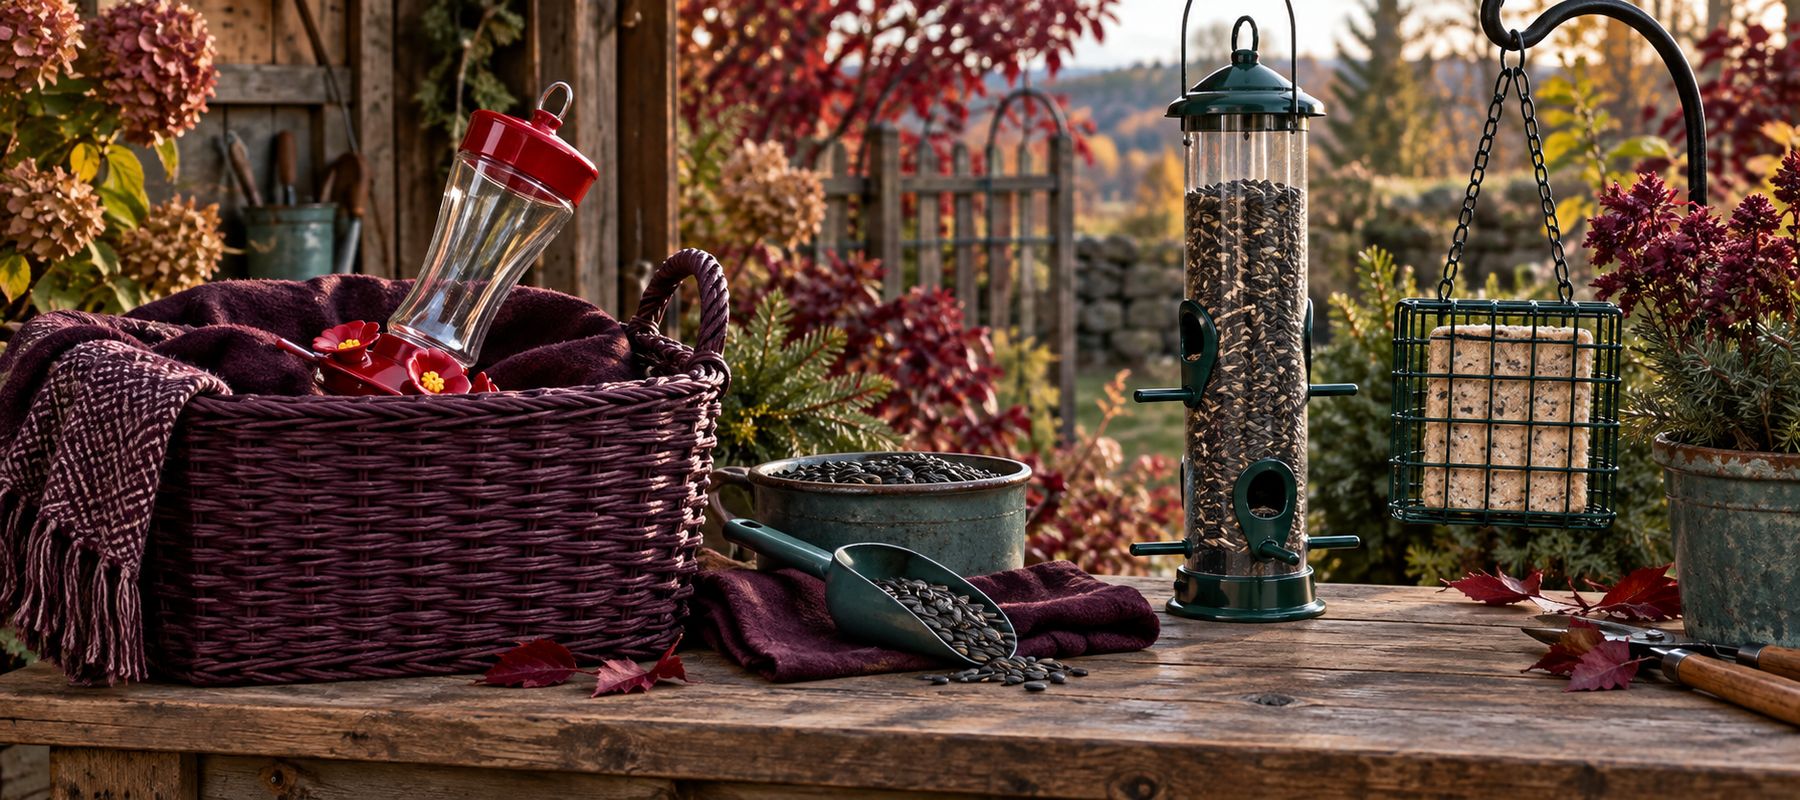
The change of seasons also means a change at the bird-feeding station. Once the hummingbirds have finished migrating through our area, I take down the hummingbird feeders, wash them carefully, let them dry completely, and store them where they will stay clean until spring.
Then I haul out the birdseed feeders for the birds that spend the winter with us. Before filling them, I check for old seed, damp corners, clogged openings, cracks, and anything that needs to be cleaned or repaired. Feeders should be fully dry before fresh seed goes in so moisture is not trapped with the seed. The Cornell Lab of Ornithology also offers practical instructions for cleaning bird feeders before refilling them.
It feels a little like changing shifts. The hummingbird feeders are cleaned and put to bed, and the winter feeders come out to serve a completely different crowd.
Round up the things that collect outdoors
After the tools and water systems, I take a walk around and look for all the things that have migrated outdoors over the summer. On a patio or in a small yard, that might mean toys, planters, watering cans, garden decorations, extension cords, and supplies from projects that never quite got finished. At our place, the list also includes feed buckets, tubs, extra feed barrels, storage totes, and tarps.
Some things only need to be emptied, dried, and stacked. Others need to be brought under cover. Buckets and tubs left upright collect water, snow, and ice. A storage tote with a loose lid can become a winter home for moisture, mice, or both. Feed containers need secure lids and a location where they are protected but still accessible.
I am not particularly good about bringing in plant pots, although most of the ones we have now can handle being outdoors. That is partly because I have already lost most of my terracotta pots. I left them outside, moisture settled into the porous clay, and freezing weather eventually cracked them. Apparently I learned that lesson one flowerpot at a time.
The children's toys are another category altogether. If it can fill with water, blow across the yard, get hit by the tractor when we are snowplowing, or become impossible to find until April, this is its chance to come inside.
Do not forget the extension cords
Extension cords are a year-round battle here. We can gather every cord and put it away at the beginning of winter, but sooner or later someone needs to charge a car battery, use a tool, or make a repair. A cord comes back out, the job gets finished, and the cord does not always make it back inside before the next storm.
The worst place for that to happen is along the north side of our house, where snow and ice can stay for most of the winter. Once a cord is buried and frozen into that mess, it may not be coming out until well into spring.
During the fall walk-around, I gather unused cords, inspect them for damage, coil them, and put them under cover. Any cord that must remain in use needs to be rated for outdoor conditions, connected appropriately, and kept out of standing water, vehicle paths, and places where shovels or equipment may damage it. The same check applies to the cords serving tank heaters and heat tape.
Store things where you can actually find them
We do not have a garage. We have an enclosed trailer, multiple sheds, and a simple covered area where we park the tractor. We are also very good at convincing ourselves that one more storage structure will solve our storage problem, only to fill that one too.
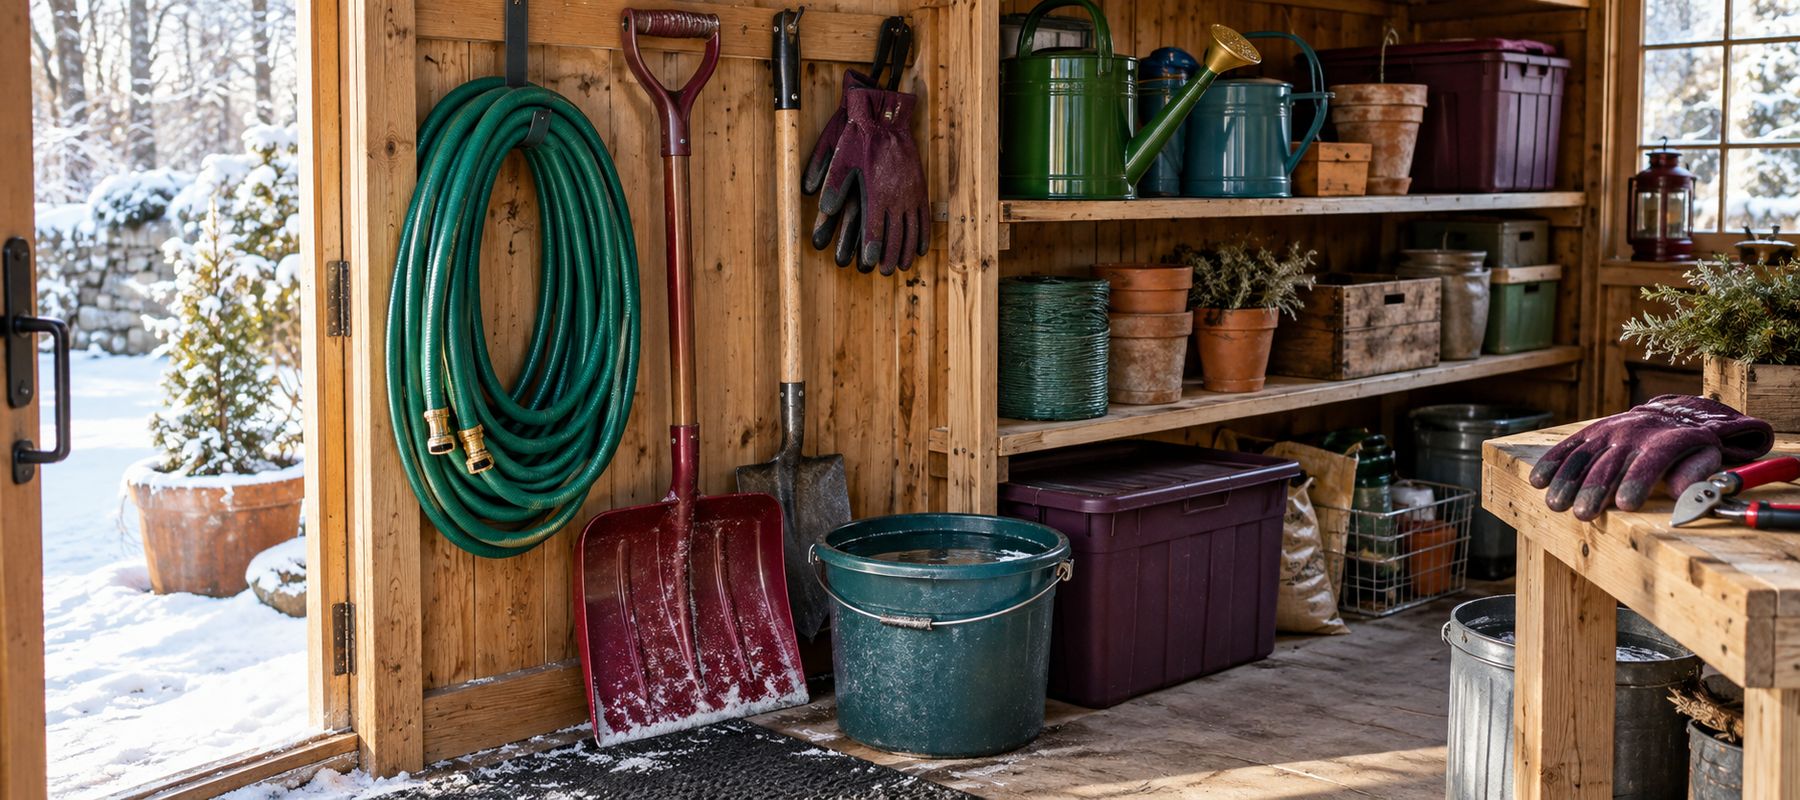
Your storage space may be a garage, basement, porch closet, balcony cabinet, garden shed, or one weatherproof tote. The size of the space matters less than keeping things dry and putting the items you will need first where you can reach them.
Because of that, my goal is not to create a picture-perfect storage system. I want things protected, safe, and reasonably easy to find.
Long-handled tools such as rakes and shovels may stay near the tractor under its cover instead of disappearing into the back of a crowded shed. Items we will use during winter stay toward the front. Summer-only supplies can go deeper into the enclosed trailer or shed. If I actually get the garden storage tubs sorted, a label on the outside saves me from opening every tub in spring.
Use the space you have according to how you really live. A storage plan is not helpful if the snow shovel is trapped behind the patio cushions and the winter hose is underneath six boxes of garden decorations.
Some fall jobs continue all winter
Not everything can be carried indoors. Patio furniture, grills, bicycles, firewood, equipment, and larger outdoor items may have to stay beneath a cover. At our place, that includes sleighs and horse-drawn carriages, and their tarps have a way of coming loose whenever the wind decides to test them.
That means covering them is not a one-time fall job. Checking the tie-downs and replacing a shifted tarp becomes part of our winter routine. The same is true for anything else stored beneath a cover instead of inside a building. A tarp that was secure in October may not be where you left it after a December windstorm, or it may need a heavy pile of snow cleared from the top.
Fall preparation helps, but some equipment still needs an occasional check throughout the season.
Take one last walk around
Before I call this part of the cleanup finished, I like to make one more pass around the house, patio, yard, garden, storage areas, animal areas, and driveway. If your outdoor space is smaller, the same check may take you around a balcony, porch, or shared storage area. This is not a detailed cleaning round. I am looking for anything that will cause trouble after the weather changes.
Are the unused hoses drained and disconnected?
Are the winter hoses where we can reach them?
Are the hydrants prepared for cold weather?
Has the in-ground irrigation system been winterized?
Are the tank heaters, timers, and cords ready?
Are tools dry, protected, and under cover?
Are buckets and tubs empty or turned upside down?
Are the hummingbird feeders clean and stored?
Are the winter bird feeders clean and ready?
Are toys, cords, tarps, and loose supplies out of vehicle and snow-removal paths?
Is there anything sitting outside that I will be annoyed to discover in the spring?
That last question usually finds at least one more job.
Put It Away Ready for Next Season
When the first warm days return, it is awfully nice to reach for a shovel with a solid handle, connect a hose that is ready to use, and open the storage tubs without finding rust, moisture, or a forgotten mess waiting inside. A little care now means more time to enjoy spring instead of spending the first good weekend replacing tools and sorting out problems that winter made worse.
I will be working through this list right alongside you, probably gathering most of the tools, forgetting at least one hose until the last minute, and checking those carriage tarps again after the next wind.
A little at a time. One area at a time. Before the snow starts flying.
If you would like the printable checklist and the rest of the Fall Cleanup series delivered to you, join my email list here. You can also visit the Fall Cleanup Resource Hub to find the projects, practical steps, and recipes as each new post is added.
From my homestead to yours,
Sandy

Copyright 2026 - Living Our Essential Lives l All rights reserved l Privacy Policy | Terms of Service