
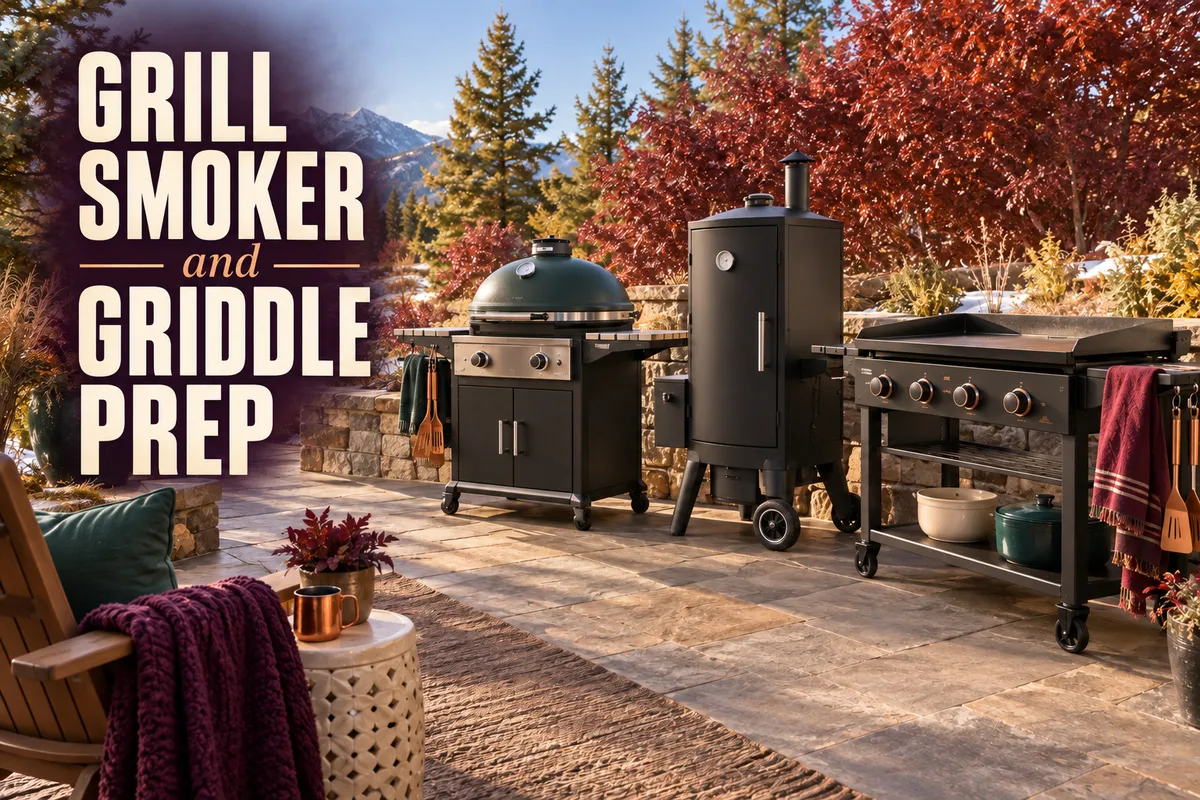
How to Clean and Prep Grills, Smokers, and Griddles for Winter
“No one is born a great cook, one learns by doing.”
— Julia Child
Around here, the end of summer does not mean the end of outdoor cooking.
We may have snow piled along the deck and temperatures cold enough to make me question my own good sense, but we still use our gas grill, charcoal grill, smoker, and flat-top griddle during the winter. There is something pretty wonderful about stepping outside on a cold evening and coming back in with dinner sizzling hot from the grill.
My fall cleaning clears away a summer’s worth of grease, smoke, dust, and baked-on food, leaving our outdoor cooking equipment protected and ready to use all winter.
Each type of outdoor cooker needs a slightly different cleaning approach. Grill grates can handle a good degreasing scrub, while a seasoned steel griddle needs to be dried and reoiled. A pellet smoker has ash and sawdust hiding in places where water and cleaner do not belong, and painted markings, plastic knobs, and specialty finishes need a gentler touch than the heavy metal cooking surfaces.
It sounds like a lot when I list everything at once, so I tackle one greasy appliance at a time and keep the project manageable.
Start With a Safe, Cool Cooking Area
Before taking anything apart, shut off the equipment and allow it to cool completely.
For a gas grill or propane griddle, close the burner controls and the valve on the propane tank. If you are doing a deep cleaning around the burner system, disconnect the tank according to the instructions for your equipment.
Unplug electric pellet grills, smokers, and any other powered equipment before cleaning inside them. Charcoal, embers, and ash can hold heat much longer than they appear to, so make certain they are completely cold before removing them. This is not the place to test whether “probably cool enough” actually means cool enough. Ask me how I know.
I also like to gather everything before I begin:
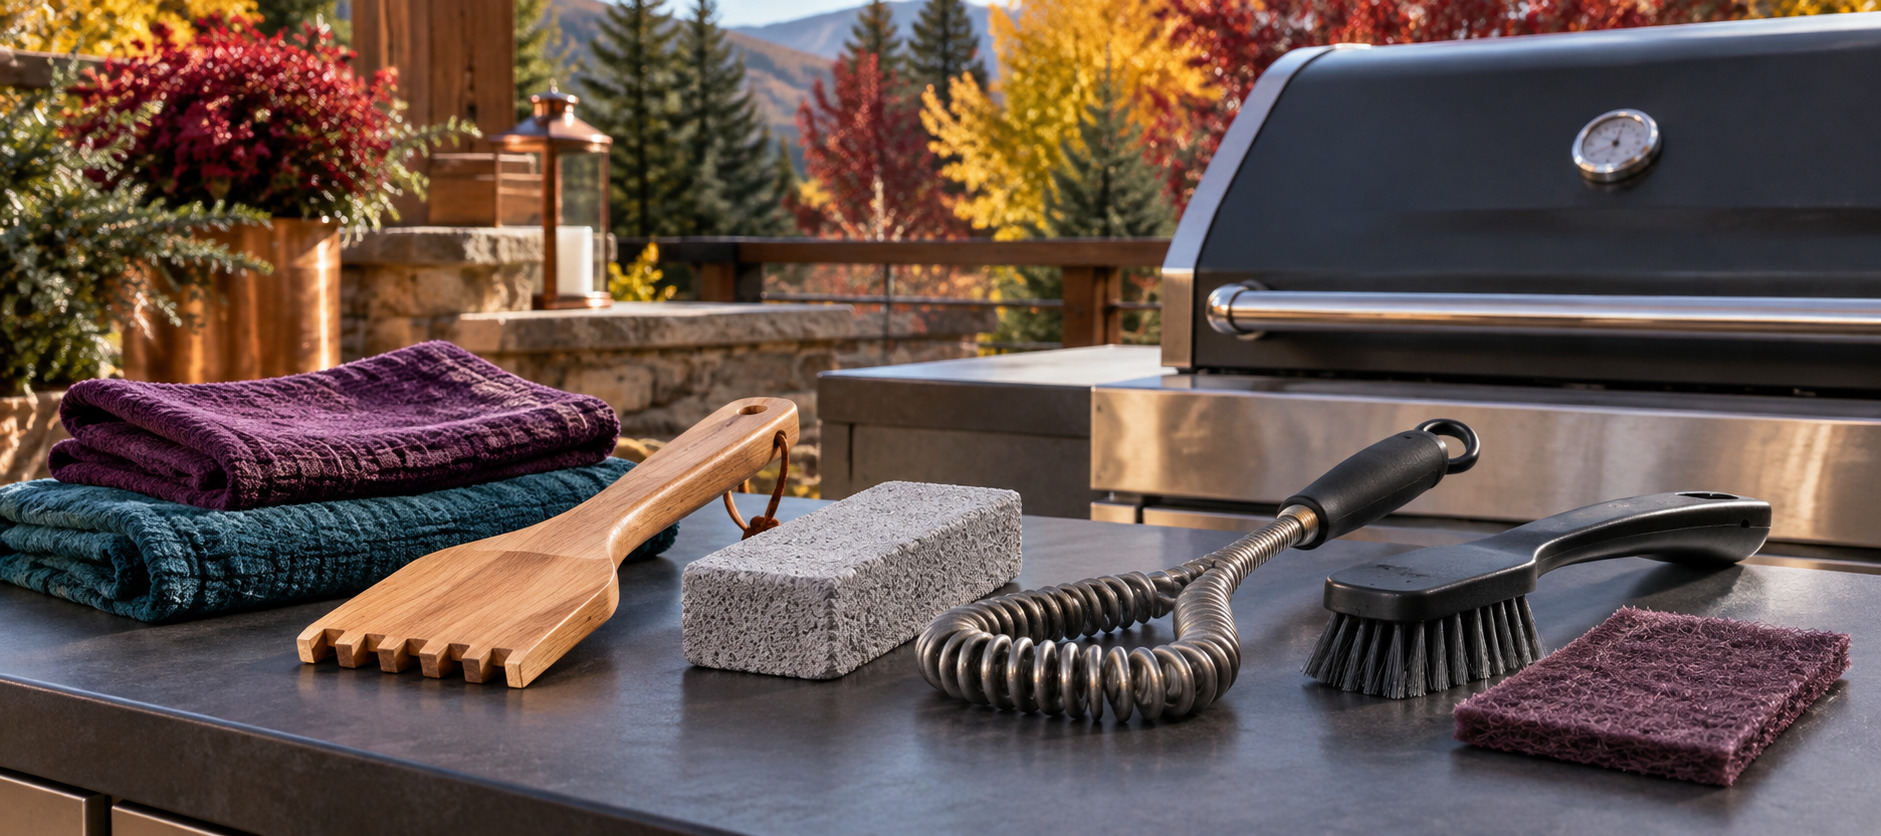
Heavy-duty gloves
A grill scraper or bristle-free grill brush
A nylon scrub brush
A non-scratch scouring pad
Old cleaning cloths
A bucket of water—as hot as I can comfortably handle
Baking soda
Natural dish soap, liquid Castile soap, or doTERRA On Guard Cleaner Concentrate
doTERRA Lemon or Wild Orange essential oil
A shop vacuum for a completely cold pellet smoker
Avocado oil, beef tallow, lard, or another clean animal fat for reseasoning
A small brush or wooden skewer for tight corners
Please Be Careful With Wire Grill Brushes
Those fine wires can loosen from a traditional wire grill brush, remain on the grate, transfer to food, and then be swallowed. Ingested wires have caused serious injuries to the mouth, throat, stomach, and intestines—sometimes requiring surgery.
I prefer a bristle-free tool, grill scraper, nylon brush used on a cool surface, grill-cleaning stone approved for the grate material, or another method that cannot leave tiny wires behind.
If you insist on using a wire brush, inspect it closely before every use. Then carefully examine and wipe down the entire cooking surface afterward. Those little wires can be almost impossible to see once they are sitting on a dark grate, and they are definitely not the sort of extra iron anyone wants with dinner.
My Citrus Essential Oil Grill-Cleaning Paste
Shopping-link note: Some links in this post connect to our doTERRA Wellness Advocate shops. If you choose to purchase through one of these links, the partner whose link you use may earn compensation at no additional cost to you. We only share products that genuinely fit the recipe or project.
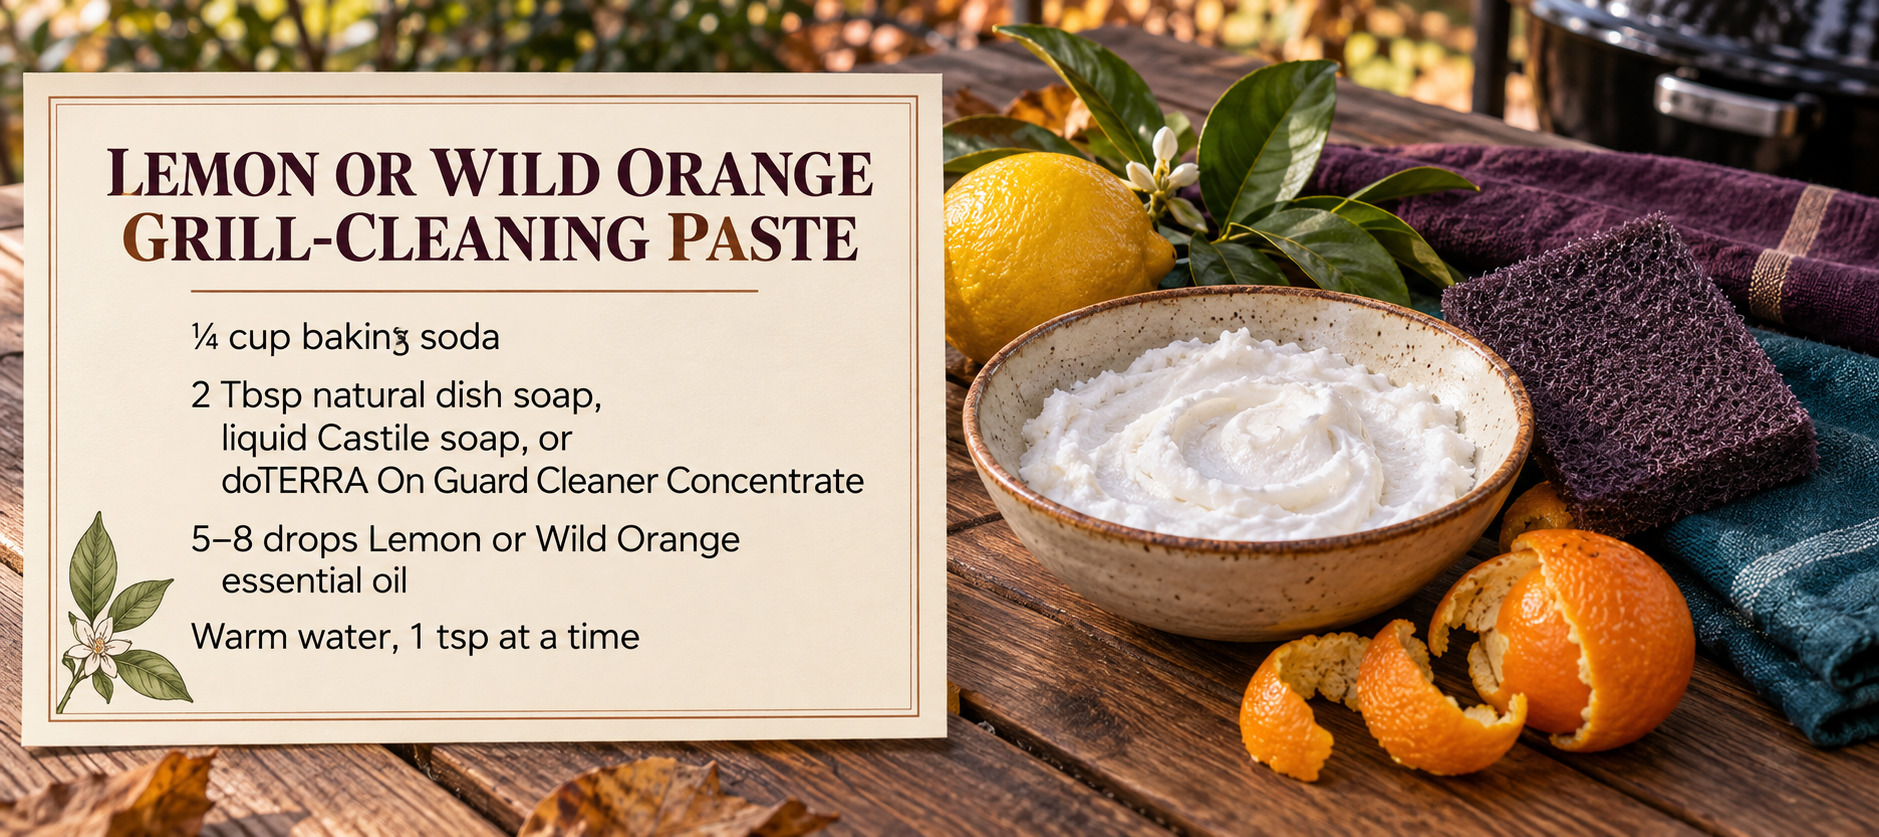
This is a simple cleaning paste for sturdy metal grates and other compatible cooking surfaces. The baking soda provides mild scrubbing power, the soap or cleaner concentrate helps lift greasy buildup, and Lemon or Wild Orange essential oil gives the mixture extra help with the sticky, baked-on mess grills are so good at creating.
Lemon or Wild Orange Grill-Cleaning Paste
You will need:
¼ cup baking soda
2 tablespoons natural liquid dish soap, liquid Castile soap, or doTERRA On Guard Cleaner Concentrate
5–8 drops doTERRA Lemon or Wild Orange essential oil
A small amount of warm water, as needed
To make and use it:
Combine the baking soda, your chosen soap or cleaner concentrate, and the essential oil in a glass or stainless-steel bowl.
Stir in warm water a teaspoon at a time until the cleaner becomes a soft, spreadable paste. You want it to stay where you put it rather than run down into the burner system.
Brush or spread the paste over the cool, dirty grate or compatible metal surface.
Let it sit for approximately 15–30 minutes.
Scrub with a damp bristle-free grill tool, nylon brush, or non-scratch scouring pad.
Rinse thoroughly with clean water.
Dry the surface completely.
For heavier buildup, repeat the process or give it a little more time. Some jobs need another round and a little more elbow grease. Apparently, essential oils have not yet learned to hold the scrub brush for us, but they do make the job much easier.
Using Essential Oils on the Grill
Lemon and Wild Orange are two of my favorite oils for cutting through greasy, sticky residue. I use them on sturdy metal grates and compatible cooking surfaces as part of the cleaning paste, then rinse away the cleaner, loosened grease, and grime.
I am more cautious around plastic handles with markings, painted temperature markings, control labels, decals, and specialty exterior finishes. Citrus oils are very good at loosening sticky material, which is helpful until the “sticky material” happens to be the lettering beside the control knob.
For those areas, I apply the diluted cleaner to my cloth rather than directly to the appliance and test a hidden spot first. A cleaner that works beautifully on a heavy stainless-steel grate may be far too ambitious for a painted line or plastic knob.
Cleaning a Gas Grill
A gas grill collects grease in more places than we realize. Cleaning only the top of the grate may make it look better, but it leaves a surprising amount of buildup underneath.
1. Clean the Grates
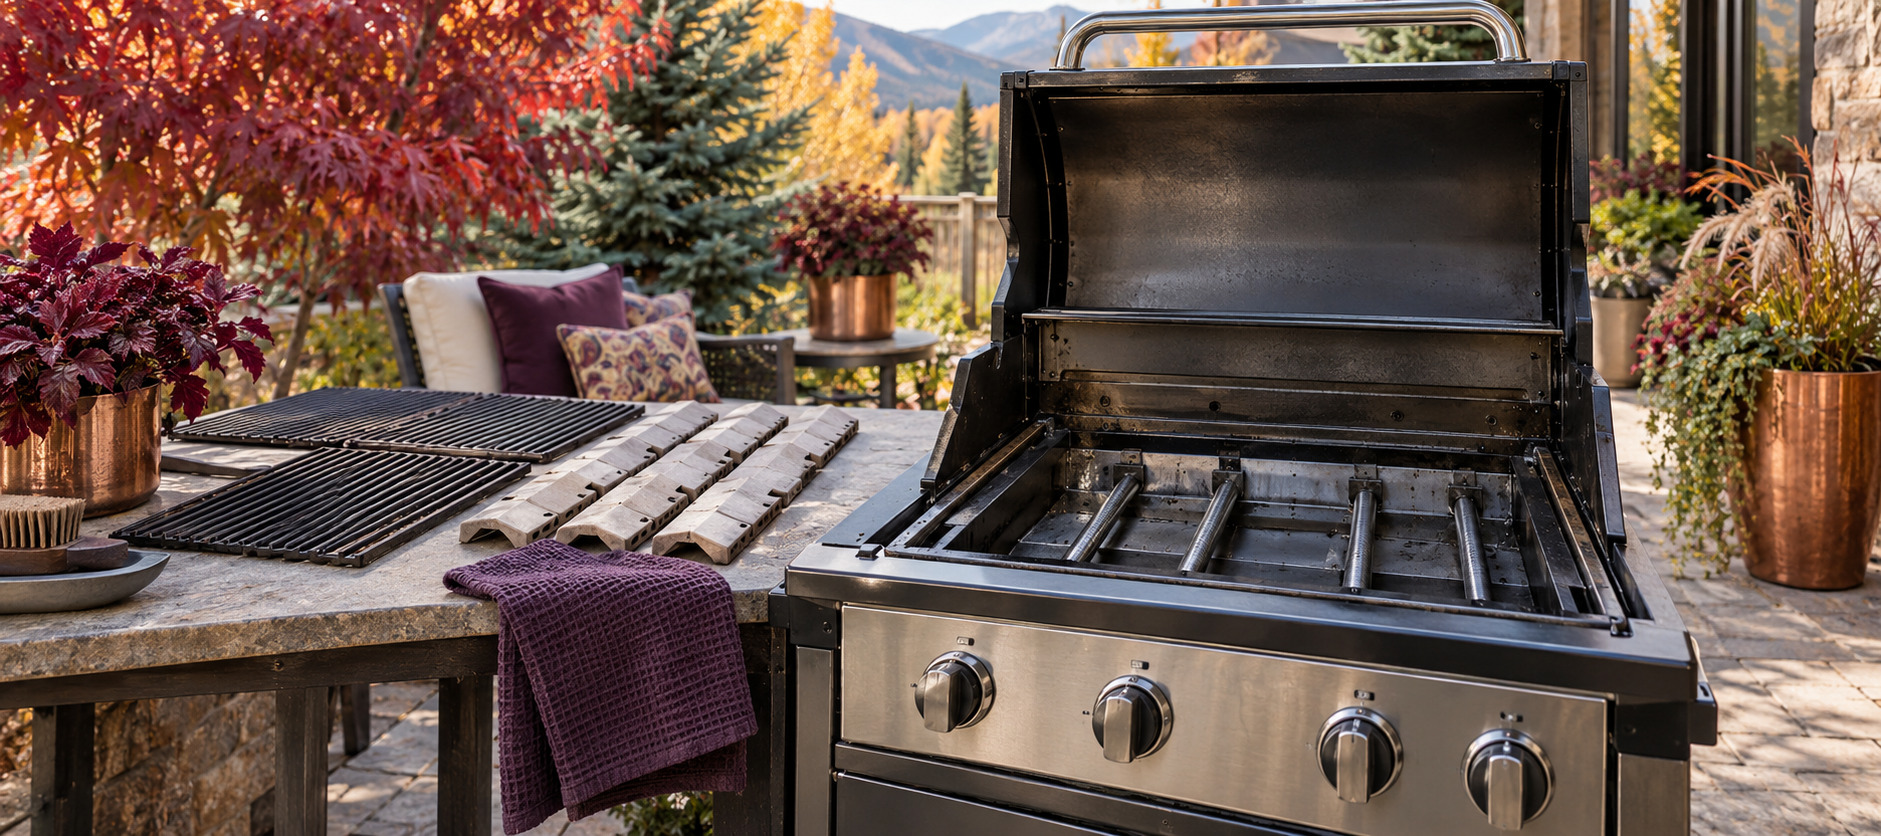
Remove the cool grates and scrape away loose food and carbon. Apply the Lemon or Wild Orange cleaning paste, let it rest, scrub, and rinse thoroughly.
Dry cast-iron grates promptly. Once they are completely dry, wipe them with a whisper-thin layer of avocado oil or clean rendered animal fat such as beef tallow or lard. This helps protect the bare metal and maintain the seasoning.
2. Remove Debris From the Cook Box
Take out any removable heat-balancing or ceramic briquettes and inspect them according to the manufacturer’s directions. Brush loose, dry debris from the cook box toward the removable grease tray rather than flooding the entire bottom of the grill with water.
Depending on the material and condition of the briquettes, they may only need to be brushed clean and turned over. Replace any that are crumbling, heavily damaged, or no longer performing properly.
Avoid pushing cleaner, water, or loosened grease into burner ports.
3. Check the Burners
Look for clogged openings, corrosion, spiderwebs, insects, or nesting material. A small creature can accomplish a surprising amount of unauthorized remodeling when nobody is looking.
Use the cleaning method recommended in the appliance manual. Burner tubes and ignition components are places where a dry brush and careful inspection usually make more sense than a wet cleaning paste.
4. Empty and Wash the Grease Tray
This is one of the most important steps if mice and other little opportunists are a problem. Old grease and food drippings are practically a handwritten invitation.
Scrape away the heavy buildup. Then wash the tray with hot soapy water or diluted doTERRA On Guard Cleaner Concentrate. Add several drops of doTERRA Lemon or Wild Orange essential oil to help cut through the remaining greasy residue. Rinse it well and let it dry completely before putting it back.
5. Wipe Down the Outside Carefully
The lid and sturdy metal side shelves can usually be cleaned with an appropriate diluted cleaner. Knobs, decals, painted lettering, and plastic pieces get a gentler touch. Spray the cloth rather than the grill so the cleaner stays exactly where you want it.
For unpainted cast iron or carbon-steel pieces on the inside or outside of the cooking equipment, a very thin coat of avocado oil or clean animal fat can help protect the metal after cleaning. Do not smear oil or fat over painted, powder-coated, stainless-steel, or plastic exterior surfaces. That generally creates a sticky dust catcher rather than useful seasoning.
Before the next use, inspect the hose, regulator, tank, and connections. The National Fire Protection Association’s grilling guidance recommends checking propane tanks, hoses, and connections for leaks before using propane appliances.
Cleaning a Flat-Top Griddle
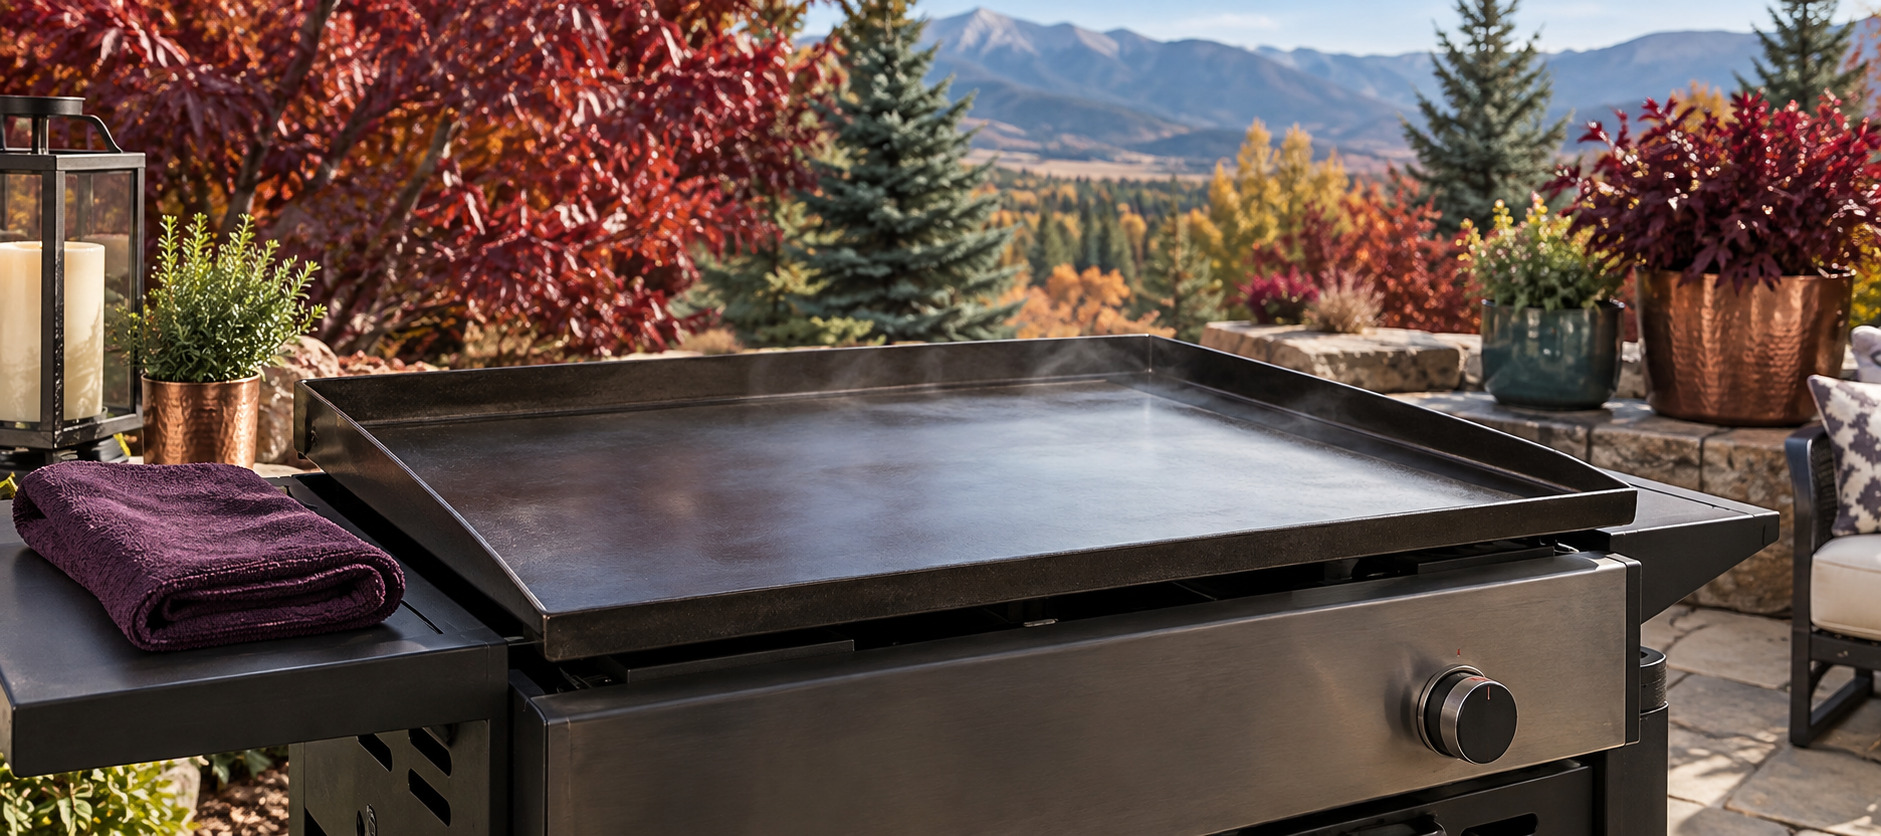
A flat-top griddle has a seasoned steel cooking surface that needs its protective layer maintained.
For routine cleaning, scrape away food while the surface is still warm enough to release it, following the manufacturer’s directions. Use a small amount of water if the manufacturer allows it, scrape the loosened residue into the grease cup, and wipe the surface clean.
For a deeper fall reset, the Lemon or Wild Orange cleaning paste can help with stubborn greasy buildup. If a deep scrub removes some of the existing seasoning, rebuild that protective finish afterward.
Once the cooking surface is clean:
Dry it thoroughly with a clean cloth.
Reheat the griddle to evaporate any moisture hiding along the edges, seams, and corners.
Apply a whisper-thin coat of avocado oil or clean rendered animal fat such as beef tallow or lard across the cooking surface, edges, and any other uncoated steel that needs protection.
Wipe away the excess until the griddle almost looks dry. If it looks like an oil slick, there is still too much.
Heat the griddle again until the thin coating has set into a dry, protective finish.
If the griddle was stripped down to bare steel, repeat the thin coating and heating process several times to rebuild the seasoning.
Empty and wash the grease cup.
Avocado oil is my first choice when I am rebuilding the seasoning because it handles high heat well and forms a dependable protective layer. Choose a good-quality avocado oil you trust and follow the seasoning temperatures recommended by your griddle’s manufacturer. Tallow and lard are also useful non-seed options, especially for regular cooking and maintenance.
Water, bare steel, and time are a good recipe for rust. I always reheat our griddle after a thorough cleaning to make certain the water has evaporated and the surface is completely dry. Then I add that very thin layer of avocado oil or animal fat and heat it again to help it polymerize and bond to the steel.
That extra few minutes is much easier than discovering a rusty griddle the next time somebody wants pancakes.
Cleaning a Charcoal Grill
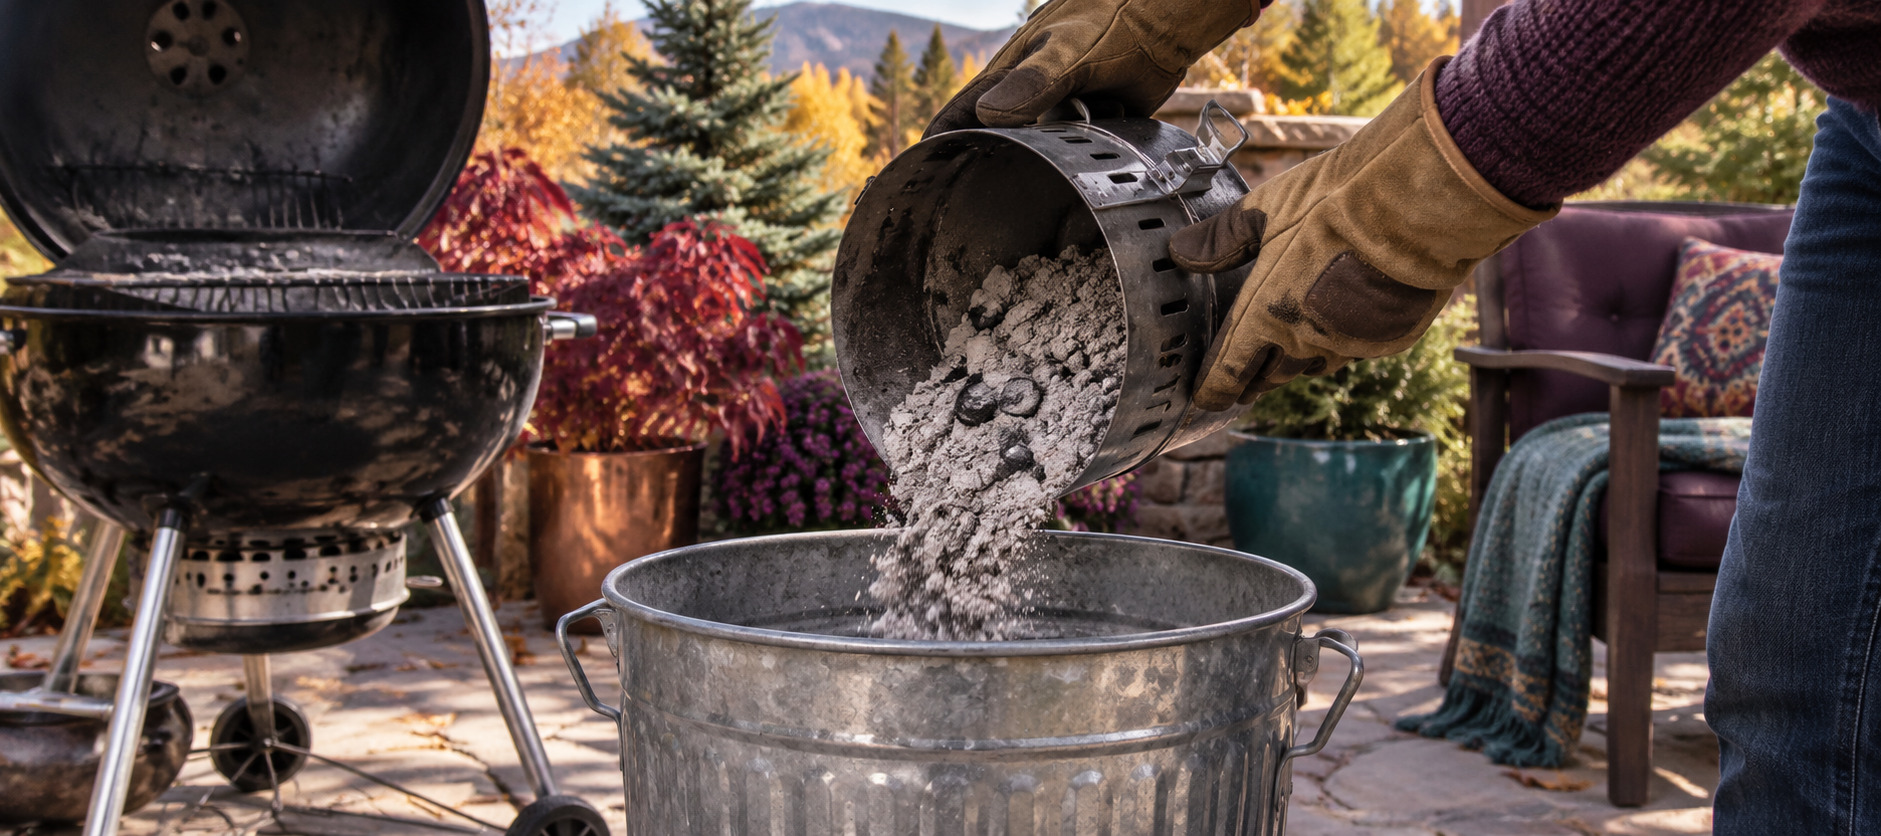
The first rule for a charcoal grill is patience. Ash that looks cold may still hold heat, so give it plenty of time before emptying the grill. Ask me how many times it took me to learn this lesson and how easy it is to get melted plastic off of flagstone pavers.
Once everything is completely cold:
Remove the grates and clean them with the Lemon or Wild Orange grill-cleaning paste.
Empty the ash catcher or bowl.
Scrape loose carbon and grease from inside the lid and lower bowl.
Wash only the parts designed to be washed.
Rinse and dry the grates completely.
Apply a very thin coat of avocado oil, beef tallow, or lard to uncoated cast-iron grates if they need reseasoning.
Check vents and air openings for grease, ash, insects, and nesting material.
Store charcoal where it will remain dry.
Accumulated ash can hold moisture against the metal and quietly shorten the life of the grill, so I make sure it is cleared out before wet or snowy weather settles in.
Cleaning a Pellet or Wood Smoker
A pellet smoker needs two different kinds of cleaning: greasy areas need degreasing, while the firepot and ash-covered areas need to stay dry.
Unplug the smoker if it is electric and make certain it is stone cold before beginning.
Remove the grates and drip tray. The grates can be scrubbed with the Lemon or Wild Orange paste, rinsed, and dried. Once dry, uncoated cast-iron or steel grates can be protected with a very thin layer of avocado oil or clean animal fat.
Scrape grease from the drip tray and grease channel according to the manufacturer’s instructions. A little Lemon or Wild Orange essential oil added to hot soapy water or diluted doTERRA On Guard Cleaner Concentrate can help with removable trays that are designed to be washed.
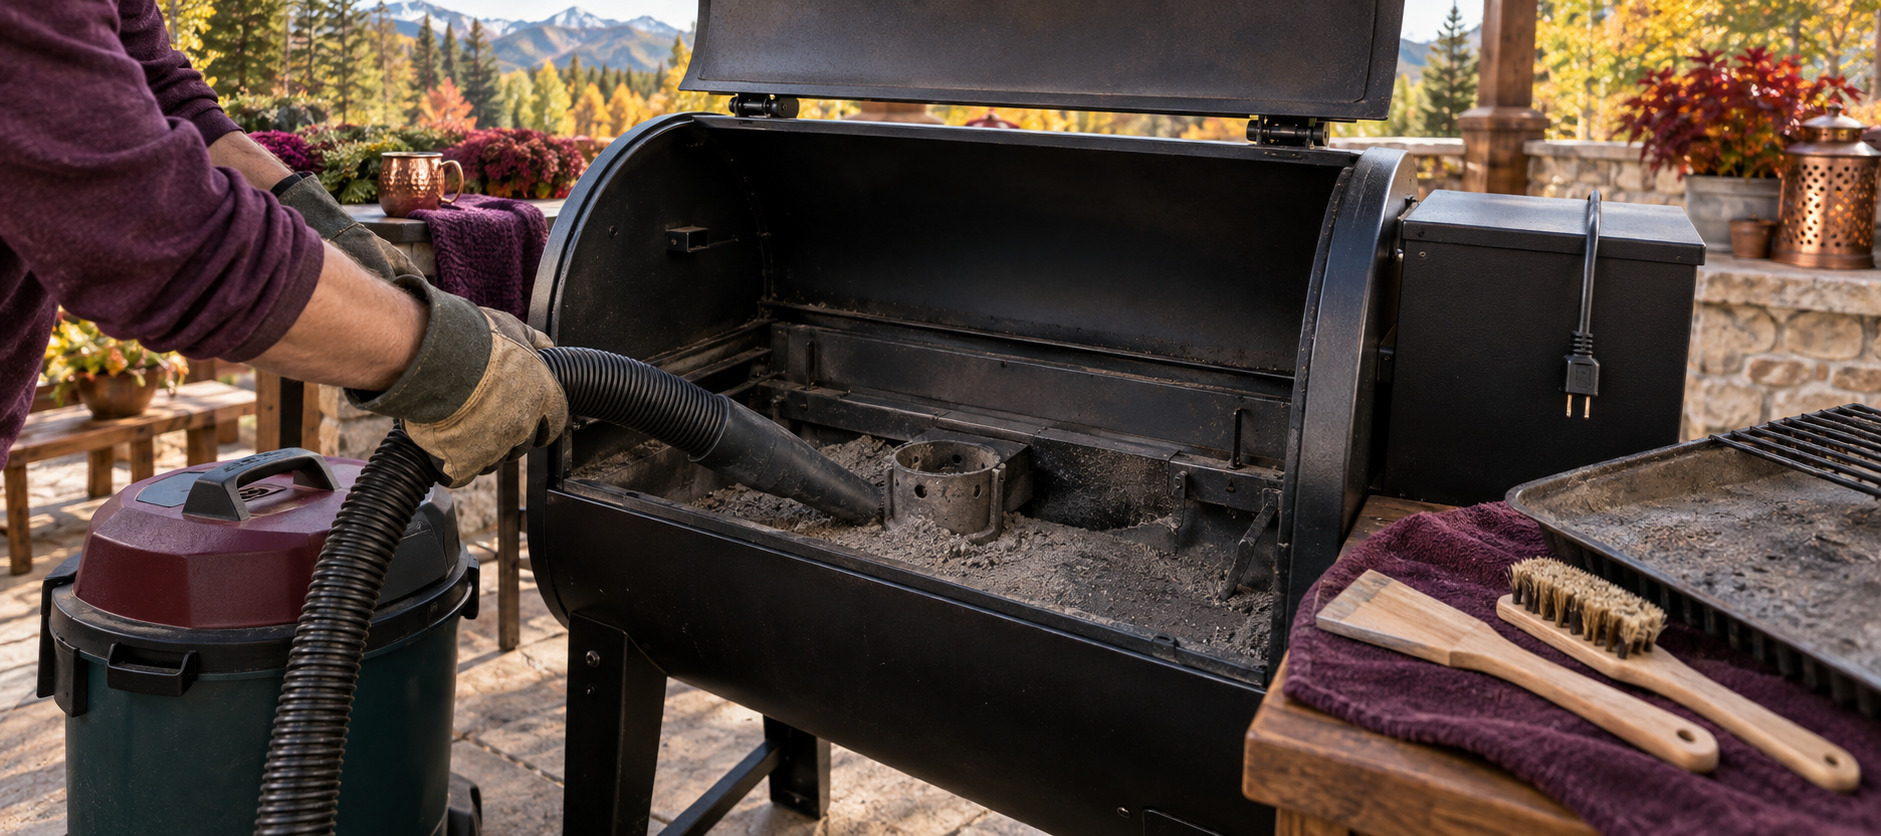
Vacuum cold ash from the firepot and bottom of the smoker with a shop vacuum. Do not spray cleaner or water into the firepot, auger, fan, electrical components, or pellet hopper.
Check for sawdust and swollen or crumbling pellets. Pellets readily absorb moisture, so extra pellets should be kept in a dry, airtight container.
Before putting everything back together, make sure each washable piece is thoroughly dry. A smoker has plenty of narrow seams and hidden corners where moisture can linger unnoticed.
Finish the Handles, Shelves, and Cooking Area
By the time I finish the cooking surfaces, any “Let’s tackle the outdoor cooking equipment today!” rah-rah enthusiasm I started with has usually burned off right along with the grease.
I still buckle down and finish the job because the side shelves, handles, tool hooks, storage cabinets, and nearby work surfaces often carry as much greasy dust as the grill.
I wipe down:
Metal handles and lid surfaces
Side shelves and carts
Tool hooks
Thermometer housings
Storage shelves
Grease containers
Outdoor counters
Nearby walls or splash areas
The floor beneath and around each cooker
This is a good place for properly diluted doTERRA On Guard Cleaner Concentrate when it is compatible with the surface. For painted markings, decals, plastic knobs, natural stone, or an unfamiliar finish, I start with a hidden spot and the gentlest cleaner that will do the job.
This is also where I usually discover one mysteriously greasy handle that makes me wonder whether someone buttered it on purpose. I am always glad I found and cleaned that one before we have guests over for a winter cookout.
Keeping Mice and Insects Out
I begin pest prevention by removing what the pests came looking for. Old grease, food crumbs, dirty drip pans, pellet dust, utensils, and even a greasy grill brush can attract unwanted visitors, so all of that gets cleaned away first.
Then inspect:
Burner tubes and air openings
The cabinet around the propane tank
Grease-tray compartments
Pellet hoppers and storage bins
Shelves beneath the griddle
Folded covers
The space underneath the cooker
Peppermint, Cedarwood, and other strongly scented oils are traditionally used around storage areas to discourage pests, so I use them as another layer of protection.
I add several drops to a porous wooden block, an unglazed terra-cotta disk, or a securely closed sachet that is large and visible enough that I will not forget it is there. I place it away from burners, igniters, electrical components, and other mechanical parts, and remove it before lighting the equipment.

Cover It After Everything Dries
A cover protects the grill from snow, blowing dust, strong sun, and wind. Allowing the equipment to dry completely first keeps that cover from trapping moisture underneath.
Before covering anything:
Make certain the grill or smoker is cool.
Let cleaned surfaces dry completely.
Empty the grease tray.
Secure the cover so the wind does not send it across the pasture.
Check beneath it periodically for condensation, rust, insects, and nesting material.
Wasps, mud daubers, spiders, and other insects may use the sheltered spaces around a grill cabinet, tank, regulator, or burner as a nesting spot. Yellowjackets may also investigate grease or food residue left behind.
Take a careful look before reaching blindly beneath a cover or trying to light equipment that has been sitting unused. Nobody needs that particular surprise with dinner. A cover should protect the equipment, not hide a problem until spring.
Give It Plenty of Breathing Room
Where we store outdoor cooking equipment is not always where it is safe to use it. We learned that one the hard way.
One winter, we moved our grill up against the house so it would be out of the way when we shoveled the pathways. The plan was to move it away from the house before anyone cooked on it. That seemed perfectly reasonable—right up until our son decided to grill steaks and burgers and did not realize the grill’s new location was only intended for storage.
He fired it up, put the meat on, and headed inside to prepare the side dishes. When he came back out to check dinner, the heat had warped and deformed the siding on the house.
I suppose we all have to learn a few lessons the hard way, but that is one he will not soon forget—and neither will the siding.
Now we make a point of checking the grill’s location before lighting it, especially if it has been moved for winter storage. Outdoor cooking equipment needs plenty of clearance from siding, deck railings, eaves, branches, covers, and anything else that could melt, scorch, or catch fire.
A Word About Propane Storage
Propane cylinders should remain outdoors and upright in a well-ventilated area, away from ignition sources. They should not be stored inside the house, basement, garage, or another enclosed living space.
Inspect the cylinder for excessive rust, dents, valve damage, or other signs that it needs professional attention. Follow the directions from the propane supplier and appliance manufacturer rather than improvising a repair.
Because we continue grilling during the winter, I also keep snow and ice cleared away from the cooker and make sure it remains in a safe outdoor location. Moving a grill into a garage or enclosed porch to escape the cold creates a much bigger problem than frozen fingers.
My Quick Winter-Upkeep Routine
The big fall cleaning makes winter care much easier, but only if we do not let the grease and crumbs build right back up.
After each winter cooking session, I try to:
Scrape or wipe the cooking surface
Empty heavy grease buildup
Close fuel valves properly
Let everything cool completely
Check that the surface is dry
Add a very thin protective coat of avocado oil or animal fat to uncoated steel or cast iron when needed
Replace and secure the cover
Look for tracks, droppings, chewed material, webs, or nesting before the next use
Before lighting equipment that has been sitting for a while, open it and inspect it. A closed grill can become a surprisingly comfortable winter home for something that was not invited to dinner.
Ready for Winter Cooking
Once the summer grime is gone, the uncoated metal is protected, and the covers are secured, our outdoor cooking area is ready for cold-weather burgers, steaks, pancakes, and whatever else sounds good when the snow starts falling. The next time we want to cook outside, all we need to do is uncover the equipment and get dinner started.
If your grill sits on a porch, patio, or deck, continue with How to Clean and Prep Porches, Patios, and Decks for Winter.
Download the free Fall Cleanup Checklist & Caddy Guide, or visit the Fall Cleanup Resource Hub to choose your next project.
A little at a time. One area at a time. Before the snow starts flying.
From my homestead to yours,
Sandy

Copyright 2026 - Living Our Essential Lives l All rights reserved l Privacy Policy | Terms of Service