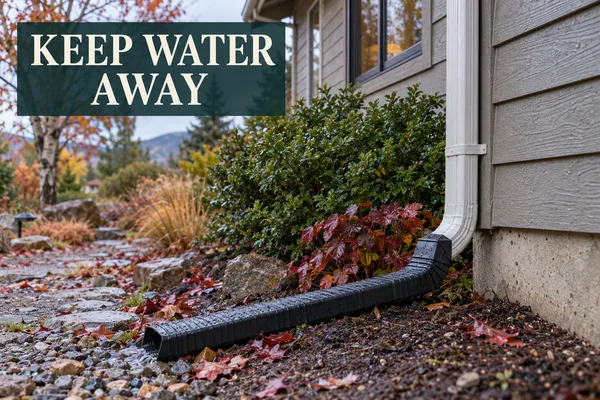
Fall Drainage Checklist: Keep Rain, Snowmelt, and Ice Away From Your Home
“Water is the driving force of all nature.”
— Leonardo da Vinci
Water has a way of showing us exactly where the drainage weak spots are around our homes, but it doesn’t always show us at a convenient time.
A heavy fall rain may reveal a clogged gutter or a low spot beside the foundation. Melting snow may run across a walkway and freeze again overnight. A muddy area that seems manageable in October can become dangerously slick once winter settles in.
I learned just how quickly that can happen outside the little cabin we built for my office here on our property.
In early February, we had a couple of warmer days, and the surface snow began to melt. The ground several inches below the surface was still frozen, so the water couldn’t soak in. It collected in front of the office deck and then froze again, turning the area into something that looked and felt like an ice-skating rink.
Early one February morning, I rushed out to the car. As I reached for the door handle, my feet went out from under me so fast that it felt like something from a cartoon. I was airborne for what was probably only a second, but it was long enough to know the landing wasn’t going to be good.
I came down with a massive thud, hit my head, and ended up with a significant concussion.
That experience made me much more aware of where water collects, where snow melts, and which areas around our property are likely to freeze again. Preventing water problems in the fall helps protect the siding, crawl space, and foundation, along with the people and animals who walk through those areas every day.
Start by Watching Where the Water Goes
The best time to study drainage around your home is while it is raining or shortly afterward.
Walk around the house and other buildings and notice:
Where water leaves the roof
Whether it lands close to the foundation
Where puddles form
Whether water crosses a walkway or entrance
Which muddy areas are likely to freeze
Whether drainage channels and culverts are moving water properly
Where snow will collect or slide from the roof
Which areas remain shaded and take longer to dry
For this first walk, simply notice the patterns. You can come back later with a shovel, gravel, soil, downspout extension, or whatever the area requires.
A low spot that disappears on a dry day may be easy to see during a fall rain. Once you know where the water travels, you can begin correcting the trouble spots before freezing temperatures complicate them.
If Your Home Has Gutters and Downspouts
When we lived in Denver, we had gutters, downspouts, and window wells, so I’m familiar with the usual fall routine. Gutters can do a good job of collecting roof runoff when the water has a clear path through the entire system and away from the house.
After most of the leaves have fallen—but before freezing weather settles in—remove leaves, pine needles, roof grit, nests, and other debris. Even gutters fitted with guards need to be inspected and cleaned periodically.
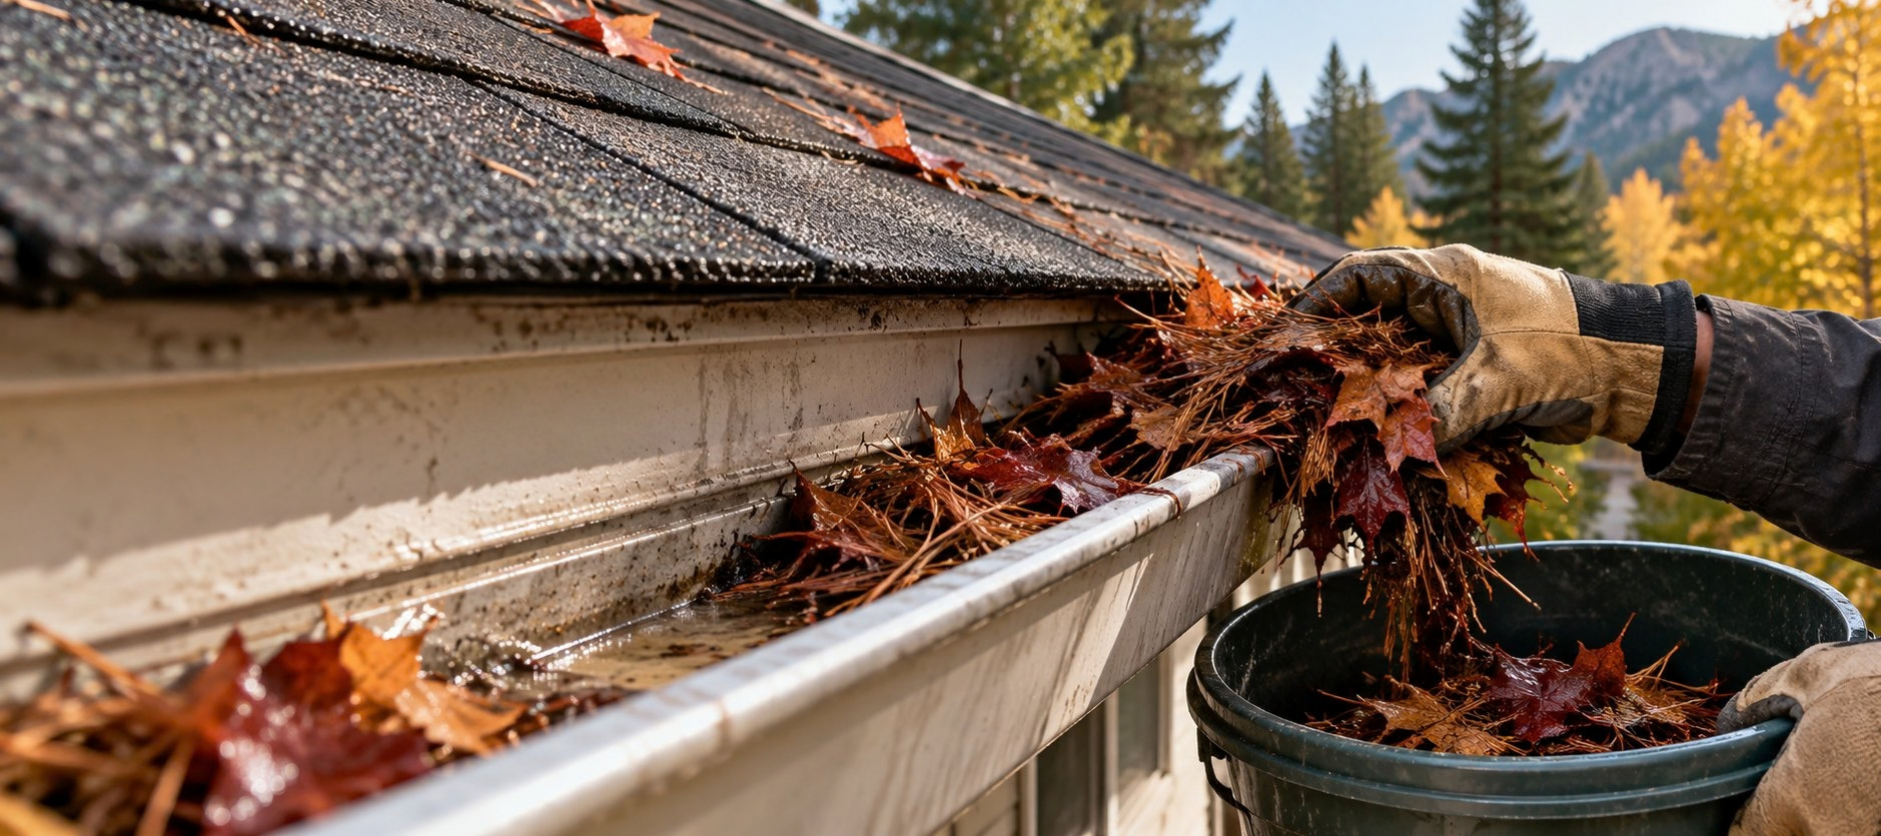
Once the debris is gone, flush the gutters and downspouts with water. Start near the end farthest from the downspout and watch how the water moves through the system.
As you work, check that:
Water flows toward the downspouts instead of collecting in low spots.
Downspouts are open all the way through.
Seams and connections are not leaking.
Gutters are not sagging or pulling away from the roofline.
Downspout extensions and splash blocks remain securely positioned.
Water empties somewhere it can soak in or continue draining away.
Nearby window wells and ground-level drains are clear.
A clean gutter can still cause trouble if the downspout deposits all that water directly beside the house. Extensions or splash blocks should carry it to a place where it can drain safely without crossing a walkway, washing out landscaping, or pooling beside the foundation.
Know When to Stay Off the Ladder
Gutter cleaning is one of those jobs that can look simple from the ground. It feels very different once you are balancing on a ladder, reaching sideways, and pulling wet leaves from a gutter.
Ground-level gutter-cleaning attachments, extension tools, and professional cleaning services may be safer choices when you have:
A two-story home
Steep or uneven ground
A complicated roofline
Wet, icy, or unstable surfaces
Power lines near the work area
A ladder that cannot be positioned securely
Any physical limitation that makes climbing or reaching risky
If you do use a ladder, place it on stable and level ground and avoid leaning or reaching beyond the side rails. Don’t rest a ladder directly against a gutter that could bend or shift. A ladder stabilizer or standoff may provide a safer contact point, depending on the home and equipment.
Personally, I prefer to have a second person at the base of the ladder, just in case things become a little unstable.
There is no shame in hiring this job out. Sometimes the wisest fall preparation is recognizing which jobs no longer belong on our personal to-do list, especially as we age.
What If Your Home Doesn’t Have Gutters?
Our homestead doesn’t currently have gutters. We have considered installing them, but our situation is different from the Denver house.
Most of our buildings have metal roofs, and the newer ones—my office, Travis’s cabin, and several of the sheds—have fairly steep pitches. When we receive a good snowfall, the snow may release from the roof in one large dump.
You do not want to be standing underneath it when that happens.
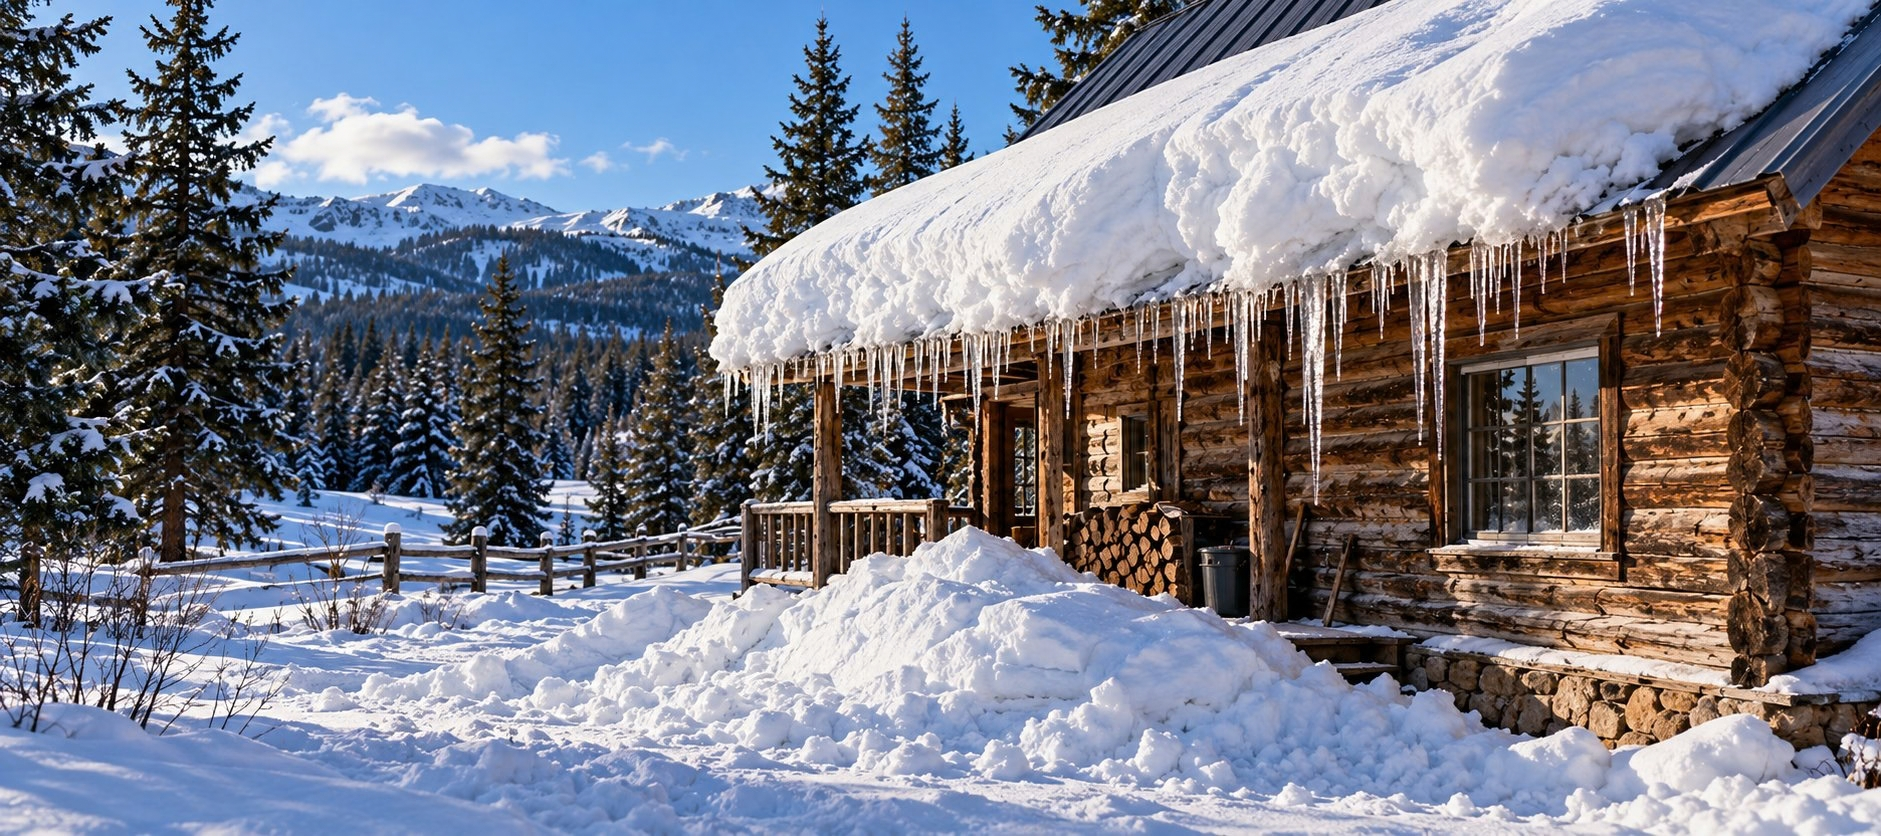
We have designed the overhangs so the falling snow generally lands a few feet away from the foundation. We have hesitated to install gutters because of the possibility of snow and ice sliding into them and creating more weight and another winter maintenance problem.
Metal roofs can be paired with gutters, but the roof pitch, amount of snow, gutter placement, drainage needs, and possible need for a professionally designed snow-retention system should all be considered together. If you are thinking about adding gutters to a steep metal roof in snow country, this is a good place to consult an experienced local roofing or gutter professional.
Without gutters, the job becomes less about cleaning a system attached to the roof and more about managing where the water and snow land.
Look carefully at the roof’s drip line. Make sure water is not cutting a trench beside the foundation, splashing mud onto the siding, collecting near an entrance, or creating an icy walking path. Gravel, properly planned drainage channels, grading, and erosion-control materials may help, depending on the location.
The important thing is giving water a path away from the building.
Check the Slope Around the Foundation
A few autumns ago, we discovered water underneath our crawl space while working on the pressure tank. The water was gathering in an area away from any of the water piping, so it appeared to be coming from outside rather than from a plumbing leak.
We used a sump pump to remove most of the standing water. Then we immediately began adding soil outside so the ground would slope away from that part of the house.
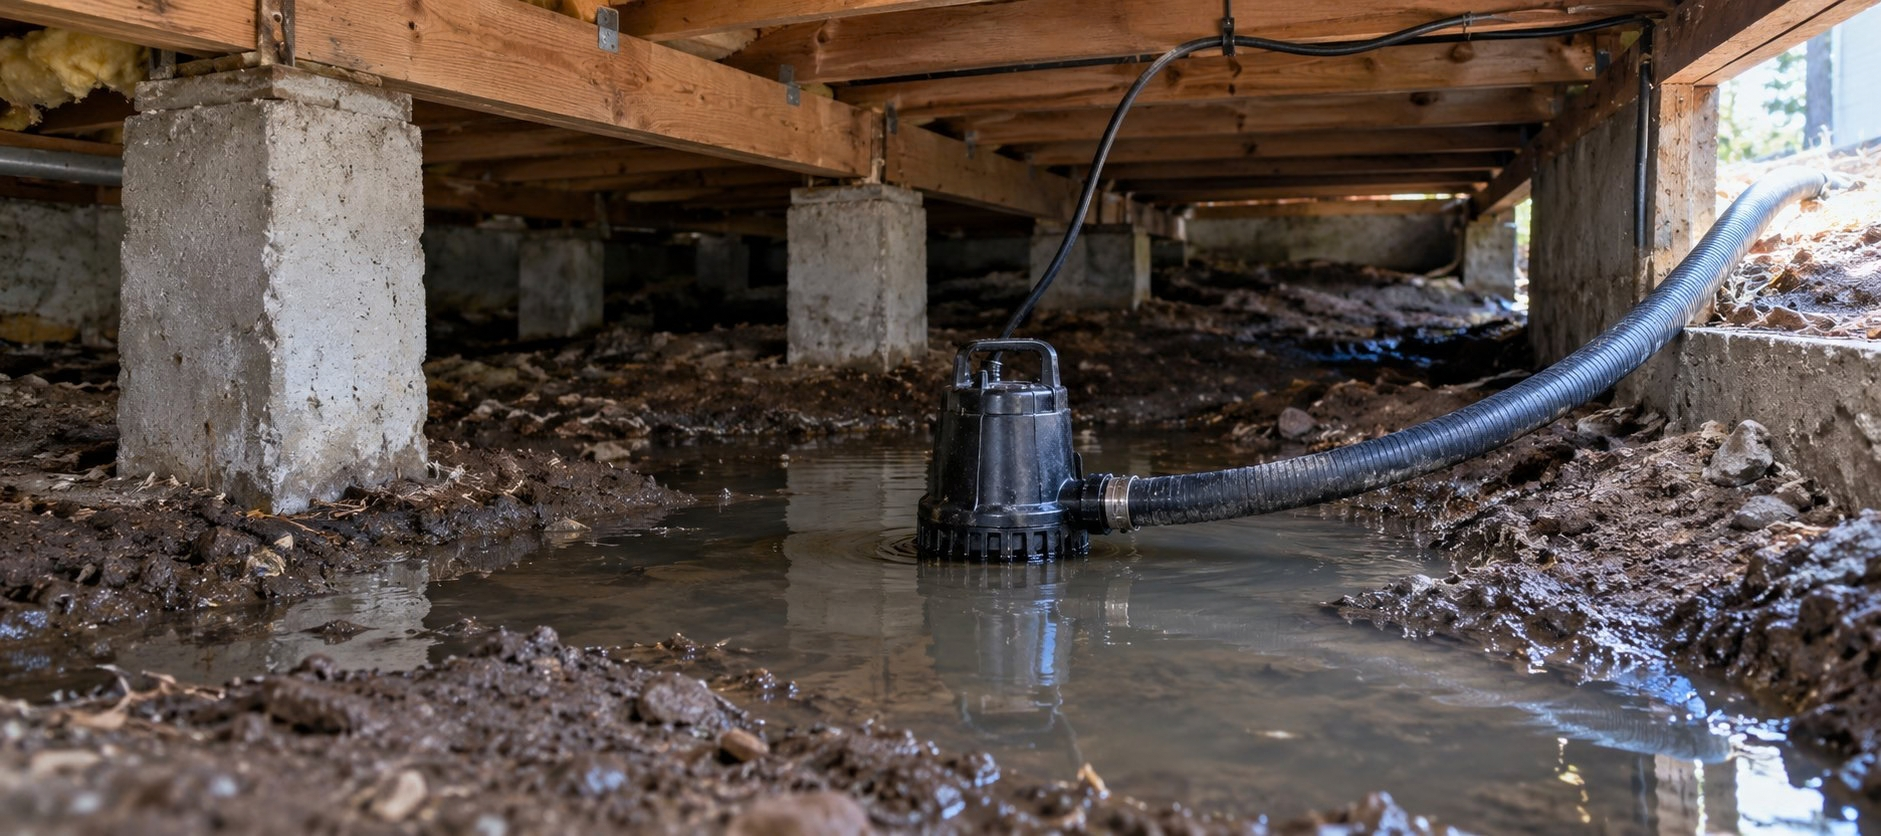
Finding that water made me pay closer attention to the ground outside, even when everything around the foundation appeared dry.
As you walk around your home, look for:
Soil that has settled next to the foundation
Depressions where rainwater collects
Erosion beneath the roof’s drip line
Downspouts that have shifted out of position
Landscaping borders that hold water against the house
Animal paths that have worn down the soil
New construction or soil work that may have changed the original slope
If you find standing water in a basement or crawl space, the source should be investigated. It may be related to exterior drainage, but it could also involve plumbing, groundwater, foundation cracks, or another issue that needs professional attention.
Don’t Forget Culverts, Ditches, and Ground-Level Drains
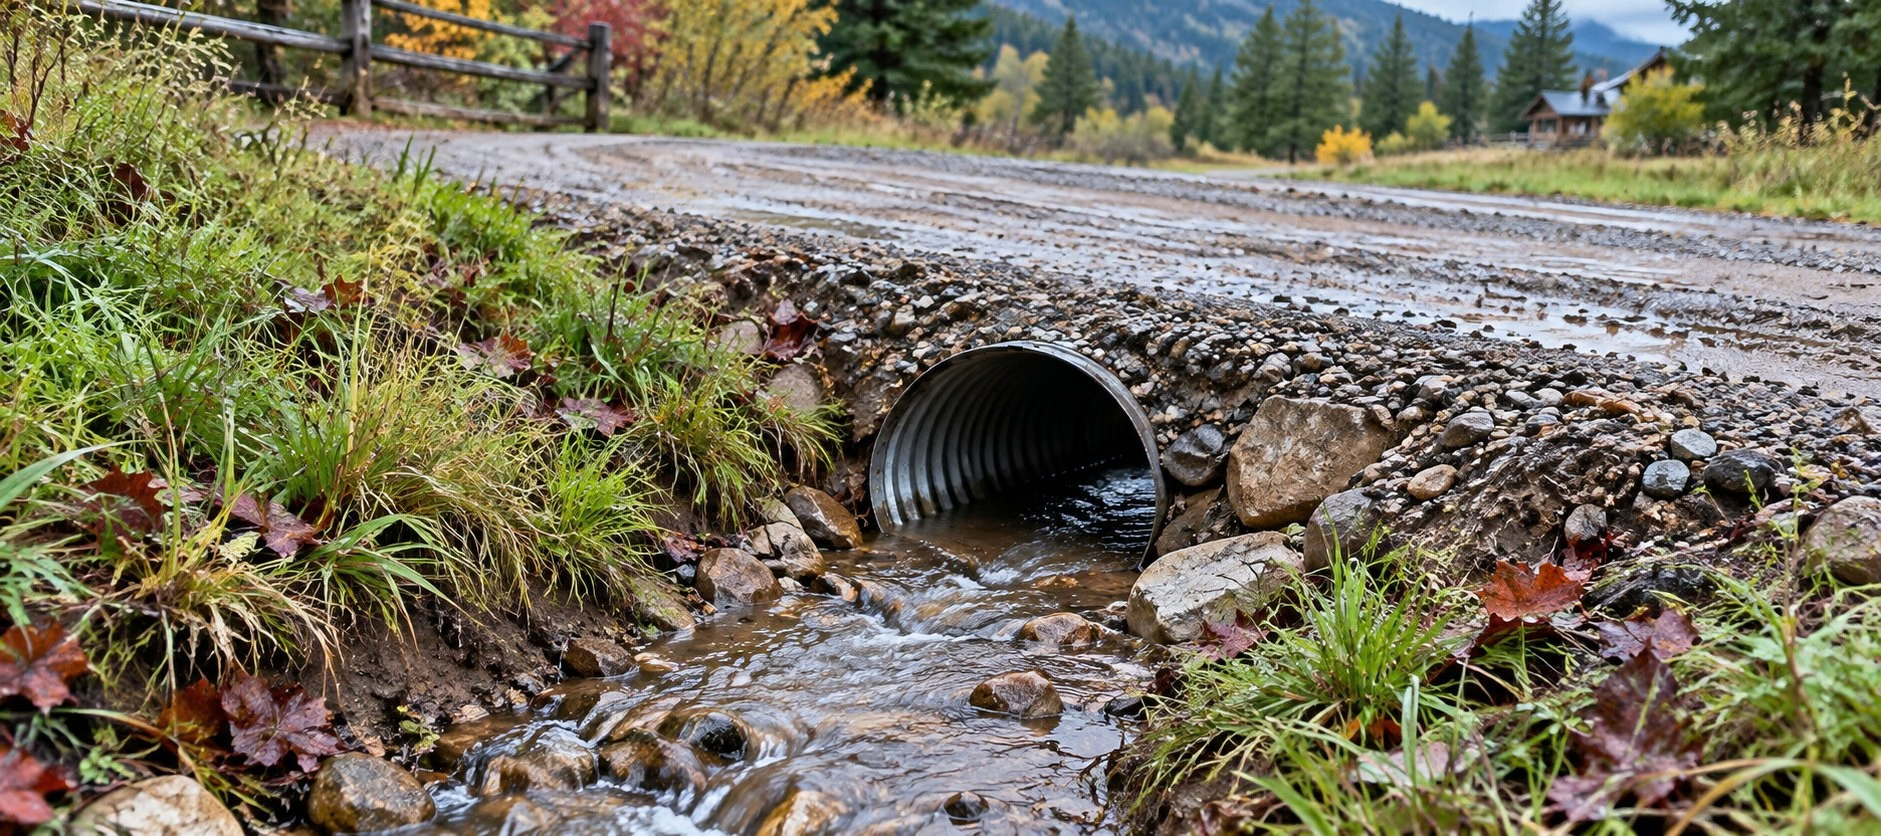
On our property, culverts carry water underneath some of the driveways. They are very helpful, but they don’t eliminate every muddy or slippery spot.
Water can still collect above or around a culvert, especially when gravel has shifted, sediment has accumulated, or the surrounding area no longer drains as well as it once did.
Before winter:
Remove leaves, branches, weeds, trash, and sediment that block the openings.
Look through the culvert if it is safe to do so.
Watch the area during rain to see whether the water enters and exits properly.
Check for washed-out gravel or soil around the ends.
Notice any puddles forming on the driveway above it.
Repair small erosion problems before spring runoff makes them larger.
The same idea applies to shallow ditches, drainage channels, window wells, and ground-level drains. After clearing an opening, follow the water far enough to see where it exits and whether it has a safe place to go.
Pay Special Attention to North-Facing Areas
The north side of our house is where we have the sliding glass door and mudroom. It is also one of the places where snow and ice can linger because that area receives no winter sun.
If we don’t shovel it well, the remaining snow becomes packed, begins to melt during warmer periods, and then freezes again.
North-facing and shaded areas deserve extra attention because they may stay frozen long after sunny areas have cleared. Watch for trouble around:
Back doors and mudrooms
Steps and porches
Gates
Walkways between the house and outbuildings
Animal-feeding areas
Dog doors
Parking spaces
The shaded sides of sheds and chicken coops
These are often the areas people use every day, which makes even a small patch of ice worth addressing.
Fix the Water Path Before You Fight the Ice
Once ice has formed, we may need to shovel, scrape, add traction, or melt it. If the same area freezes repeatedly, it is worth asking why the water keeps collecting there.
At our chicken coop, snow and rain drip from the roof toward the north side of the chicken yard and run. That area can become icy. We dug a narrow trench so the runoff has a clearer route out. The trench also helps contain the water instead of allowing it to spread into one large, wide sheet of ice.
It isn’t an elaborate drainage system, but it has made the problem much more manageable.
In muddy areas, we often put down a good layer of bark. It gives us traction for a while and eventually decomposes into the soil. We use it in places such as the chicken area, where the goal is to make muddy paths safer and easier to walk through, and at the entrances to the pastures, where mud can make traction difficult for cars and tractors when we need to enter during the winter.
Bark is not a substitute for correcting drainage next to a foundation. Used in the wrong location, mulch can hold moisture where you don’t want it. In the right farm path, pasture entrance, or animal area—where the water already has a way to drain—it can be a practical part of the solution.
We are also preparing the area around our dog door. Six dogs have worn the grass into something of a mud trail. We are building a small deck with artificial grass to help clean their feet as they come through, and we plan to place bark around it to improve the muddy approach.
Several small changes can work together: better drainage for the water, a firmer walking surface, and something near the door to catch part of the mess.
Prepare Now for the Ice You Know Is Coming
There are a few tools we keep ready because we know certain areas will become icy at some point during the winter.
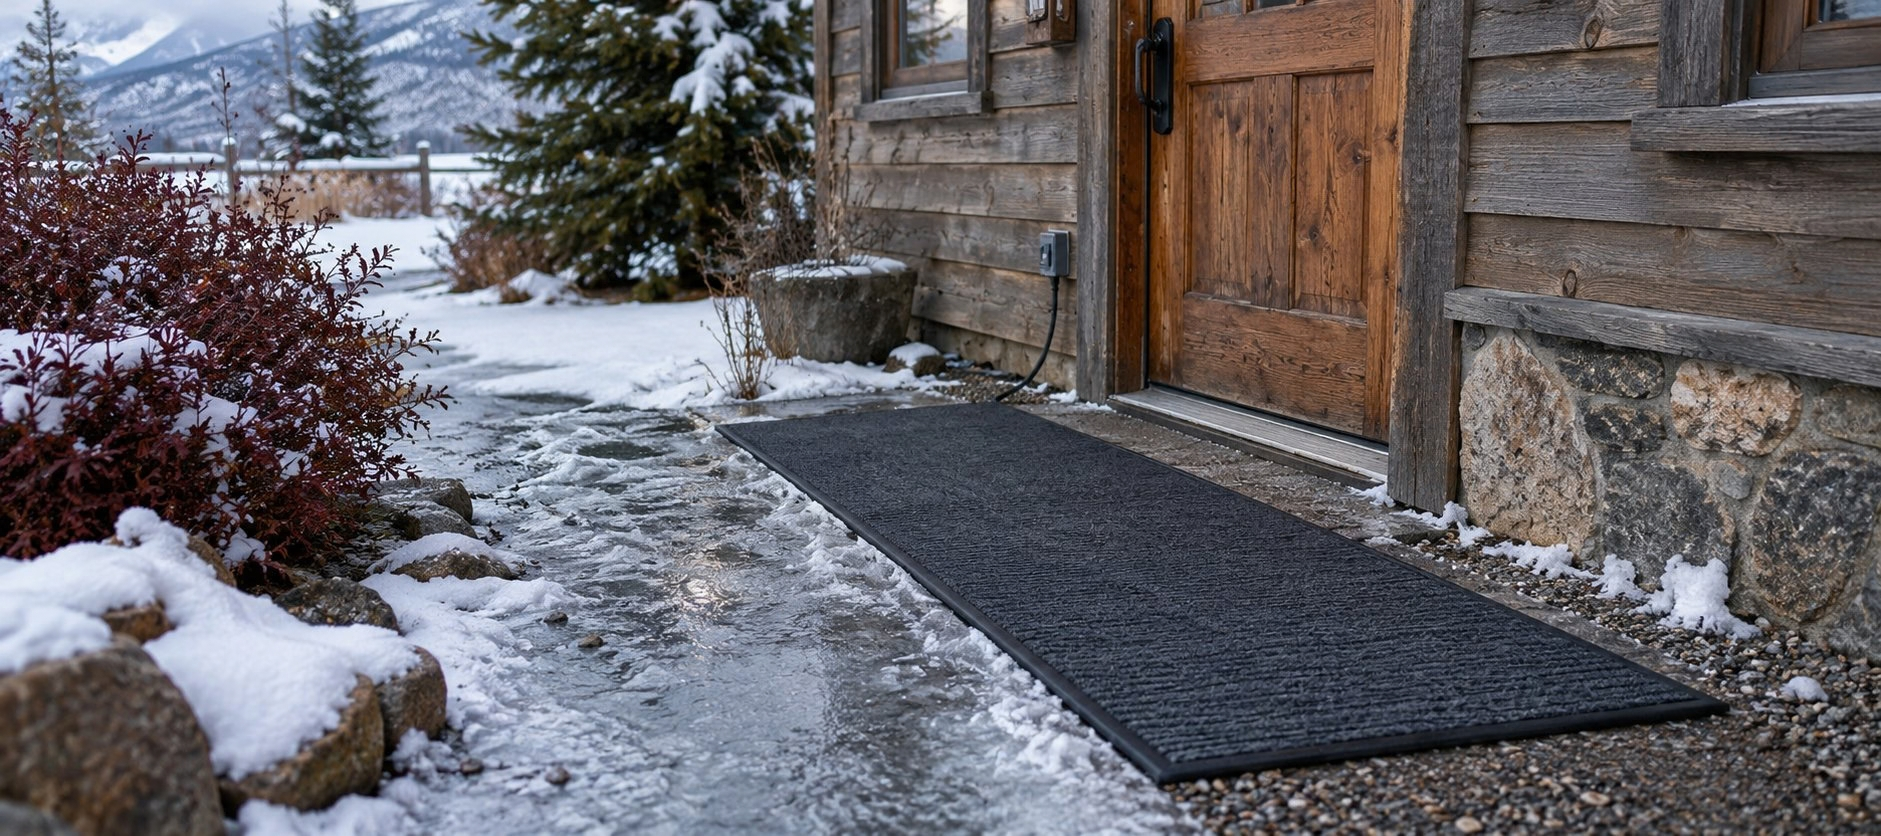
We have traction cleats that fit over our shoes, along with outdoor heated mats that we can place in stubborn areas. If ice does form, we also roughen or break up the surface so it is no longer one smooth, slick sheet.
Before winter, consider gathering what you may need:
A sturdy snow shovel
An ice scraper or ice chopper appropriate for the surface
Traction cleats for boots or shoes
Outdoor-rated heated mats for repeat trouble spots
Sand or another surface-appropriate traction material
A pet-friendly ice melt for emergencies
Gloves and a bucket or container for carrying supplies
A safe place near the door to store these items
Even products labeled pet-friendly should be used sparingly and stored where animals cannot get into them. Keep ice melt away from landscaped areas and runoff paths, prevent animals from eating the granules or treated snow, and wipe their paws after they cross a treated surface.
If you use heated mats, extension cords, or outdoor electrical equipment, make sure everything is approved for outdoor use. Position cords so they do not become another tripping hazard.
Be cautious when chopping ice on concrete, decking, steps, or near buried utilities. The goal is to create traction or break up the ice without damaging what is underneath—or creating a new safety problem while trying to solve the first one.
Make a Water Map of Your Property
You don’t need an official diagram. A simple hand-drawn map or a few notes on your fall checklist will work.
Mark the places where:
Roof runoff lands
Gutters overflow
Downspouts discharge
Puddles form
Mud develops
Ice returns every winter
Snow slides from metal roofs
Culverts or drains need attention
Water approaches the foundation
Pets or livestock create worn paths
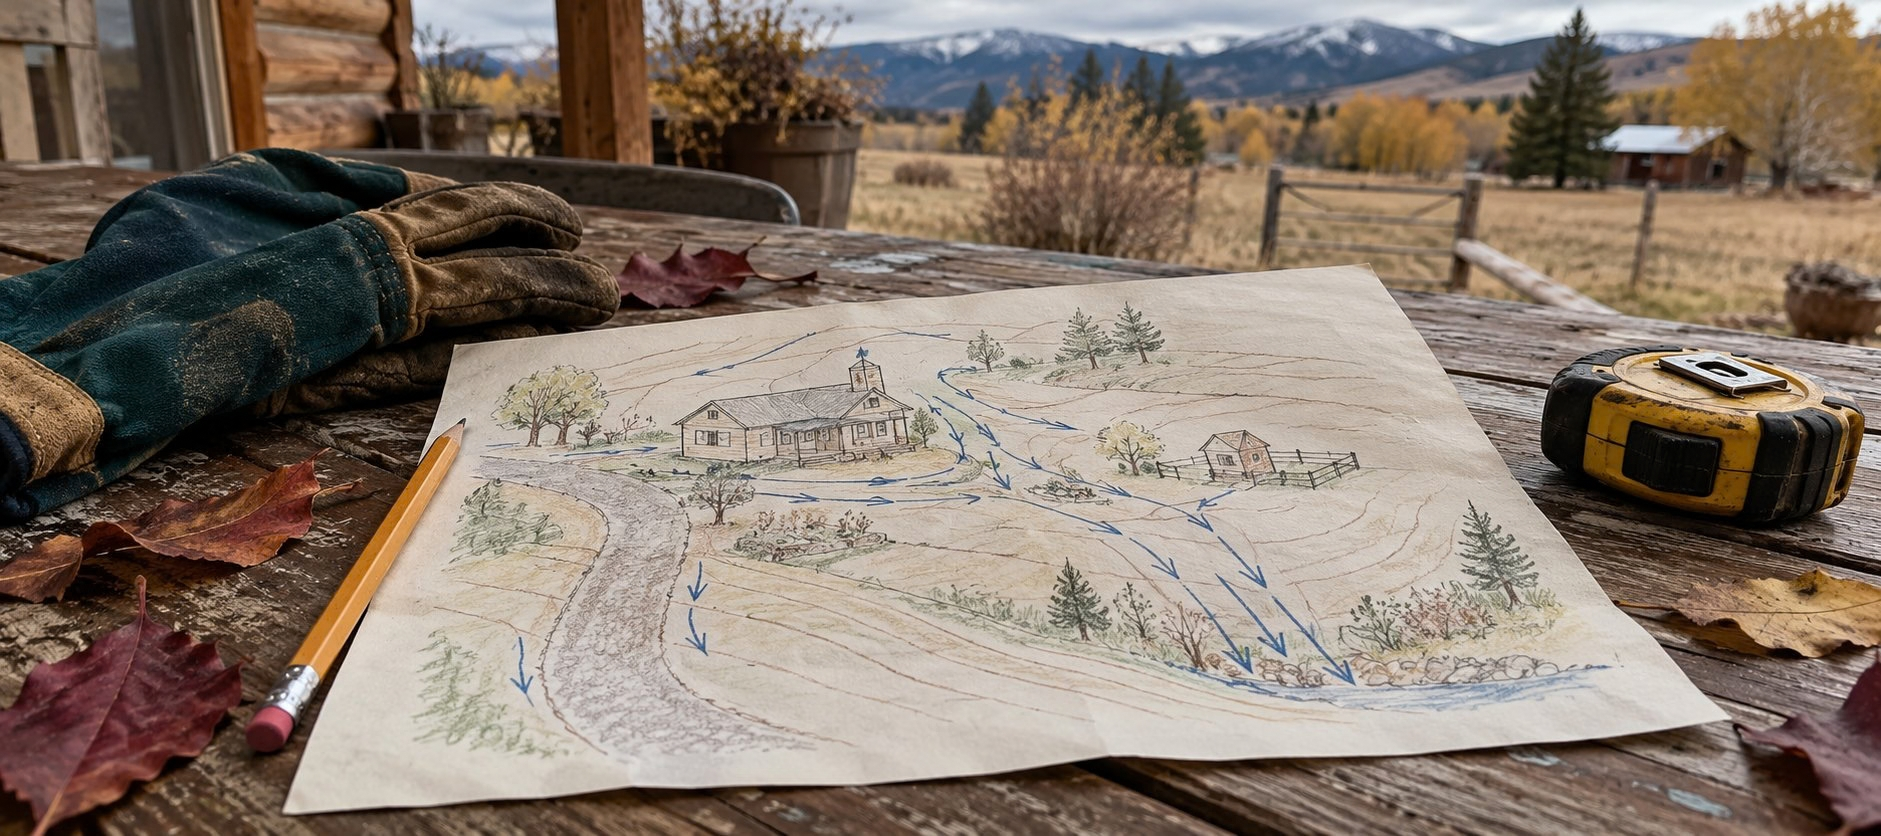
After the next rain, walk the property and update your notes. Then check it again during the first snowmelt.
A quick sketch will help you remember what you noticed before the ground freezes or snow covers the evidence.
When It’s Time to Ask for Help
Some water problems are small enough to handle with a shovel, a downspout extension, added soil, or a shallow drainage channel. Others need someone with experience in roofing, grading, foundations, or stormwater management.
Consider bringing in professional help when:
Water repeatedly enters a basement or crawl space.
The foundation shows cracks or other signs of movement.
The ground slopes toward the house and cannot be corrected easily.
A gutter or roofline is too high to reach safely.
Large amounts of snow slide from a metal roof over an entrance.
A culvert is damaged, collapsed, or badly blocked.
Runoff is affecting a neighboring property, road, septic area, or retaining wall.
You are unsure where underground drainage pipes lead.
The same area floods, freezes, or erodes despite repeated repairs.
Fall is a good time to identify these issues, even if the larger repair has to wait. Knowing where the trouble is allows you to create a safer temporary plan for winter.
Give Winter Water a Safe Place to Go
Water will always look for the lowest place to settle. Fall gives us a chance to guide it away from the crawl space, foundation, back steps, and everyday walking paths.
For homes with gutters, that means clearing the debris, flushing the downspouts, and checking where the water empties. For homes without gutters, it means watching the roof’s drip line, maintaining the slope around the buildings, and planning for falling snow and runoff. Around the rest of the property, it means keeping culverts and drainage channels open while paying attention to the muddy places that may become tomorrow’s icy ones.
Future Us will be grateful we did this work before the next warm winter afternoon sends snowmelt across the property and that cold night freezes every lingering puddle into an ice rink.
I’ll be working my way around our homestead right alongside you, watching the rooflines, clearing the drainage paths, and preparing for those areas where winter ice tends to return.
A little at a time. One area at a time. Before the snow starts flying.
If you would like a simple guide to help you work through the rest of your outdoor fall projects, you can download my free Fall Cleanup Checklist & Caddy Guide here.
If you’d enjoy swapping practical ideas and working through seasonal projects together, come join our Living Our Essential Lives Facebook group. I’d love to hear what’s working at your place—and what you’re still trying to figure out.
From my homestead to yours.
Sandy