
How to Make Your Own Soothing Salves
"Nature itself is the best physician." - Hippocrates

Skin irritations are a common issue that can arise from various factors such as insect bites, minor cuts, scrapes, rashes, or even allergies. While over-the-counter treatments are readily available, my favorite is to make my own salves using natural ingredients from my garden. These can be a soothing, effective, and eco-friendly alternative. This blog post will guide you through the benefits of creating your own salves, along with several DIY recipes that incorporate herbs and essential oils to provide relief for irritated skin.
Why Make Your Own Salve?
Creating your own salve has numerous benefits:
Natural Ingredients: You control what goes into your salve, ensuring it’s free from harmful chemicals and additives.

Customizable: Tailor the salve to suit your specific skin needs and preferences.
Cost-Effective: Homemade salves can be more economical compared to store-bought options.
Sustainable: Using herbs from your garden promotes a sustainable and eco-friendly lifestyle.
Basic Ingredients for a Salve
To make a basic salve, you'll need the following ingredients:
Carrier Oil: Olive oil, coconut oil, or almond oil are good choices for the base.
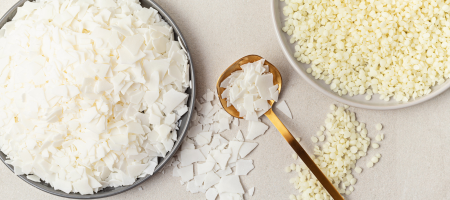
Beeswax: Helps to solidify the salve and provides a protective barrier on the skin.
Herbs: Fresh or dried herbs from your garden.
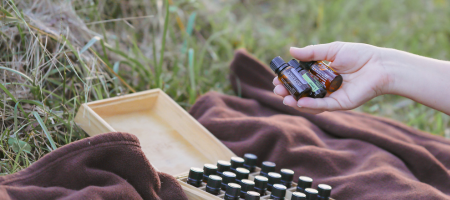
Essential Oils: Add therapeutic properties and fragrance to the salve.
Preparing the Herbal Oil Infusion
Before making the salve, you'll need to create an herbal oil infusion. Here’s how:
Choose Your Herbs: Select herbs known for their soothing properties, such as calendula, chamomile, lavender, plantain, or comfrey.
Dry the Herbs: If using fresh herbs, dry them thoroughly to prevent mold.
Infuse the Oil: Place the dried herbs in a glass jar and cover them with your carrier oil of choice. Seal the jar and let it sit in a warm, sunny spot for 2-4 weeks, shaking occasionally. For a quicker method, gently heat the oil and herbs in a double boiler for 1-2 hours.

Once the infusion is ready, strain the oil through a cheesecloth or fine mesh strainer to remove the herbs.
DIY Salve Recipes
1. Calendula Healing Salve
Ingredients:
1 cup calendula-infused oil
1/4 cup beeswax
10 drops lavender essential oil
10 drops tea tree essential oil
Instructions:
In a double boiler, combine the calendula-infused oil and beeswax. Heat gently until the beeswax is fully melted.
Remove from heat and stir in the essential oils.
Pour the mixture into small, clean containers or tins.
Allow the salve to cool and solidify before using.
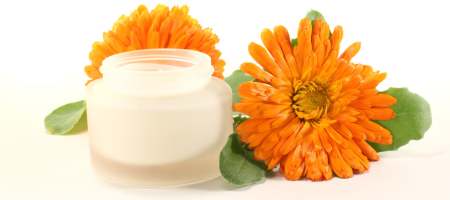
Benefits: Calendula is known for its anti-inflammatory and skin-healing properties, making this salve ideal for cuts, scrapes, and minor skin irritations.
2. Chamomile and Lavender Soothing Salve

Ingredients:
1 cup chamomile-infused oil
1/4 cup beeswax
15 drops lavender essential oil
10 drops chamomile essential oil
Instructions:
Melt the chamomile-infused oil and beeswax in a double boiler.
Once melted, remove from heat and add the essential oils.
Pour into containers and let it cool.
Benefits: Chamomile and lavender both have calming properties that can help soothe irritated skin and reduce redness and inflammation.
3. Plantain and Comfrey Healing Salve
Ingredients:
1 cup plantain and comfrey-infused oil
1/4 cup beeswax
10 drops tea tree essential oil
10 drops frankincense essential oil
Instructions:
Combine the infused oil and beeswax in a double boiler and heat until melted.
Stir in the essential oils and mix well.
Pour into containers and allow to cool.
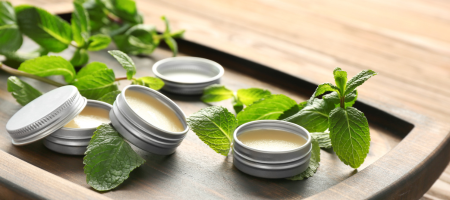
Benefits: Plantain and comfrey are excellent for healing wounds and promoting cell regeneration, making this salve great for bug bites and minor injuries.
4. Antibacterial Thyme and Rosemary Salve
Ingredients:
1 cup thyme and rosemary-infused oil
1/4 cup beeswax
10 drops eucalyptus essential oil
10 drops rosemary essential oil
Instructions:
Melt the infused oil and beeswax together in a double boiler.
Add the essential oils and stir well.
Pour into containers and let it set.
Benefits: Thyme and rosemary have antibacterial properties that help prevent infections and promote healing, perfect for treating minor cuts and scrapes.
Tips for Using and Storing Your Salves
Application: Clean the affected area before applying the salve. Use clean hands or a sterile applicator to avoid contamination.
Storage: Store your salves in a cool, dark place to extend their shelf life. Properly stored salves can last up to a year.
Patch Test: Before using a new salve, perform a patch test to ensure you don’t have an adverse reaction to any of the ingredients.

Final Thoughts
Creating your own salves for skin irritations is a rewarding way to utilize your garden's bounty while taking control of your skincare routine. With natural ingredients and therapeutic essential oils, these DIY recipes provide effective relief for various skin issues. Start experimenting with different herbs and essential oils to find the perfect combination for your skin's needs. Happy crafting!