
How to Clean Windows, Doors, and Entryways Before Winter
“And as the eye is the best composer, so light is the first of painters.”
— Ralph Waldo Emerson
Cold weather has a way of showing me every place summer left its mark.
The windows are dusty, and the tracks have collected flies, bugs, and enough dirt to make me wonder whether anyone has cleaned them since spring. By midwinter, there will be plenty of cobwebs. The entryways are already muddy, and the snow has not even started flying yet.
If your house looks anything like ours, this Fall cleanup means making winter’s mess a little easier to manage when it arrives. That feels like a much more realistic goal around here.
Between three Great Danes, two Colorado Mountain Dogs, and one Border Collie mix, we have six dogs and 24 paws traveling in and out of the house. Our sliding door opens into the mudroom, the doggy door is on the opposite wall, and the front door comes in off the deck. In other words, our entryways are working hard before winter even gets here.
So let’s clean what we can, check the places that may need a little attention, and make the next season easier on ourselves.
Start With the Outside Glass
I try to wash all the windows, inside and out, but sometimes I only get the outsides done. That is where the summer dust, sprinkler spots, bugs, and cobwebs are the worst, so cleaning the exterior glass still makes a noticeable difference.
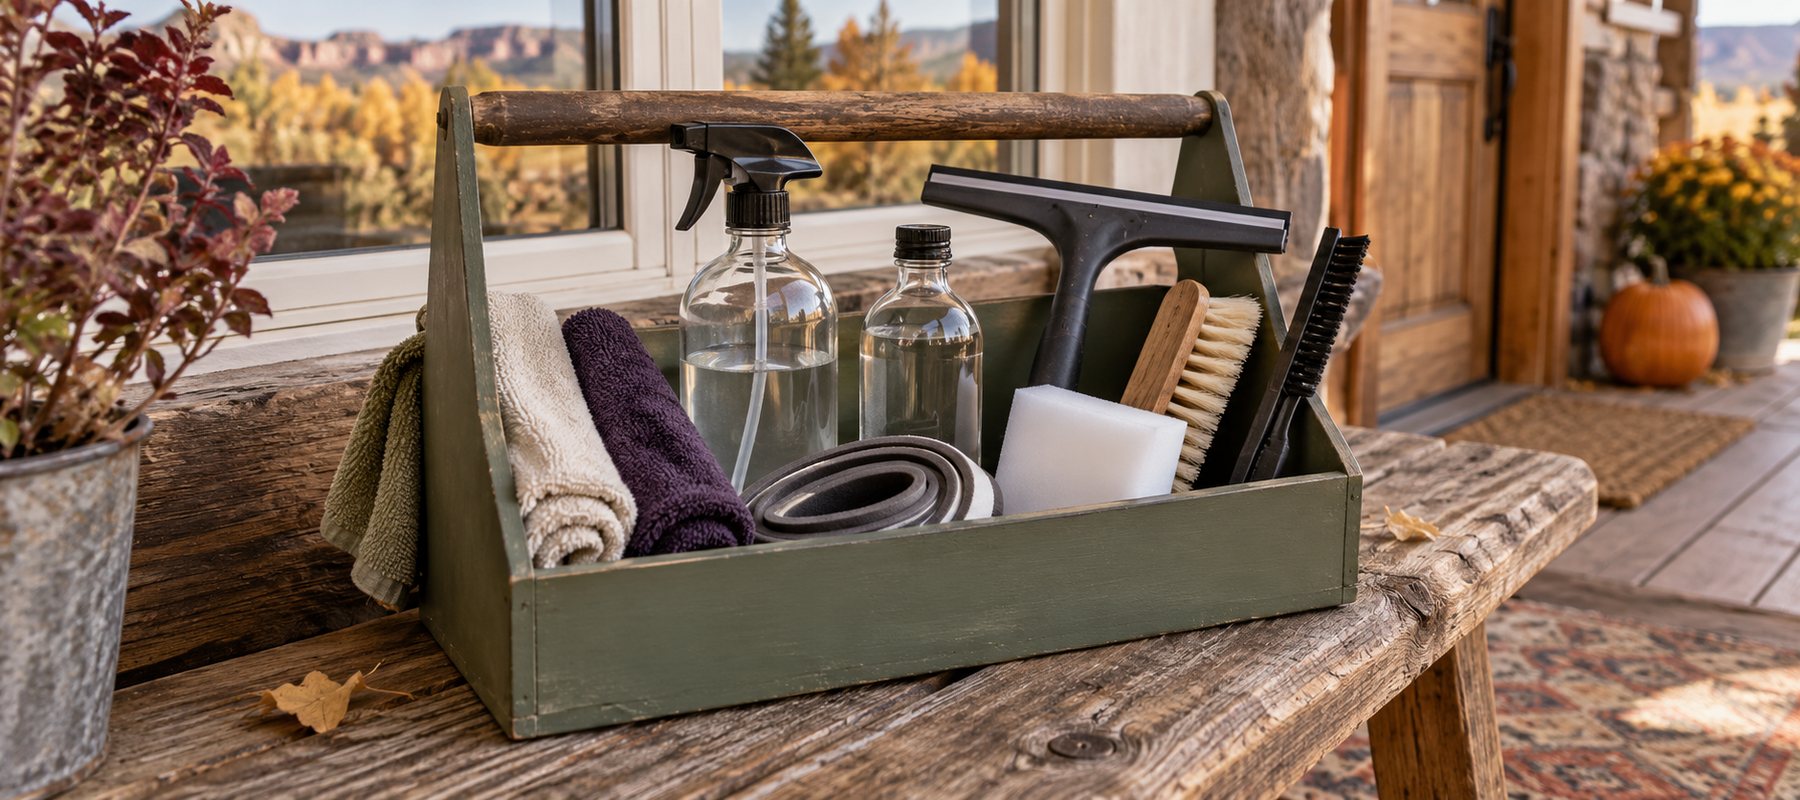
I always start with soft, nonabrasive tools and a squeegee for washing exterior windows. Before you put water on the glass, brush or rinse away loose grit so you are not dragging it across the surface.
Start With a Gentle Glass Cleaner
For ordinary dirt, I start with my gentle DIY glass-cleaner recipe. Outdoor windows are usually dirtier than mirrors and glass-topped tables, but I still start gently and move to something stronger only when I need it.
For frames, sills, and general grime, I use On Guard Cleaner Concentrate in warm water—about 3 tablespoons per gallon. It takes such a small amount that one bottle lasts quite a while. I use it all over the house, and a bottle usually lasts me about six months.
Vinyl, painted wood, unfinished wood, aluminum, and composite frames may have different care instructions. Use a mild dilution of On Guard Cleaner Concentrate, avoid saturating wood, and check the window manufacturer’s directions when you are unsure about a surface.
Work from the top down. Wash a manageable section, squeegee it before the solution dries, and wipe the squeegee blade between passes. Dry the edges with a clean cloth so dirty water does not creep back across the glass.
Where Those Hard-Water Spots Come From
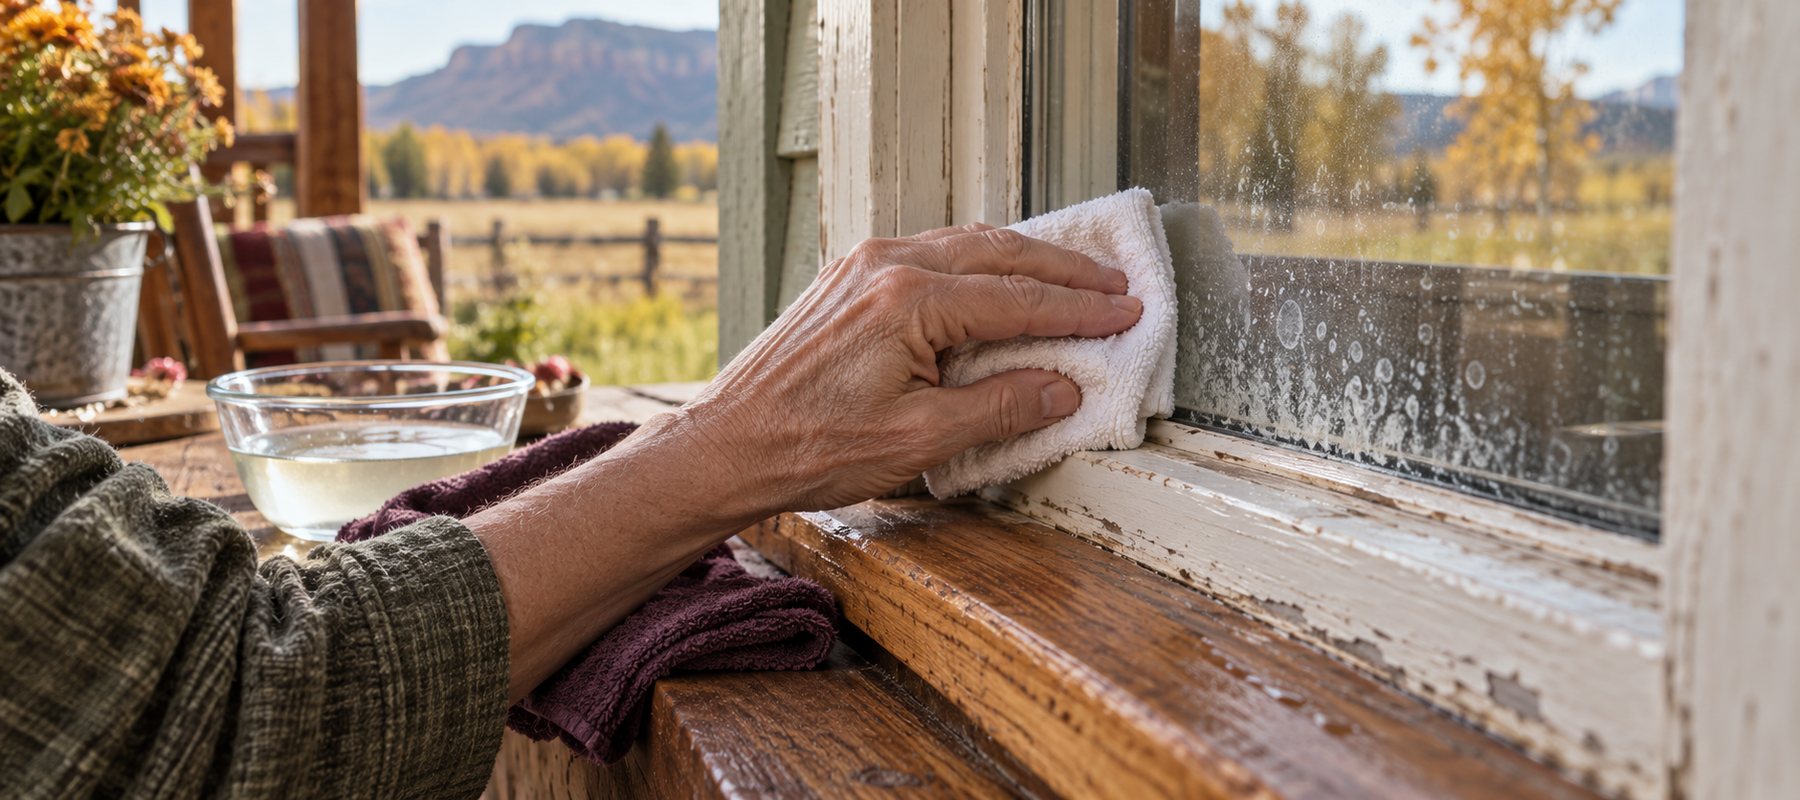
Sprinklers, hoses, and mineral-rich water can leave deposits behind when the droplets dry on the glass. Ordinary rain may carry dirt or residue from the roof and siding, but the stubborn chalky or cloudy spots I fight are generally coming from our well water.
And when it comes to hard-water spots, they are the bane of my existence.
I spend a lot of time making sure I arrange the sprinklers so they do not hit the windows. But with the wind, changing water pressure, and the reality of well water, the windows invariably end up with water spots on them. Even if the sprinkler is set up 20 feet away with no possibility of watering the windows, one change in wind direction and what I thought was impossible becomes reality.
That is also why you may see me moving our vehicles several times during the mornings and evenings. I am trying to keep our super-hard water from floating on a not-so-gentle breeze and mixing with the dust that inevitably gathers on our windshields.
When Gentle Glass Cleaner Is Not Enough
Regular glass cleaner does not always remove that cloudy, spotted mineral buildup. If the gentle cleaner leaves the spots behind, I move to a stronger acid treatment.
Vinegar is often my first step because I already have it. When I need something stronger and less smelly, I use food-grade powdered citric acid—the same kind of acid many of us keep for canning projects.
Citric-Acid Hard-Water Treatment
2 cups warm distilled water 1 tablespoon food-grade powdered citric acid for a starting solution Up to 2 tablespoons citric acid for stubborn buildup
Stir until the powder is completely dissolved. Start with the weaker mixture, test a small inconspicuous area, and increase the strength only if the glass and surrounding materials tolerate it.
Citric acid is still an acid. Wear gloves if your skin is sensitive, avoid breathing the powder while mixing, and do not use it on natural stone or acid-sensitive surfaces. Be especially cautious with tinted film, coated glass, decorative glass, metal trim, and any window with special manufacturer instructions.
Let the Mineral Deposits Soak
Rather than broadly spraying the solution, dampen a cloth or nonabrasive pad and hold it against the hard-water spots for about 30 seconds. Rub gently, rinse the area, and squeegee it dry. Repeat the treatment if needed instead of immediately reaching for something abrasive.
If I have a really stubborn spot or window, I will often take a paper towel, lay it against the glass, and soak the towel while it is sticking to the window. That helps the solution stay in contact with the mineral deposits instead of running down the glass or drying too quickly.
It is similar to what we do when we are trying to remove hard-water deposits from a showerhead or sink faucet: the mineral buildup needs time to soak. I find that this makes the job easier and usually means I do not have to repeat the cleaning process as many times to get the spots off.
Do not let the towel or solution dry on the glass. Keep checking it, rinse the window well when you are finished, and squeegee it dry.
Protect the Flower Beds Below
Even familiar household ingredients can be hard on plants when they are concentrated, so I protect the flower beds below before I begin.
Before I work above a flower bed, I wet the soil and plants with plain water. I apply the citric-acid solution to a cloth or paper towel instead of spraying it broadly, catch drips when I can, and rinse the glass and the area below when I am finished. Plenty of clean water helps dilute the small amount of runoff from a targeted treatment.
If a plant is especially delicate, moveable, or already stressed, cover it loosely or move it before you begin.
What About Magic Eraser, Steel Wool, or Rubbing Compound?
I admit it, I have reached for a Magic Eraser or steel wool when hard-water spots would not budge.
Both are abrasive, even if they do not feel especially aggressive in your hand. They may scratch glass, damage a coating, or leave a dull patch. Some window professionals use very fine 0000 steel wool on certain uncoated glass. Since every window is different, I do not assume it is safe for everyone's windows.
Glass polishing compounds, including cerium oxide, are another step beyond ordinary cleaning. They can help with some mineral etching or light surface damage, but polishing glass unevenly can create distortion or permanently change the surface. If soaking and repeated gentle treatment do not work, I would rather check the window manufacturer’s directions or call a glass professional before experimenting on an expensive window.
Clean the Screens While They Are Out
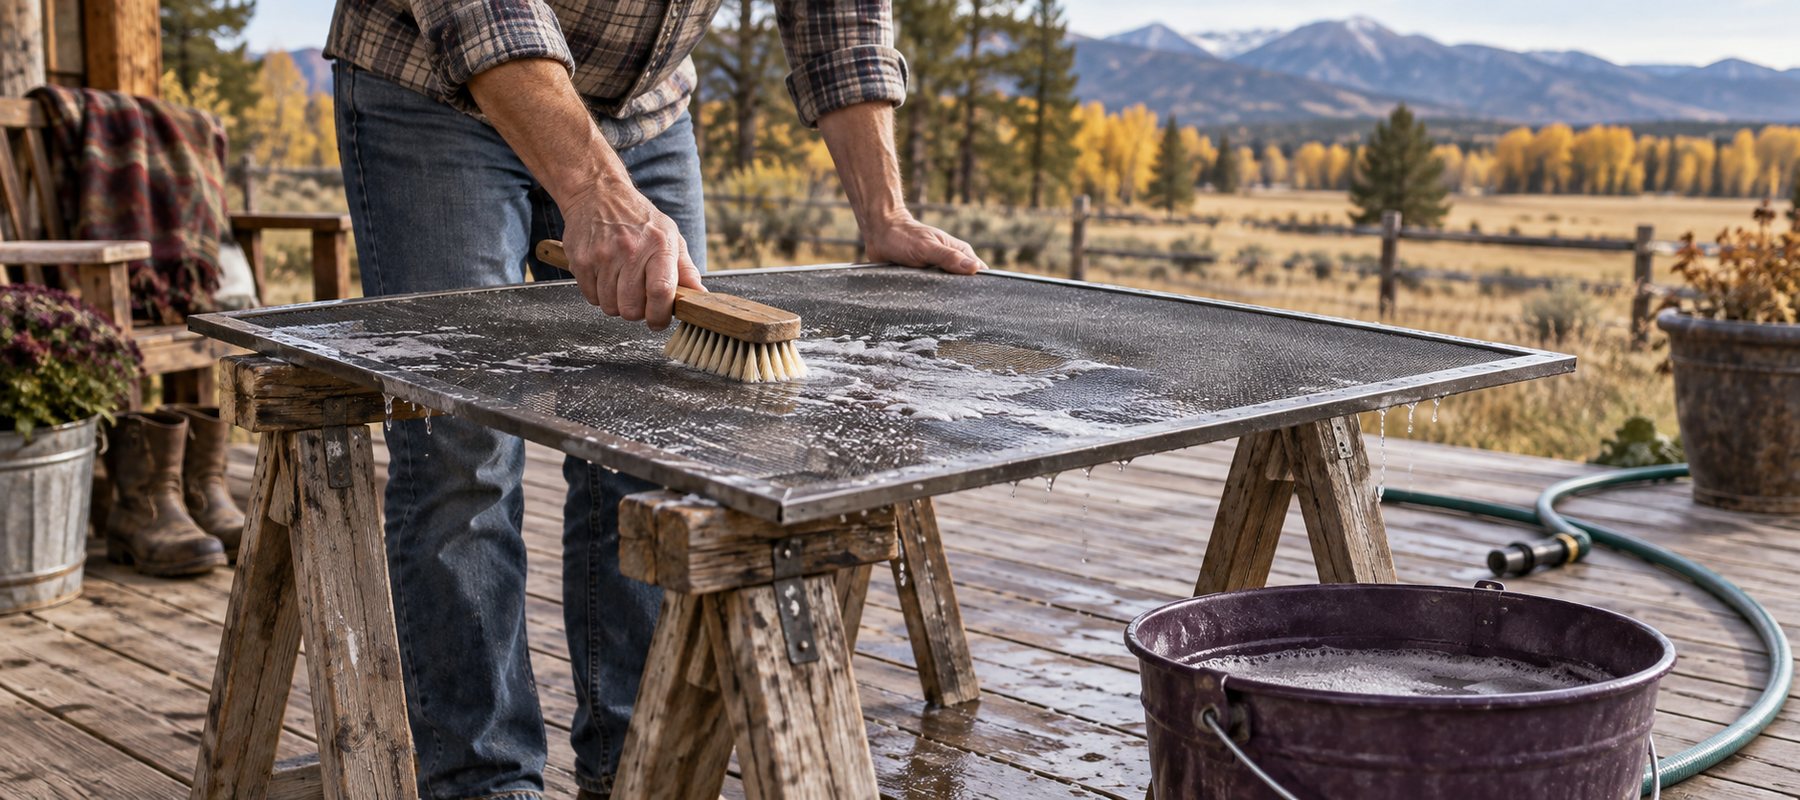
I remove the screens temporarily so I can reach the glass edges, frames, and tracks. Lay each screen on a clean surface, vacuum or brush away loose dirt and cobwebs, then wash it gently with a mild On Guard Cleaner Concentrate solution and a soft brush or cloth.
Rinse with low-pressure water. A hard blast from the hose can stretch the mesh or loosen it from the frame. Let the screens dry completely before reinstalling them.
If you notice a small tear, loose spline, or bent corner, write it down or deal with it while the screen is already out. That saves you from rediscovering the same problem next spring.
Vacuum the Tracks Before You Wash Them
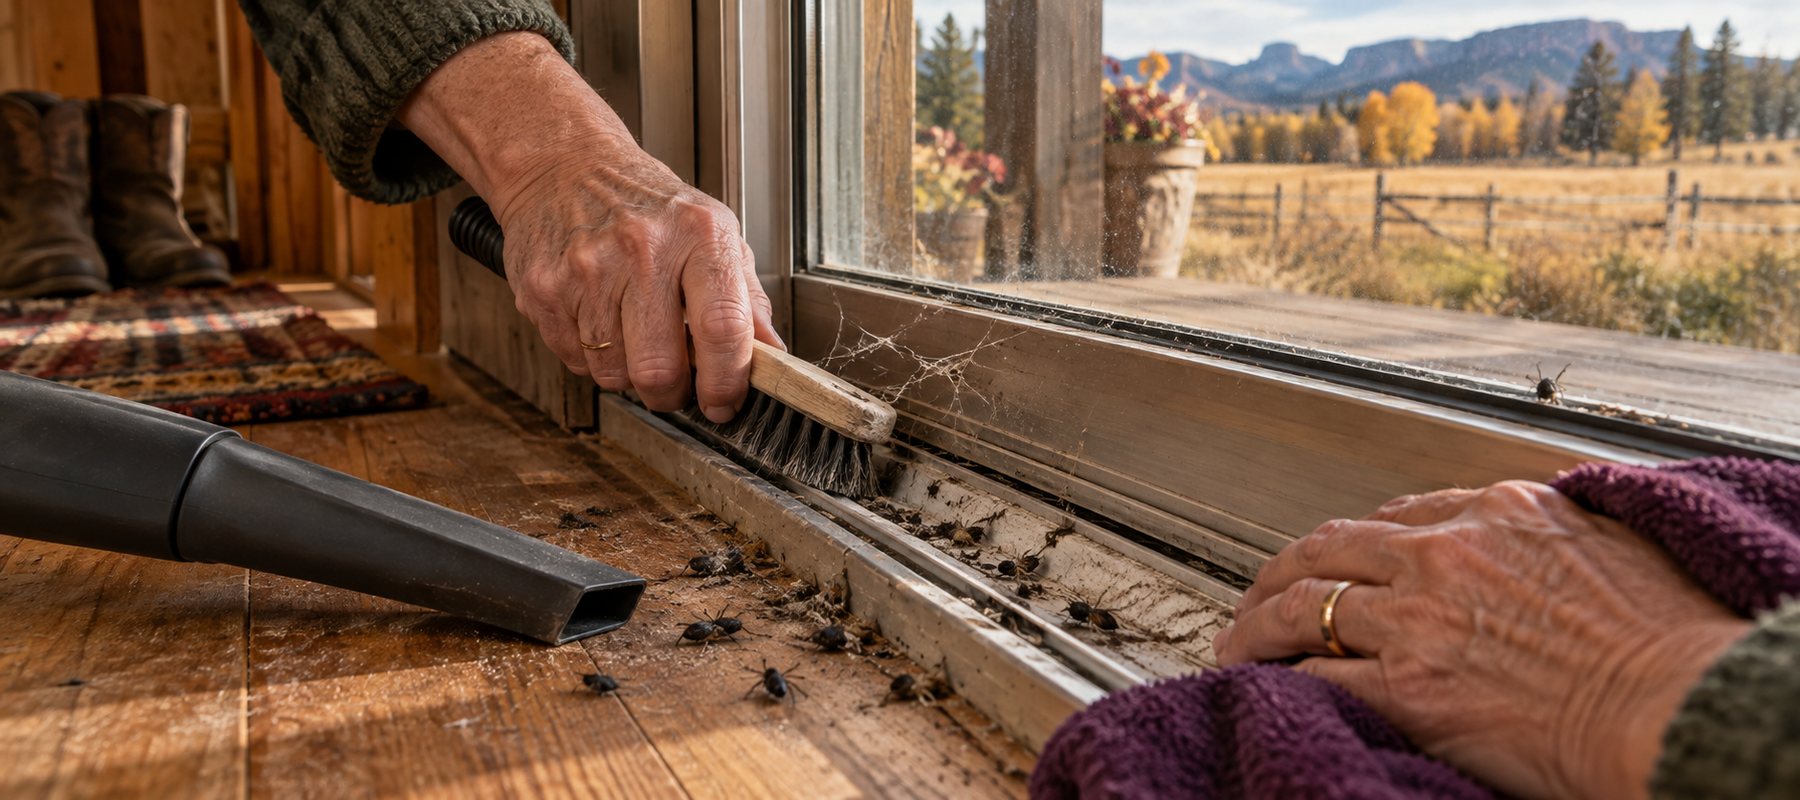
Window and sliding-door tracks collect a remarkable combination of dust, dead bugs, pet hair, and mud. Vacuum the loose debris first so it does not turn into sludge when cleaner is added.
Then use a cloth, an old toothbrush, or another small soft brush with a mild On Guard Cleaner Concentrate solution. Wipe the track clean and dry it well.
If a sliding door is still dragging after the track is clean and the rollers are in good condition, a very small amount of a compatible silicone lubricant may help. I sometimes use Thermal Master P1 silicone treadmill lubricant because it is already on hand, but only after checking that silicone is appropriate for the door and track. Use it sparingly and wipe away excess so it does not collect more dirt. Avoid petroleum products on vinyl or rubber unless the manufacturer specifically approves them.
Check Doors and Weatherstripping
Once the doors and tracks are clean, take a minute to look at the weatherstripping.
Check for cracked, flattened, loose, or missing sections. On a bright day, look for light around the closed door. On a cool or windy day, feel for a draft with the back of your hand.
The last time I replaced weatherstripping was about 10 years ago. I give it a quick inspection each fall and replace only what is actually worn. A small problem is much easier to notice and fix before the coldest weather arrives.
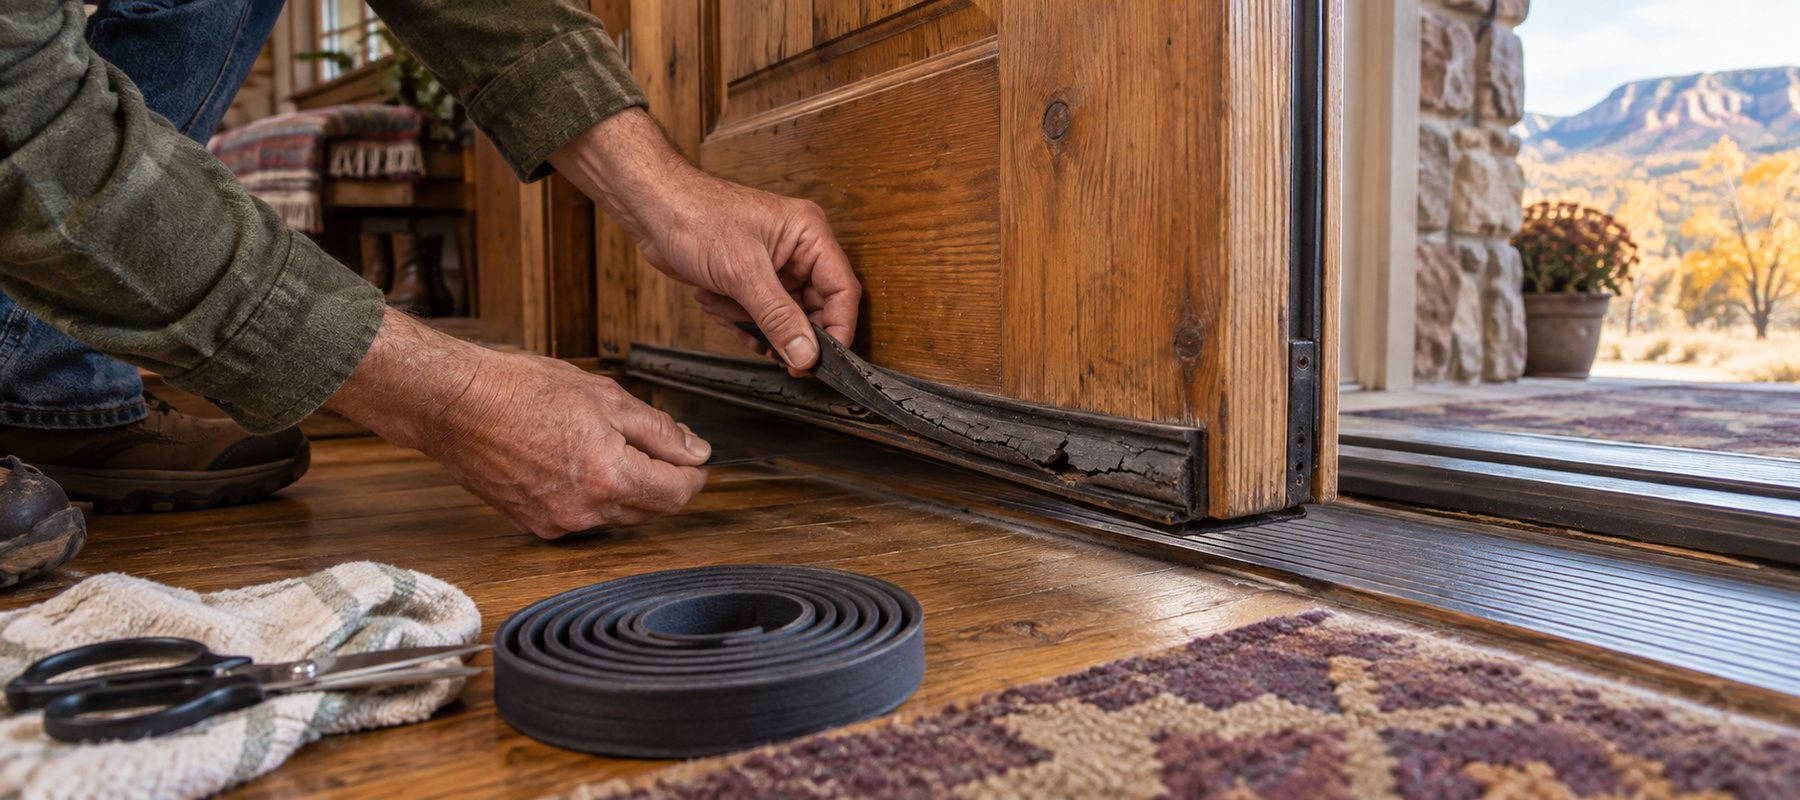
Also tighten loose screws, clean sticky latches, and make sure the door closes and locks smoothly. If anything needs a more involved repair, add it to the list rather than letting it disappear into the category of things you were definitely going to remember.
Make the Entryway Easier to Clean Again Tomorrow
With six dogs and 24 paws coming and going, our entryway plan has to be realistic.
We have a sliding door into the mudroom, a self-serve doggy door on the opposite wall, and a front door off the deck. The doggy door functions a little like a swinging saloon door for dogs: traffic goes through whenever the mood strikes, whether anyone is standing by with a towel or not.
That is why a permanent row of towels by the door is not much of a system here. It is mostly evidence of good intentions.
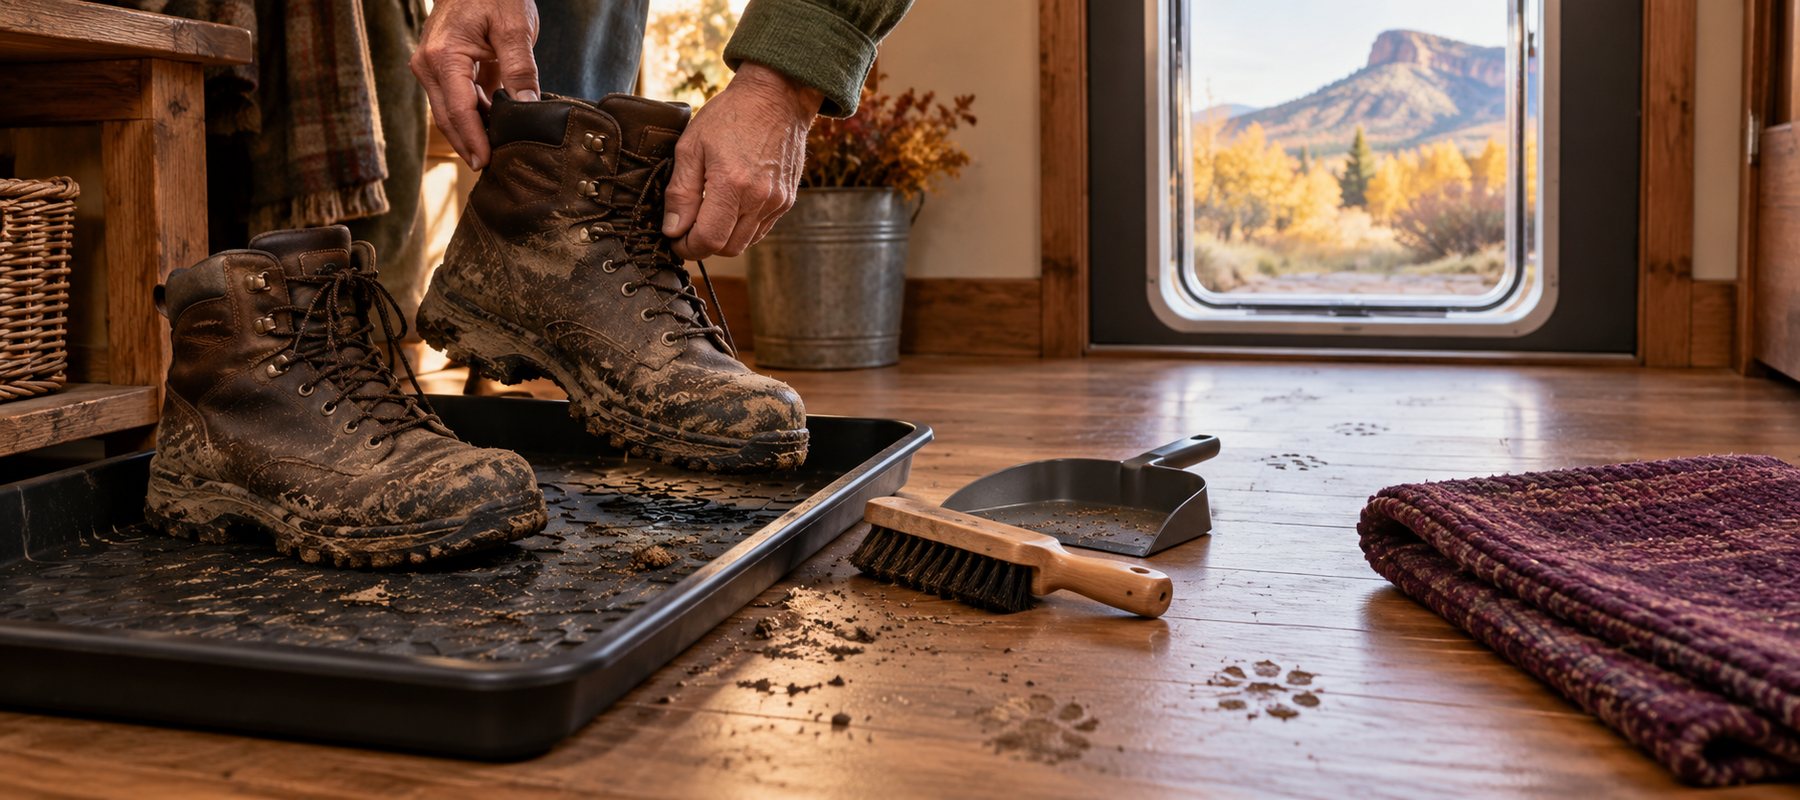
A boot tray is useful. So is a washable mat large enough to catch the first round of dirt. Keep the walkway clear, give wet boots and shoes a place to land, and use whatever setup can be shaken out, washed, or wiped down without turning tomorrow’s cleanup into a major production.
Around here, success looks like an entryway that is easier to reset after the next round of muddy paws, wet boots, and blowing snow.
Working through the rest of the property too? The previous project covers cleaning grills, smokers, and griddles for winter. You can also visit the complete Fall Cleanup series or download the free Fall Cleanup Guide.
Do What You Can Before the Snow Starts Flying
Finishing every window, screen, track, door, and entryway would be wonderful. If the outside glass and screens are all you manage before the snow starts flying, you are still further ahead in preparing things for cold weather than you were yesterday. That counts.
Handling a few of these jobs now will make the colder months easier. Then we can come inside, warm up, and be glad they are done.
A little at a time. One area at a time. Before the snow starts flying.
Preparing for the colder months right alongside you, and sending a little love from my homestead to yours.